5
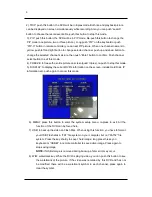
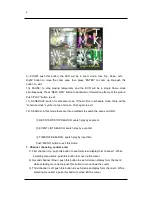
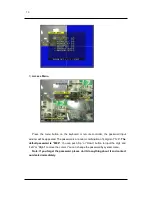
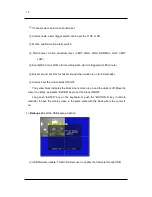
2). TRIP: push this button, the DVR will be in triplex mode. Both live and playback picture
can be displayed on screen simultaneously while recording. Also you can push “search”
button to choose the record events. Re-push this button to stop this mode.
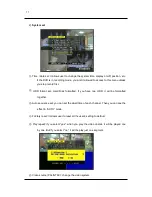
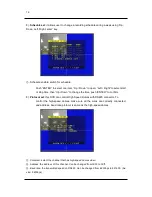
3). PIP: push this button; the DVR will be in PIP mode. Re-push this button to change the
PIP mode (one picture; two or three picture). Long push “PIP” on the keyboard or push
“PIP-C” button in remote controller, you can set PIP picture. When one channel name is in
yellow, push left and right button to change selected channel, push up and down button to
change the selected channel’s picture, then push “Enter” button to confirm. Push channel
select button to exit this mode.
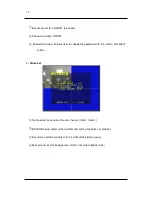
4). FREEZE: to freeze the entire picture on screen(quad, triplex), re-push to stop this mode.
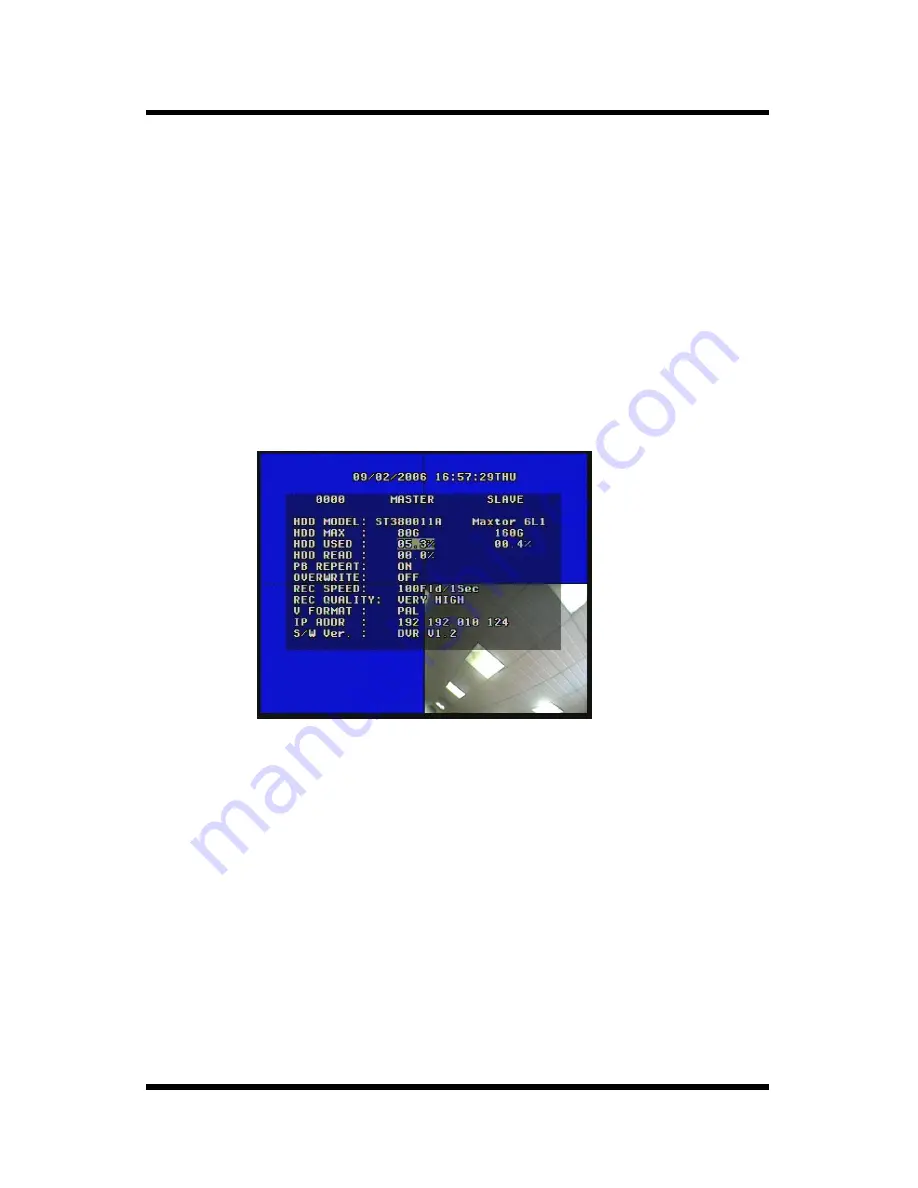
5). DISPLAY: to display the current DVR’s information on the screen, include Hard Disk, IP
information etc. push again to cancel this mode.
6). MENU: press this button to enter the system setup menu, re-press to exit. All the
function of the DVR can be found here.
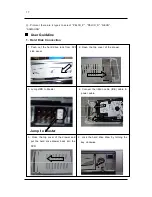
7). USB: to backup the video on Flash Disk. When using this function, you have to format
your USB Flash disk in “FAT” file system on your computer, but not “FAT32” file
system. Press the key shortly to save 1 field image; long press this key on
keyboard or “USB-M” in remote controller to save active image. Press again to
stop saving image.
NOTE:
if USB storage is removed during backup, a fatal error may occur.
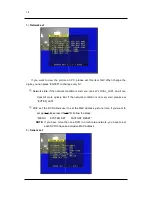
8). W/M: watermark key. While the DVR is playing video, you can push this button to see
the watermark of the picture, if the video was recorded by this DVR and has not
be modified, there will be a watermark symbol in each channel, press again to
clear the symbol.


