12
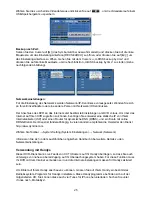
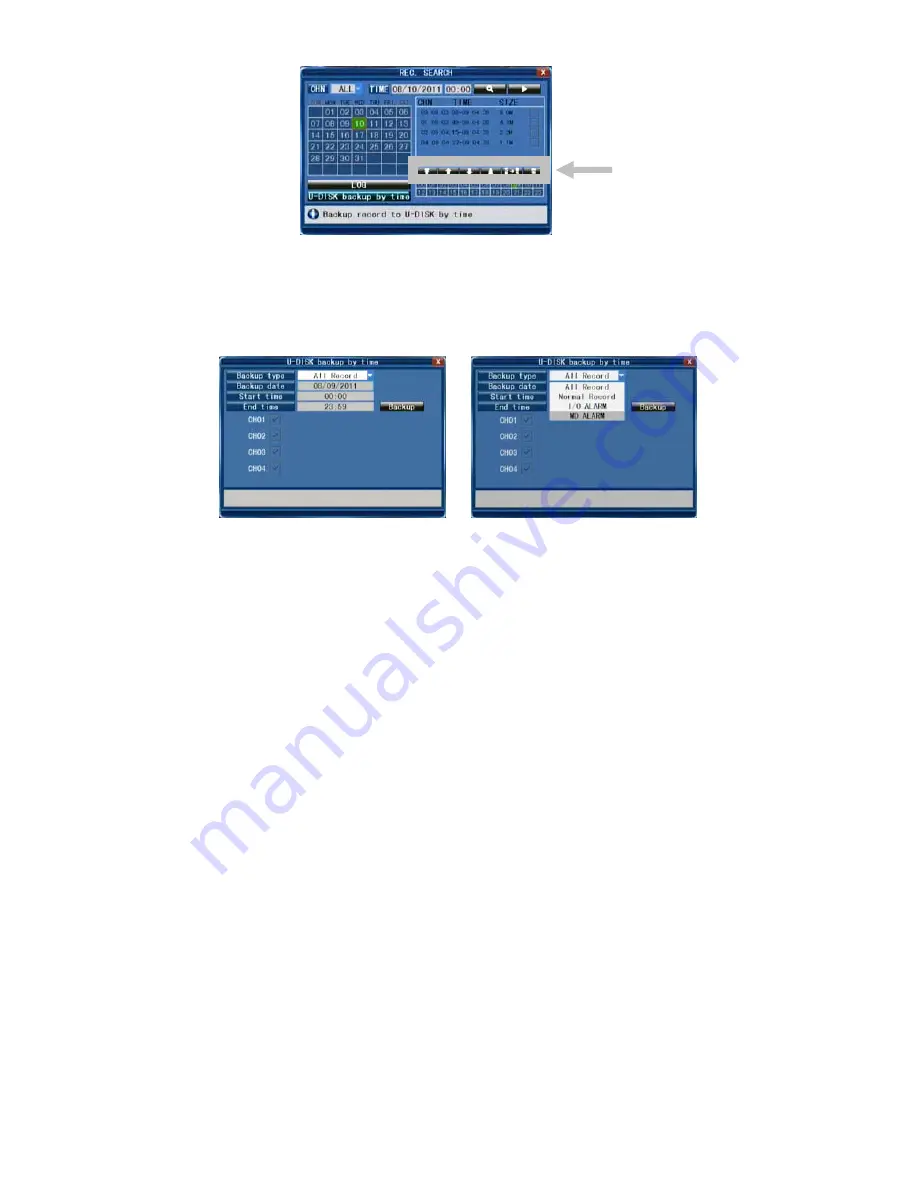
Backup by time:
Move the cursor to [
►
] (the icon will be highlighted when selected) and left-click to enter the [REC
SEARCH] setting interface or press [
►
/
║
] to enter the setting interface. Move the cursor to “U-DISK
backup by time” and left click to access the “U-DISK backup by time” search (as shown in the figure
below).
Network settings:
To set the network, any network/IP skills are recommended. Please contact your reseller or another
person with network/IP skills for help.
To connect the DVR to the Internet, certain settings must be inserted into the DVR. To access your DVR
via the Internet, you will need either a Static IP from your Internet Service Provider (ISP) or a router with
Dynamic DNS (DDNS) capability and an account with an online DDNS service. This service is
country-specific, but in many countries the manufacturer’s suggested service is
http://www.dyndns.com.
Select Toolbar
→
System Setting
→
Network.
Please refer to the extensive English manual for further details about the network settings.
Mobile phone support
This DVR device can transmit live feed from the CCTV cameras to your mobile phone, so that you can
have ‘on the go’ access to your surveillance system from virtually anywhere. For this operation, your
DVR needs to be connected and set to the Internet for mobile phone support.
To view images on your mobile phone, you must install a specific mobile operating system programme
on your mobile phone. The mobile programmes are located on the supplied CD, or download them via
iTunes for iPhone. In iTunes, please search for “MobileEye”.
Please refer to the instruction manual of your mobile to install the programme. Currently, there are a
limited number of compatible phones: Windows CE Mobile, Nokia Symbian S60 3rd and 5th Edition OS,
Google Android, BlackBerry OS 4.x+ and Apple iPhone.


