Video Display Adjustment
2-1
Chapter 2
Video Display Adjustment
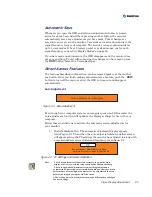
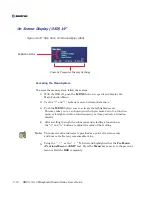
The RMVS-1U.XXXX keyboard/monitor drawer is equipped with screen
adjustment controls that enable you to adjust the video display. The video
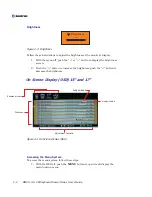
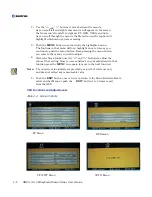
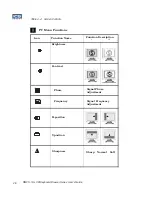
display is adjusted through the on-screen display (OSD) menu which is
standard on the RMVS-1U.XXXX keyboard/monitor drawer.
For example:
You can adjust the image contrast and brightness to your ambient
lighting conditions.
You can adjust the horizontal and vertical position of the image.
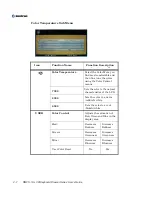
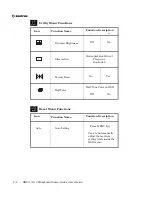
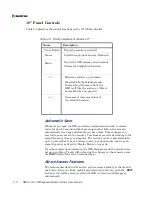
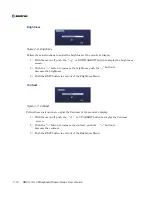
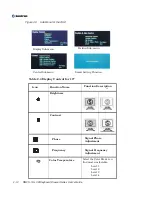
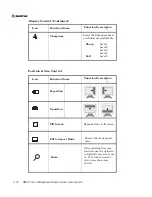
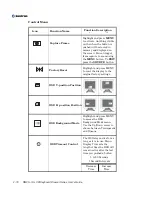
This chapter presents guidelines for adjusting the video display and describes
how to use the OSD controls to adjust the image to your liking.
Guidelines
Before You Make Any Adjustments
Be sure to set the controls under your normal lighting conditions.
Wait for the unit to warm up for 30 minutes before adjusting the video
display. Most units will require at least 30 minutes to warm up,
stabilize completely, and reach their optimal operating point. Some
image characteristics, such as image centering and black-level, will
vary until the unit warms up.
Using the Standard Controls for the Video Card
In addition to the standard controls on the monitor, each video card has
several controls that let you adjust the display settings. The software and
driver for each video card is unique. In most cases, you adjust these settings
by using a program or utility provided by the manufacturer of the video card.
For example, you can use the Windows Display Properties control panel to
adjust the desktop area (resolution), color depth, and refresh rate. Whenever
you change these settings, the image size, position, or shape may change.
This behavior is normal. You can readjust the image using the monitor
controls described in this chapter.
For more information on adjusting the desktop area (resolution), color depth,
or refresh rate, refer to the user manual that came with your video card.
Summary of Contents for RMVS-1U
Page 6: ...This page intentionally left blank Vi RMVS 1U LCD Keyboard Drawer Series User s Guide...
Page 8: ...This page intentionally left blank Viii RMVS 1U LCD Keyboard Drawer Series User s Guide...
Page 12: ...This page intentionally left blank xii RMVS 1U LCD Keyboard Drawer Series User s Guide...
Page 14: ...This page intentionally left blank xiv RMVS 1U LCD Keyboard Drawer Series User s Guide...
Page 18: ...This page intentionally left blank xviii RMVS 1U LCD Keyboard Drawer Series User s Guide...
Page 20: ...This page intentionally left blank xx RMVS 1U LCD Keyboard Drawer Series User s Guide...
Page 24: ...xxiv This page intentionally left blank RMVS 1U LCD Keyboard Drawer Series User s Guide...
Page 37: ...1 10 RMVS 1U LCD Keyboard Drawer Series User s Guide This page intentionally left blank...
Page 38: ...1 11 RMVS 1U LCD Keyboard Drawer Series User s Guide This page intentionally left blank...

