20
Thread the female end of the connecting assembly to the level control valve stem under the
Reservoir and the male end to the garden hose. The ends are not interchangeable as the pipe
threads are different at each end. Screw the female end of the garden hose to the timer. Turn the
timer to the continuous on position and adjust the level control valve until the water level is right
at the desired mark. Turn the timer back to the auto position.
With Autofill installed and adjusted (a few minutes of adjusting the level control valve) sit back
and watch the Garden take care of itself. It’s a beautiful thing! More Autofill information available
in the Operating Instructions.
Check the website frequently for Assembly and Operating Instruction updates and revisions as
well as for fun project-based learning ideas!
control
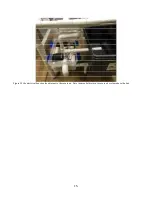
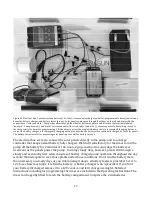
The reservoir (support board not shown in this illustration) showing the two Autofill components best installed during initial setup
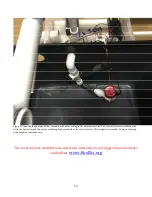
Note the connection between level control valve and connector, which is in turn connected to the customer’s garden hose. The
white nut indicated by the blue arrow must be tight. No leaking from the Reservoir permitted or nutrients are lost.
Connector
Level control
valve
Level control
valve
White nut
Connector
Summary of Contents for My Garden
Page 21: ...21 ...

