5
4
User Manual
4
Positioning the System
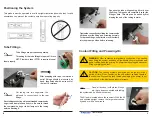
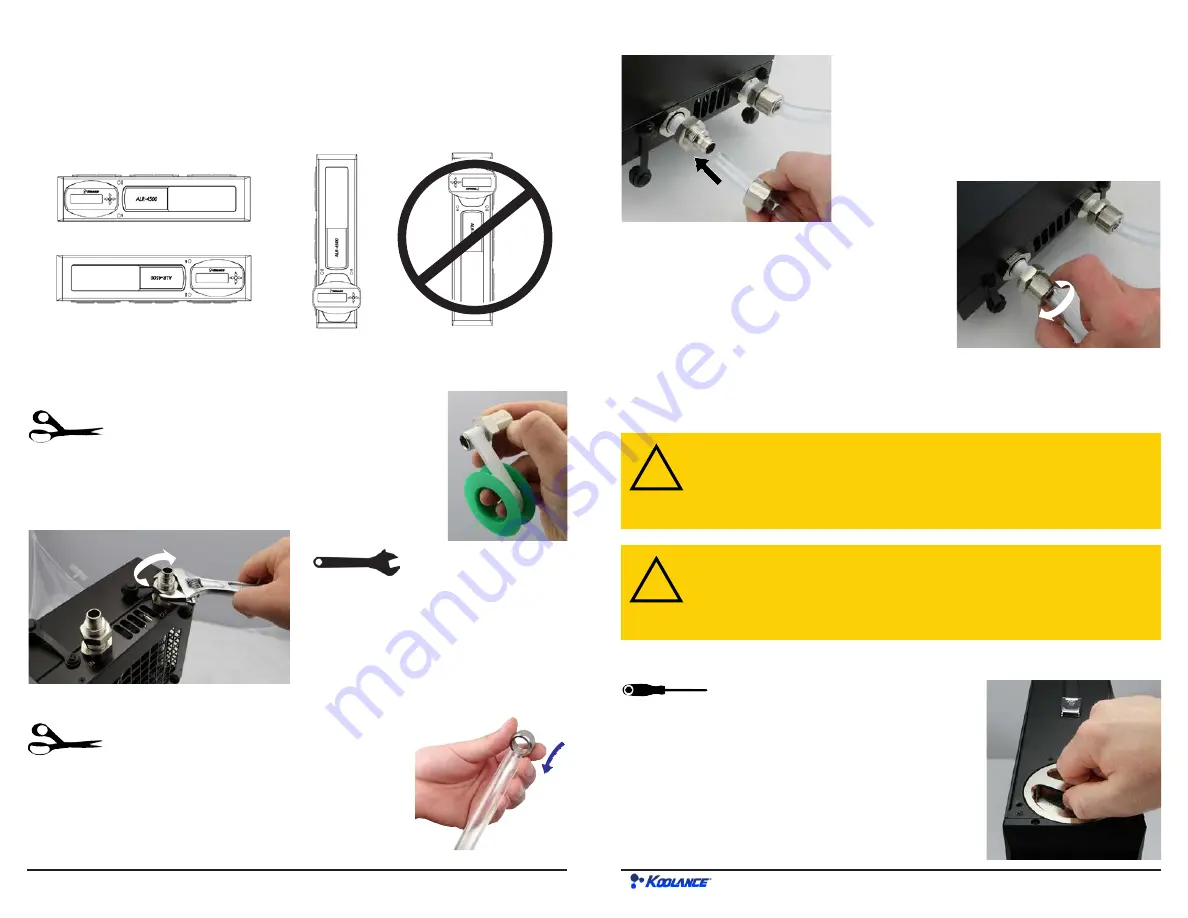
This product must be operated in a valid upright orientation (shown below). Invalid
orientations can prevent the coolant pump from operating properly.
Coolant Filling and Powering-On
WARNING
:
Most coolants are electrically conductive. Use caution
when filling the system, and keep all liquids away from electronics and
power cables. Keep the primary AC power cable unplugged whenever
filling or draining coolant.
!
CAUTION
:
The cooling system’s pump can not be run dry for any
period of time. Do not power-on the unit without sufficient liquid in
the reservoir. Dry-running (and thereby damaging the pump) is not
covered under the Koolance product warranty.
!
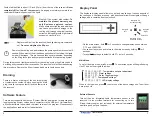
Cut tubing into two segments. You
will need to connect each to the rear
fittings.
Each tubing connection will use a threaded compression
ring or tube clamp to keep it secure. Be sure to thread
the compression ring or tube clamp onto the tubing
before attaching it.
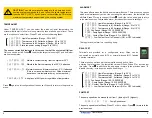
Squeeze the tube while pushing it firmly over
the fitting. Tubing should completely cover the
fitting or barb. This step can be eased by first
dipping the end of the tubing in water.
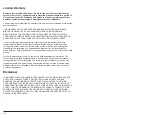
Tighten the connection by sliding the compression
nut down over the fitting and screwing securely.
For barbed fittings, use pliers to move the clamp
into the proper position before releasing.
Tube fittings are purchased separately.
Threading for the tube fittings is tapered 1/4-inch
NPT. Plumber’s tape (PTFE) is required to seal
them properly.
Tube Fittings
After wrapping with tape, the inlet and
outlet fittings should be inserted by
hand, then finished with a wrench for
the last 1-2 rotations.
Once all devices (cold plates, fittings,
etc.) have been connected with tubing,
the system can be filled with coolant.
The fill port is located above the reservoir. With the fill
port oriented upright, remove the large reservoir cap
by hand or with a hex wrench.


