6
7
User Manual
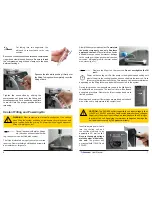
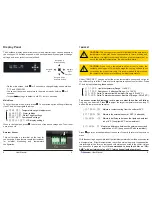
Cut tubing into two segments. You
will need to connect each to the rear
nozzles.
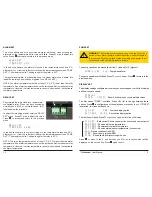
Each hose connection will use a threaded compression
ring or hose clamp to keep it secure. Be sure to thread
the compression ring or hose clamp onto the hose
before attaching it.
Squeeze the tube while pushing it firmly over
the fitting. Tubing should completely cover the
fitting or barb.
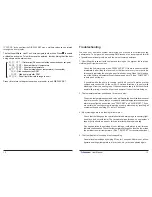
Tighten the connection by sliding the
compression nut down over the fitting and
screwing securely. For hose barbs, use pliers
to move it into the proper position before
releasing.
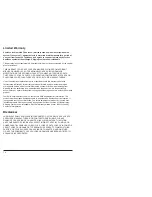
Slowly fill the system with coolant.
To maintain
the product warranty, use only Koolance
approved coolant.
Many alternative liquids
and additives can cause permanent damage
to the cooling unit (through chemical reaction,
corrosion, biological growth, thermal expan-
sion, viscosity, etc.).
Once all devices (cold plates, fittings,
etc.) have been connected with tub-
ing, the system can be filled with coolant.
The fill port is located on top of the system over the
reservoir. Remove the large slot-headed screw with
a screwdriver or large coin.
Coolant Filling and Powering-On
WARNING
:
Most coolants are electrically conductive. Use caution
when filling the system, and keep all liquids away from electronics and
power cables. Keep the primary AC power cable unplugged whenever
filling or draining coolant.
!
Power on the cooling unit. Set the pump to the highest speed setting until
most of the air in the cooling loop has been pushed into the reservoir. Once
this occurs, the liquid noise will drop. This process can take several minutes,
depending on the filling technique and what’s connected to the system.
During this process, components may need to be tilted gently
to assist with air evacuation. The reservoir level will decrease
during this procedure. Remove the fill port cap and add more
liquid as needed.
Maximum and minimum fill markings are provided on the back
side of the unit to help maintain the coolant level.
Replace the fill port on the reservoir.
Do not overtighten the fill
port.
Insert the main power cable
into the cooling unit and
connect the other end to an
appropriate AC wall outlet.
Be sure the supply voltage
matches what’s labeled on
the unit.
The product will
not accept both 110VAC and
220VAC
CAUTION:
The EXC-800 chiller is specific to one input voltage (either
110VAC or 220VAC) and will not auto-switch between these voltages.
Supply only the proper input voltage, as labeled above the AC plug on
the rear of the unit. Supplying the improper voltage can damage the
unit and is not covered by the product warranty.
!

