18
19
User Manual
Filling & Maintenance
With normal use, Koolance’s liquid coolant should be replaced every 2-3 years. If
it ever becomes contaminated, unclear, or significantly changes color, it should be
replaced immediately. A Koolance “drain valve” (sold separately) is recommended
to make that process easier.
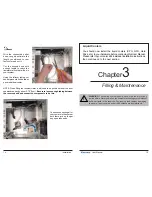
If you are upgrading or removing a cooling block in your system, please follow the
instructions below.
Adding Coolers & Maintenance
CAUTION
:
Any time a hose is disconnected with coolant still inside,
leaking will occur. It is highly recommended to empty your cooling
system of coolant before disconnecting any hoses.
!
Radiator Performance
Over time, dust will accumulate on the radiator. While the cooling system may
continue to operate in this condition, performance can decrease. To keep the
system clean, check the radiator periodically (through the top fan grill) and use
a can of electronics air cleaner if necessary.
Working on a liquid cooling system is much easier and safer when liquid coolant is
removed beforehand. However, certain procedures can be done without removing
the coolant.
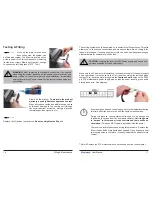
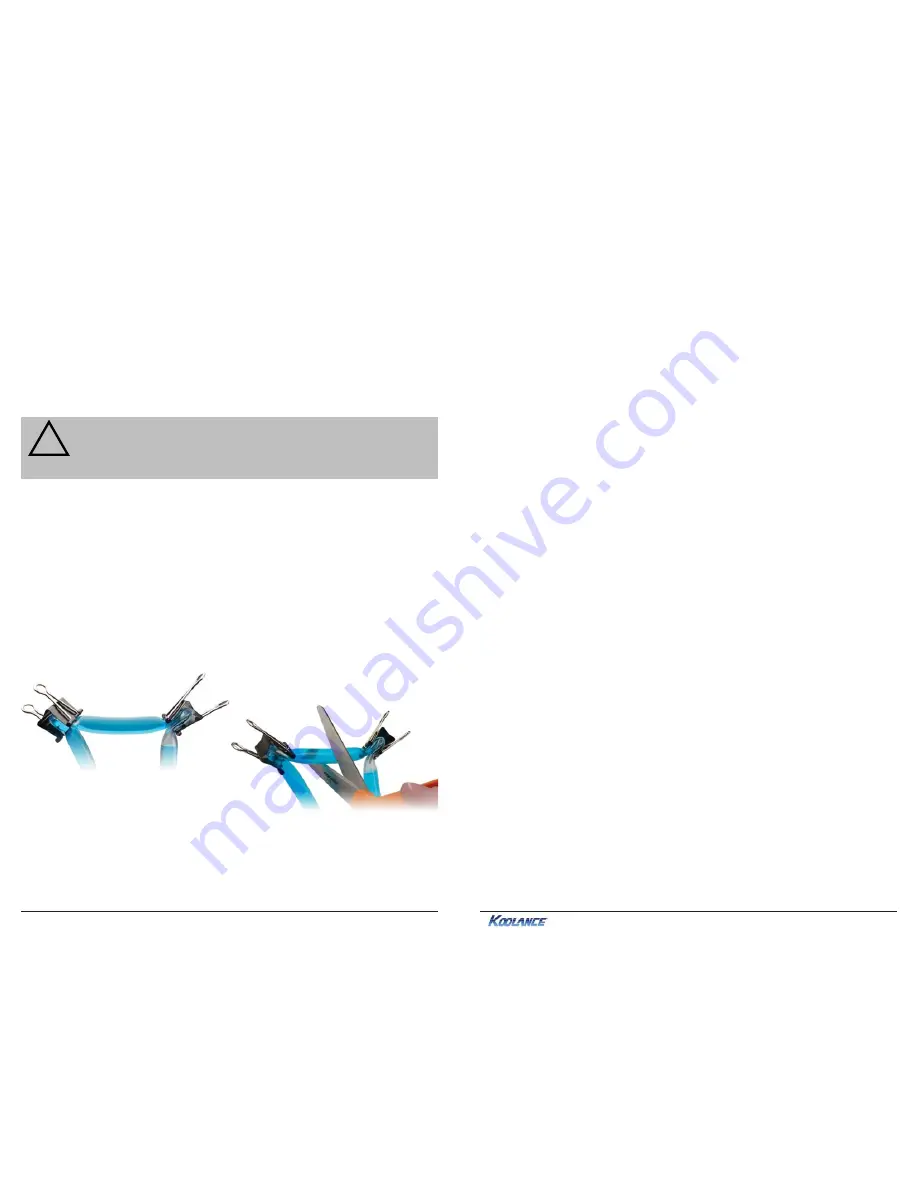
A binder clamp (available at office supply stores) is helpful for keeping a hose folded
while removing or adding coolers. Even so, pressure within the cooling system is
such that liquid will not easily flow out unless relieved elsewhere-- for example, by
opening the reservoir fill port.
Bend the hose directly before and after the section to be worked on. Place a binder
clamp on both bends, or tie them in this position to help avoid fluid loss. There will
be some liquid exposed; do not operate on the cooling system in this manner near
or above electronic hardware.
Troubleshooting
We hope your Koolance system will provide you with years of reliable cooling
performance. To help avoid unnecessary RMA issues, we have prepared this list
of possible operational problems, and their most common solutions.
1. The pump does not appear to be operating properly...
Pumps need to be “burped” during the initial bleeding process to avoid this
situation. Reduce pump speed (but not low enough to stop the pump).
While the pump is running, gently tilt the system in various directions until
coolant begins moving. Open the fill port to relieve excess air.
2. My temperatures seem too high...
Verify that the liquid coolers are making sufficient contact with each
component. Ensure thermal paste has been applied (but not excessively),
that the block’s protective bottom film has been removed, and that the water
block is positioned correctly (see the cooler’s manual). Also check there are
no blocks, twists, or crimps in the tubing.
Finally, a dusty Radiator can result in higher temperatures. Please see
Draining and Maintenance
for more information.
3. When I adjust the temperature alarm settings, it skips number increments...
This is normal operation if your LED is set to display in Fahrenheit, because
the temperature program is based on units Celsius. Some ºC values convert
to decimal temperatures in ºF, or skip over them, and these can not be set by
the program.
4. After the system has been on for awhile, the temperature alarm sounds...
Make sure the LED temperature is at or above your preset alarm temperature
(default is 55ºC, 131ºF). If not, the audio alarm may be emanating from another
location, such as your motherboard’s BIOS alarm or video card. The Koolance
LED temperature will flash whenever the cooling system alarm sounds.
If the alarm is produced by the Koolance unit and the LED temperature has
not reached the alarm preset, please contact our technical department.
Also verify that the pump is operating (see Troubleshooting #1), and that liquid
movement is present in the reservoir. If the reservoir has been over-filled,

