4. Device Management
4.1 Preparation for console management
Attach the RS-232 DB9 connector to your PC’s COM port. Connect the M12 A-code 5-pin
connector to the console port of the JetNet 6710G/6810G.
JetNet 6710G / 6810G series switches provide both in-band and out-band configuration
methods. You can configure the switch via the RS232 console with the attached console
cable, or you can remotely manage the switch via network using Telnet/SSH, Web/HTTPS
management.
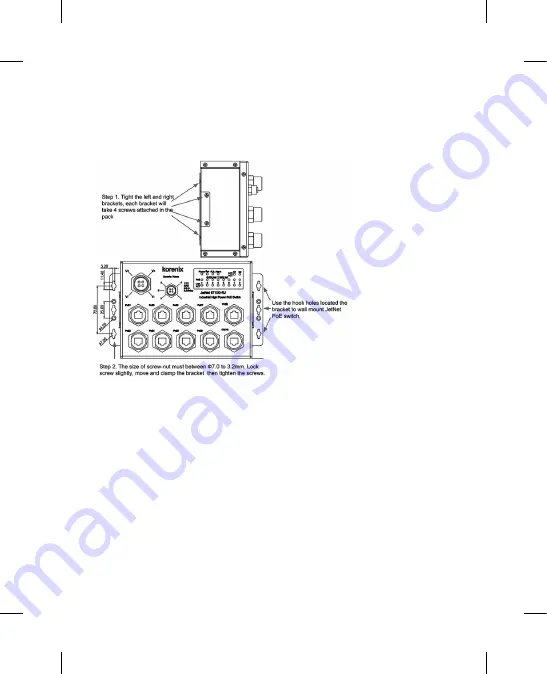
3.4 Wall /Panel Mounting Installation
The JetNet 6710G/6810G series are shipped with 1 set mounting bracket which allows users
to install JetNet 6710G/6810G on the panel or wall. Assemble the brackets on the rear side
of JetNet 6710G/6810G body, then using a suitable screw install onto wall / panel of cabinet
with good heat dissipation.
4.1.1 Go to Start -> Program -> Accessories -> Communication -> Hyper Terminal
4.1.2 Give a name to the new console connection to create a new serial communication
session.
4.1.3 Choose the COM name, and select the correct serial settings. The serial settings of
JetNet 6710G/6810G are as below:
Baud Rate: 9600 / Parity check: None / Data Bit: 8 / Stop Bit: 1
Summary of Contents for JetNet 6710G
Page 50: ......


