Introduction to the M50
18
Other
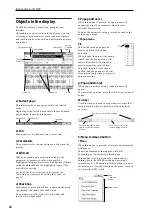
PROG BANK A, B, C, D, E, GM/
COMBI BANK A, B, C, D switches
Use these switches to change banks when selecting
Programs or Combinations. The LEDs in the switches
light up to show the current bank.
In Program mode, these switches select the Program
bank.
In Combination mode, these switches have two
functions:
• When you’re selecting Combinations, they choose
the Combination bank.
• When you’re assigning a Program to a timbre
within the Combination, they select the Program
bank.
In Sequencer mode, when a track’s Program name is
selected, these switches change the Program bank.
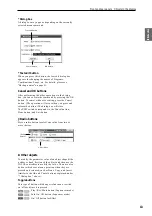
TEMPO knob, TAP TEMPO switch
You can set the tempo by turning the TEMPO knob or
by repeatedly pressing the TAP TEMPO switch.
Control surface
For details on using the control surface to edit values,
please see page 30.
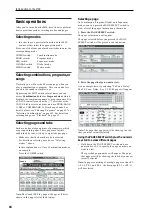
COMPARE switch
You can use this switch to return the settings of an
edited program, combination, or song to their original
state. Refer to the following section.
Compare function
Use this when you wish to compare the edits you have
made to a program or combination’s sound with the
un-edited original (i.e., the sound that is written into
memory).
When editing a program or combination, press this
switch. The LED will light, and the last-written settings
for that program number or combination number will
be recalled. When you press the COMPARE switch
once again, the LED will go dark and you will return to
the settings that you were editing.
If you edit the settings that are recalled by pressing the
COMPARE switch (i.e., the settings that are written
into memory), the LED will go dark, and it will not be
possible to return to the previous edits by pressing the
COMPARE switch again.
In Sequencer mode, you can use the COMPARE switch
to make “before and after” comparisons immediately
after using realtime recording or step recording to
record a song, or after performing a track edit
operation.
For example, this can be used effectively when
realtime-recording a MIDI track for a song.
1. Realtime-record a MIDI track. (Take 1)
2. Once again, realtime-record on the same track.
(Take 2)
3. Press the COMPARE switch. The LED will light,
and take 1 will be recalled.
4. Press the COMPARE switch once again. The LED
will go dark, and take 2 will be recalled.
5. If at step 3 you once again realtime-record on the
same track (take 3), the object of the Compare
function will now be take 1.
6. If at step 4 you once again realtime-record on the
same track (take 3), the object of the Compare
function will be take 2.
In this way, the Compare function lets you recall the
previous recording or the previous state of event
editing.
Note:
If you continue editing when the COMPARE
switch is lit, the switch will go dark. This now becomes
the musical data that will be selected when the
COMPARE switch is dark.
For details, please see “The Compare function” on
page 127 of the Parameter Guide.
The Compare function that brings back the
settings prior to editing is not available in Global
mode.
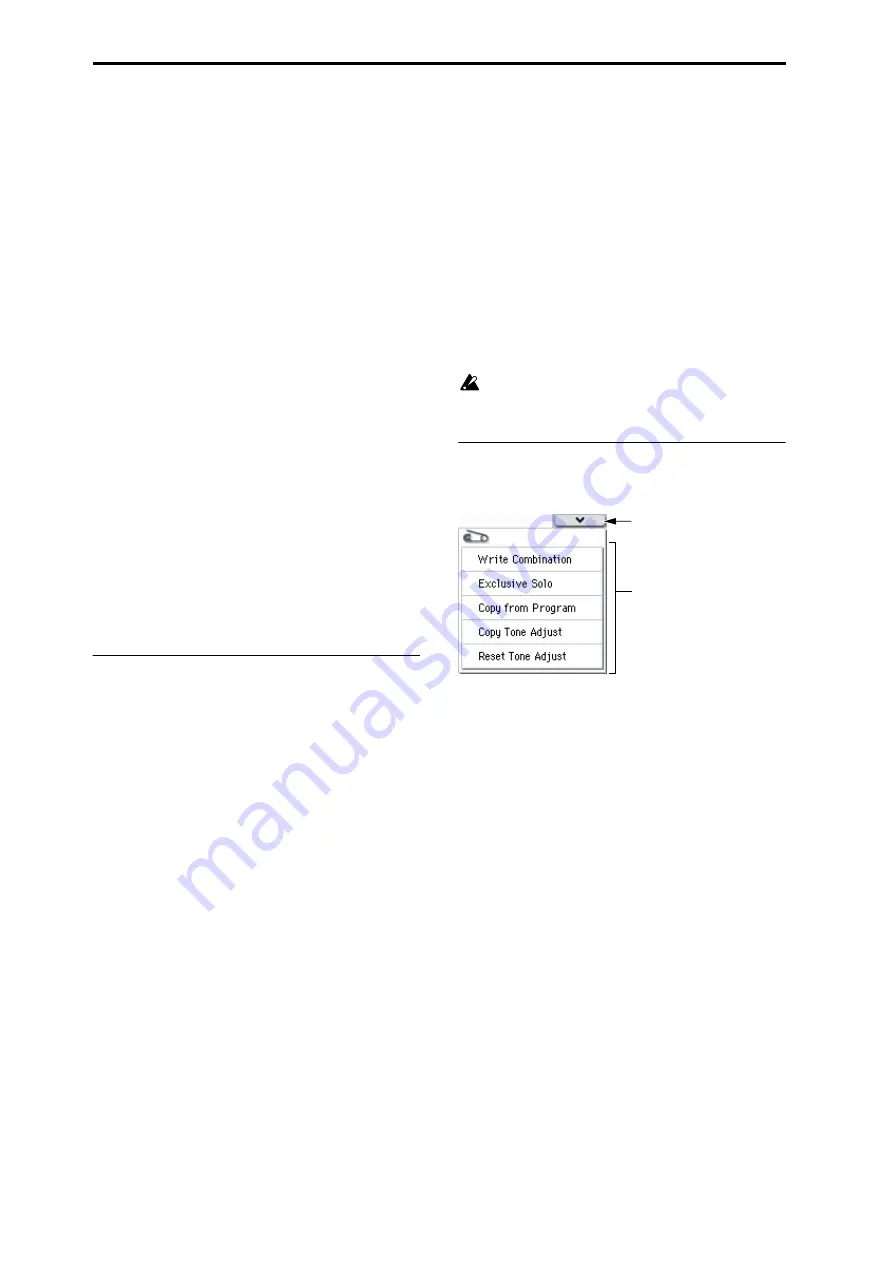
Selecting and executing menu
commands
The utility functions provide commands that are
specific to each page, such as Write (save) or Copy. The
available utility functions will depend on the selected
page.
For example, the utility functions in Program mode let
you write (save) the settings, or let you perform
convenient editing operations such as copying settings
between oscillators or effects, or a Sync function that
lets you edit two EGs together.
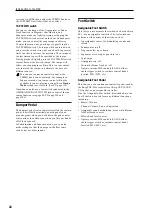
1. In the upper right of the display, press the
u
button.
The menu command will appear.
2. Select a menu command by touching it with your
finger.
A dialog box for the selected menu command will
appear.
Check-type commands will not display a dialog box;
their status will be switched, and the list will close.
By holding down the ENTER switch and pressing a
numeric key 0–9 you can access the dialog box for the
first ten utility functions without going through the
menu.
• If you want to close the list without selecting a
command, press the display somewhere other than
the list, or press the EXIT switch.
3. For a parameter in a dialog box, select it by
pressing it with your finger, and use the VALUE
controllers (e.g., VALUE dial or
q
/
u
switches) to
enter its value.
Menu
command
button
Menu button
Summary of Contents for EASYSTART M50
Page 1: ...3 E Owner s Manual ...
Page 84: ...Arpeggiator function 78 ...
Page 88: ...Drum Track function 82 ...

