Easy Program editing Simple editing using the sliders and knobs
31
Program
Combination
Sequencer
Effect
Arpeggio
Drum Track
Global
Media
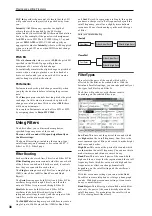
3. There are two modes of realtime control, A and B;
these will alternate each time you press the
REALTIME CONTROL switch. Each mode lets
you use knobs 1–4 to control the assigned
parameters.
In A-mode, knobs 1–4 are assigned dedicated functions
corresponding to MIDI control changes.
In B-mode, knobs 1–4 can be assigned a variety of
functions. Many of these have corresponding MIDI
control changes.
When you move a knob, the corresponding MIDI
control change message will be transmitted. When a
MIDI control change message is received, the value of
the knob will change to the value of that control
change message.
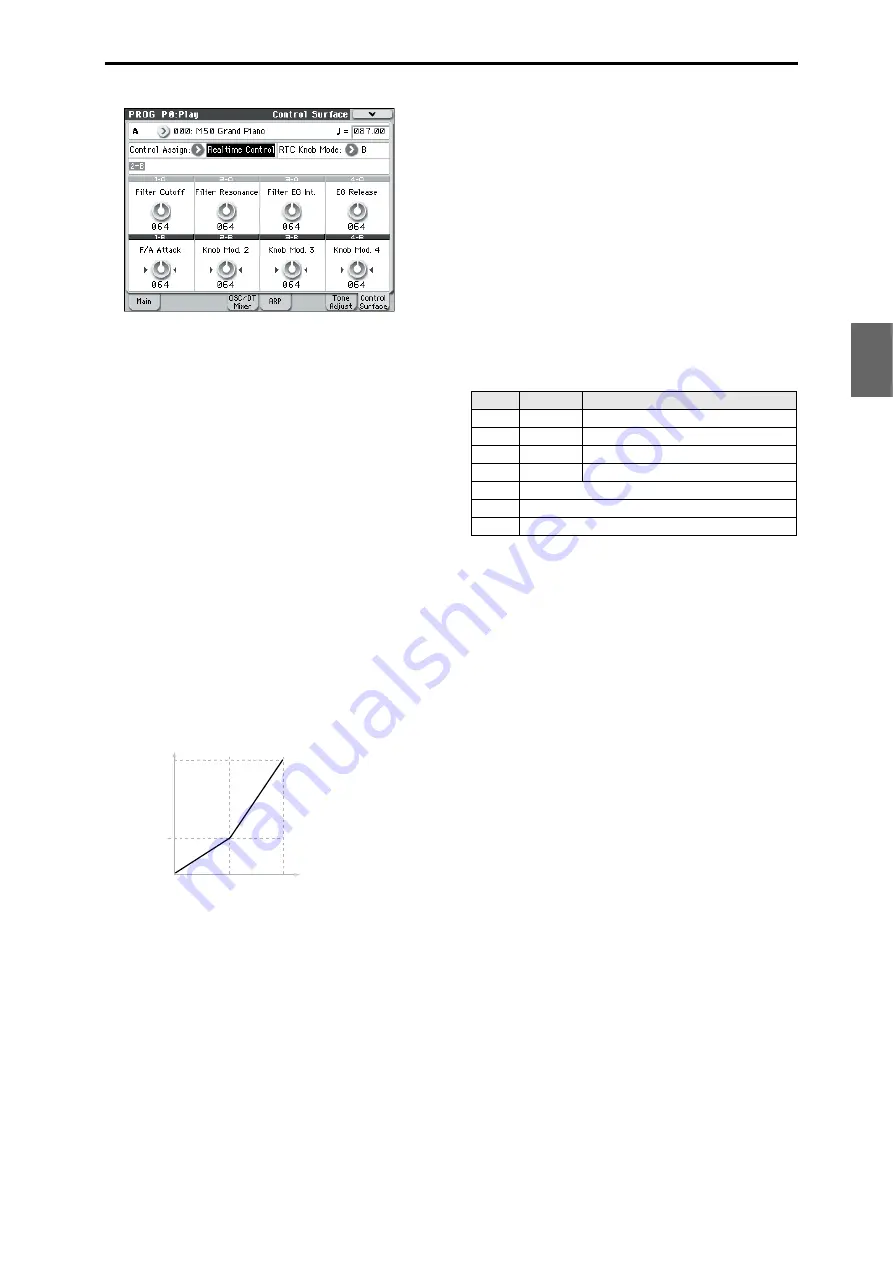
Normally, the amount of change produced by a knob
will depend on the internal settings of the program.
When the knob is in the center position, the program
will sound according to its own original settings. To
change the setting to its maximum value, move the
knob all the way to the far right. To change the setting
to its minimum value, move the knob all the way to the
far left.
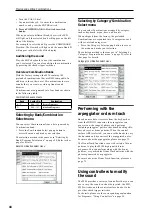
Knob scaling
For example:
1. Select Program A064, “Smooth Operators.”
This is an electric piano sound; let’s see what we can
do to make it sound a bit different.
2. Press the control surface REALTIME CONTROL
switch to select A-mode (the LED will light).
3. While you perform, slowly raise knob 1 (filter
frequency) to about three-quarters of its full range.
Notice how the piano becomes a sort of synth sweep.
4. Next, raise knob 2 (filter resonance) to about three-
quarters as well.
5. Leaving knob 2 at that position, try raising and
lowering knob 1.
With the resonance increased, it now sounds like
you’re playing through a wah pedal.
Reset
Next, let’s say that you decide that’s not really what
you wanted–so, we’ll set the knobs back to their
default values. Although you could return the knob to
its middle position and then make fine adjustments to
set it precisely to the center, there is an easier way.
1. Hold the RESET CONTROLS switch.
2. While holding RESET CONTROLS switch, first
move knob 1, and then knob 2.
As you move the knobs, their values will be reset to the
default, center positions.
3. Release the RESET CONTROLS switch.
Now, you’re back to the original electric piano sound.
The table below shows the standard assignments of the
Control surface Realtime Control knobs:
Saving the edits you made by moving the
knobs
The control surface Realtime Control knobs are great
for modulating sounds in performance. If you like, you
can also save the edited version of the sound, using the
normal Write Program command. For details, please
see “Saving your edits” on page 33.
However for Realtime Control B mode knobs 1–4, the
edited settings can be saved only if you’ve assigned
CC#70–79.
Internally, a single knob usually affects several
different parameters. When you write a Program, the
edits are saved into the individual program
parameters, and not to the knob itself.
After writing the Program, you’ll notice that the knobs
have returned to their center positions–since the old
“edited” values are now the new “saved” values.
Assigning Realtime Control B-mode func-
tions to knobs 1–4
You can assign the functions that knobs 1–4 will
perform when control surface Realtime Control B-
mode is selected. (See PG page 19)
99
00
64
0
127
CC Value
Parameter
Value
As Programmed
Knob
MIDI CC
Normally controls…
A–1
74
Filter Cutoff Frequency
A–2
71
Filter Resonance
A–3
79
Filter EG Intensity
A–4
72
EG Release Time
B–1, 2
Varies for each Program
B–3
Often Chorus Depth - but can vary per Program
B–4
Often Reverb Depth - but can vary per Program
Summary of Contents for EASYSTART M50
Page 1: ...3 E Owner s Manual ...
Page 84: ...Arpeggiator function 78 ...
Page 88: ...Drum Track function 82 ...


