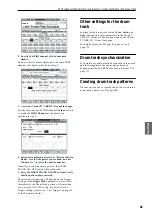
Routing effect settings Program Effects settings
69
Program
Combination
Sequencer
Effect
Arpeggio
Drum Track
Global
Media
Routing effect settings
The insert effects, master effects, and total effect have
the same structure in all modes, but the routing
settings will determine how the oscillators of a
program or the timbres of a combination or track of a
song will be sent to each insert effect, master effect or
total effect. In the pages that follow, we will explain
how you can make routing settings and effect settings
in each mode.
Program Effects settings
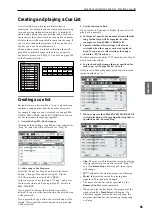
Routing
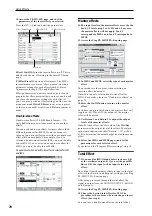
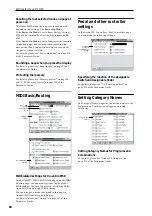
1. Access the Prog P8: IFX– Routing page.
2. Use Bus (IFX/Output) Select to specify the bus to
which the oscillator output will be sent. If you
want the oscillator output to be input to insert
effect 1, choose IFX1.
L/R:
The output will not be sent to the total effect. After
bypassing the total effect, the sound will be sent to
AUDIO OUTPUT L/MONO and R.
IFX1–5:
The output will be sent to insert effect IFX 1–5.
Off:
Choose this if you want the signal to be connected
in series to the master effects at the send levels
specified by Send 1 (to MFX1) and Send 2 (to MFX2).
3. OSC MFX Send specifies the send level from each
oscillator to the master effects.
This can be set only when Bus (IFX/Output) Select is
either L/R or Off.
If Bus (IFX/Output) Select is set to IFX1–5, the send
level to the master effects is set by Send1 and Send2
(Insert FX Setup page) after the signal passes through
the insert effects.
4. FX Ctrl sends the oscillator 1 and 2 output to the
FX Control bus. Use this if you want the audio
input to the effect to be controlled by a different
sound.
You can use the two FX Control buses to control effects
freely. For details, please see “FX Control Buses” on
page 274 of the Parameter Guide.
Insert effects
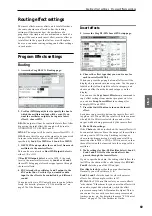
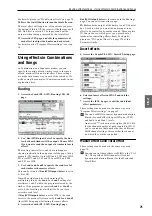
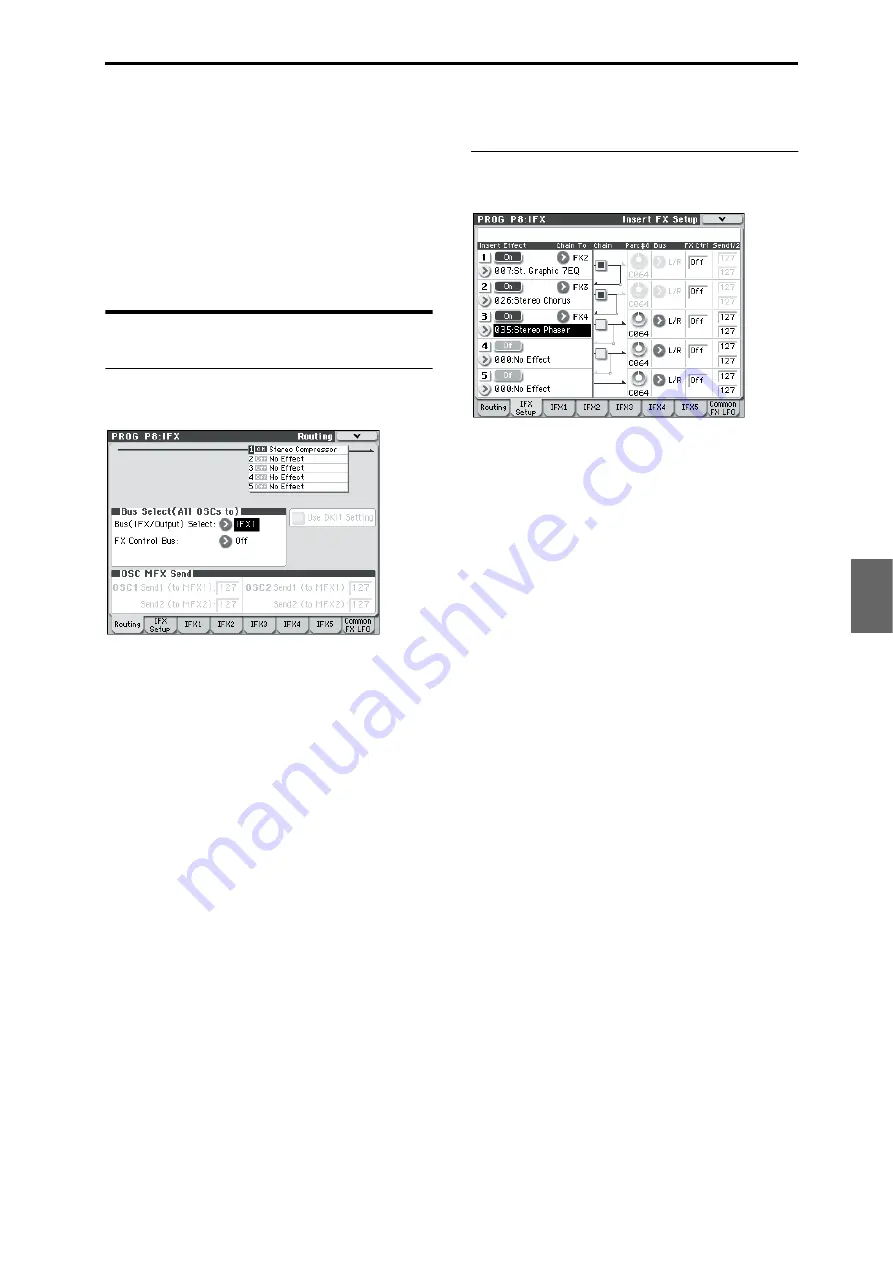
5. Access the Prog P8: IFX– Insert FX Setup page.
6. Choose the effect type that you want to use for
each insert effect IFX1–5.
When you press the popup button, all effects will be
displayed, organized into ten categories. Use the pages
located at the left and right to select a category, and
choose an effect from the desired category on the
display.
You can use the Copy Insert Effect menu command to
copy effect settings from another program etc. Also,
you can use Swap Insert Effect to exchange (for
example) IFX1 and IFX5.
7. Press the On/Off button to turn on the insert
effect.
Each time you press this button, the insert effect will
toggle on/off. When Off, the result will be the same as
when 000: No Effect is selected; the sound will be
output without being processed by the insert effect.
8. Make Chain settings.
If the Chain check box is checked, the insert effect will
be connected in series. Since the output of the oscillator
is being sent to IFX1 in step 2, making settings as
shown in the diagram step 6 would connect all five
insertion effects IFX1
→
IFX2
→
IFX3 in series, so that
these effects would be inserted into the output of the
oscillator.
9. Make settings for Pan: #8
, Bus (Bus Select), Send 1,
Send 2 and FX Ctrl for the sound after it has
passed through the insert effects.
If you’ve specified a chain, the settings that follow the
last IFX in the chain will be valid (except for FX Ctrl).
Pan: #8:
Sets the pan of the IFX output.
Bus (Bus Select):
Specifies the output destination.
Normally you will set this to L/R.
Send 1, Send 2:
Sets the send levels to the master
effects. For this example, set this to 127.
FX Ctrl:
The FX Control Buses lets you create effects
“sidechains.” Sidechains let you control an effect with
one audio signal (the sidechain), while the effect
processes a completely different audio signal. This is
convenient for use with vocoders, compressors and
limiters, gates, etc. For details, please see “FX Control
Buses” on page 274 of the Parameter Guide.
Summary of Contents for EASYSTART M50
Page 1: ...3 E Owner s Manual ...
Page 84: ...Arpeggiator function 78 ...
Page 88: ...Drum Track function 82 ...

