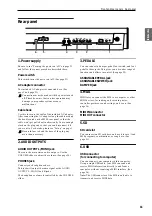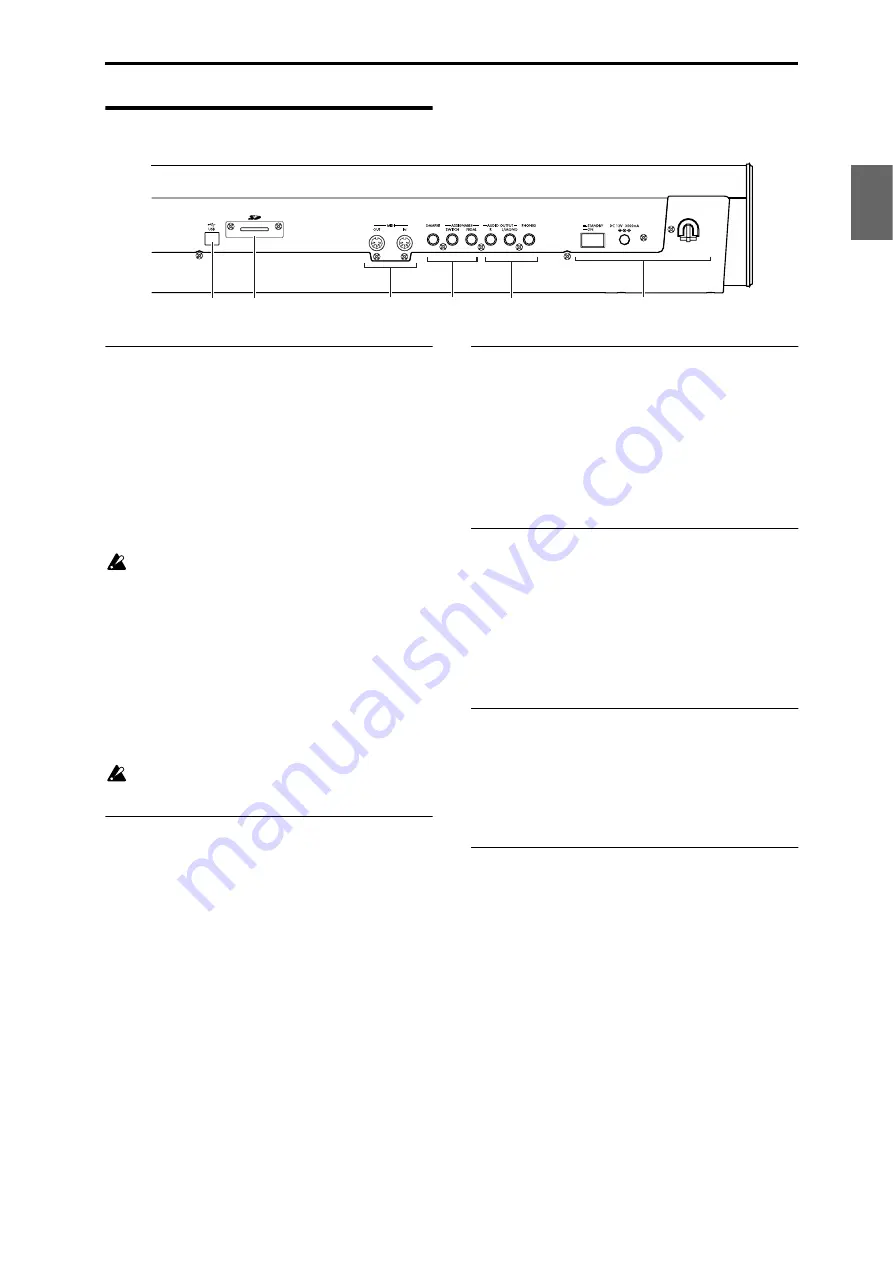
Front and rear panels Rear panel
11
Introduction
Program
Combination
Sequencer
Effect
Arpeggio
Drum Track
Global
Media
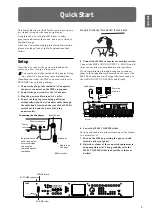
Rear panel
1. Power supply
Be sure to see “Turning the power on/off” on page 23
and follow the correct procedure described there.
Power switch
This switch turns the power on/off. (See page 23)
AC adapter connector
The included AC adapter is connected here. (See
page 1 and page 23)
Connections must be made with the power turned
off. Please be aware that careless operation may
damage your speaker system or cause
malfunctions.
Cable hook
Use this to secure the cable of the included AC adapter.
After connecting the AC adapter, loop the cable around
the hook located on the M50’s rear panel so that the
cable won’t get pulled out inadvertently. Leave enough
slack on the plug end so that you can disconnect it if
you want to. For details, please see “Setup” on page 1.
Be careful not to bend the base of the plug any
more than necessary.
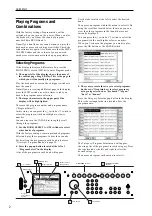
2. AUDIO OUTPUTS
AUDIO OUTPUT L/MONO
jack
These are the main stereo audio outputs. Use the
VOLUME slider to adjust the volume. (See page 24)
PHONES jack
Connect your headphones here.
This jack will output the same signal as the AUDIO
OUTPUT L/MONO and R jacks.
The headphone volume is controlled by the VOLUME
slider.
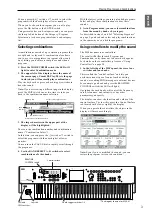
3. PEDALS
You can connect a damper pedal, foot switch, and foot
pedal to these jacks. This gives you a broader range of
functions and effects to control. (See page 25)
ASSIGNABLE PEDAL jack
ASSIGNABLE SWITCH jack
DAMPER jack
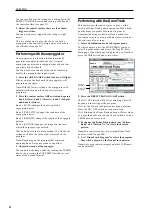
4. MIDI
MIDI lets you connect the M50 to a computer or other
MIDI devices, for sending and receiving notes,
controller gestures, sound settings, and so on. (See
page 26)
MIDI IN connector
MIDI OUT connector
5. SD
SD card slot
You can insert an SD card here, and use it to save/load
M50 programs, combinations, or song data. (See
page 91)
6. USB
USB connector
(for connecting to computer)
You can connect your computer to this connector.
Using a single USB cable, your M50 can send and
receive MIDI information directly to and from a
computer, without requiring a MIDI interface. (See
page 26)
Note:
The USB connector of the M50 is only able to
transmit and receive MIDI data.
1
2
3
4
5
6
Summary of Contents for EASYSTART M50
Page 1: ...3 E Owner s Manual ...
Page 84: ...Arpeggiator function 78 ...
Page 88: ...Drum Track function 82 ...

