background image

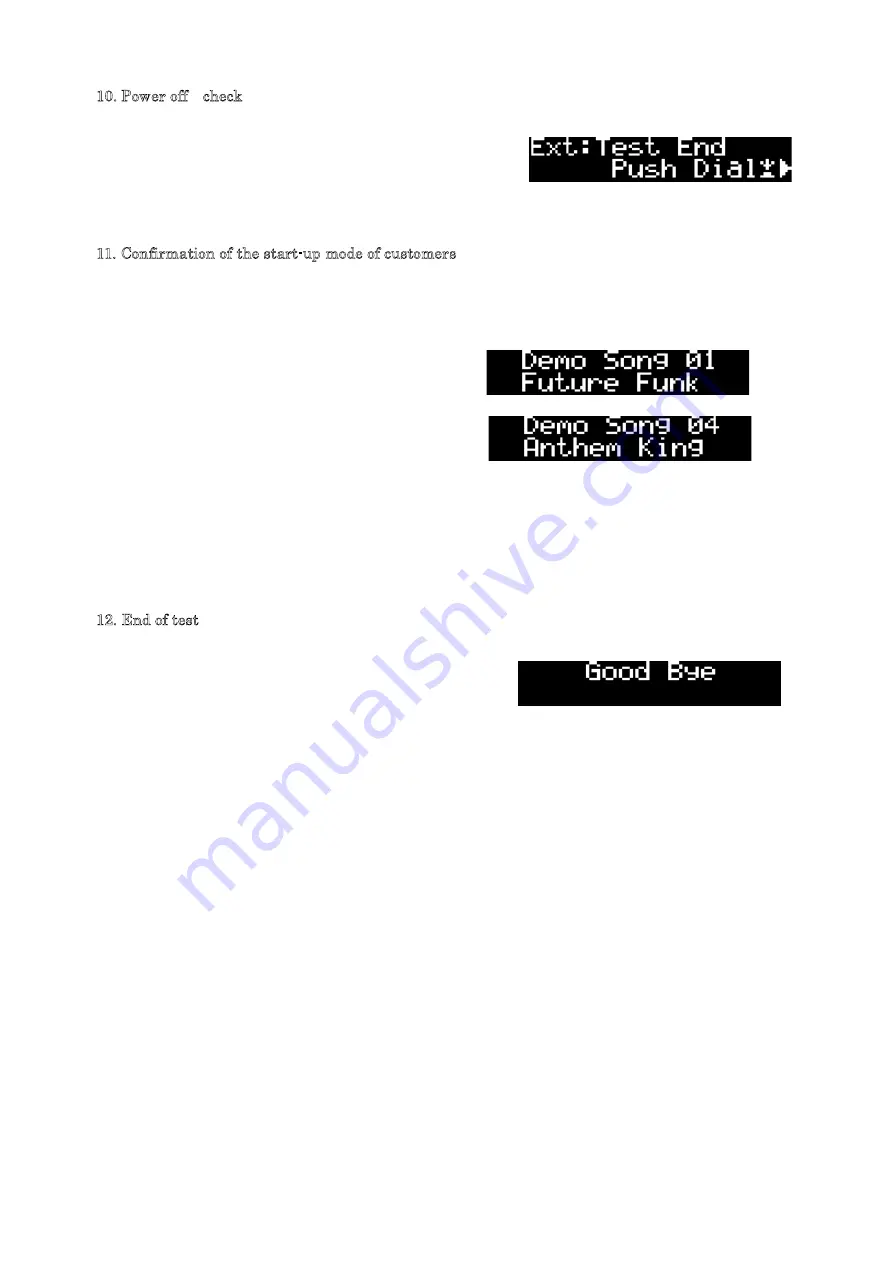
10. Power off check

It appears as of right on the main display.
Make sure that the power is turned off by pressing

the [VAL UE] dial.

If the power is not turned off, please do the repair.

11. Confirmation of the start-up mode of customer s

Turn on again the power by pressing more than 1 second the power switch.
Turn the [VOL UM E] to the fully clockwise.
Push [SHIFT/EXI T] button and [SYNTH] simultaneously.
It appears as of right on the main display.

Play demo song by pushing [BRASS] button.
It appears as of right on the main display.

Check the sound through headphones or amplifier and speaker s, make sure that there are

no problems with sound output.

Turn the [VOL UM E] to the fully counterclockwise.

12. End of test

Turn off the power by pressing more than 1 second the power switch.
Make sure that "Good Bye" is displayed as shown

on the right.

Remove the cable, and finish the work.

7

9

17

21

20

19

5

Summary of Contents for KingKORG

Page 1: ...ES SI IZ ZE ER R K Ki in ng gK KO OR RG G S SE ER RV VI IC CE E M MA AN NU UA AL L TABLE OF CONTENTS ASSEMBLY SKETCH HOOKUP 2 BLOCK DIAGRAM 3 SCHEMATIC DIAGRAM 4 TEST MODE 13 PARTS LIST 29 Issued May...

Page 2: ......

Page 3: ......

Page 4: ......

Page 5: ......

Page 6: ...DSPCORE CPUCORE...

Page 7: ......

Page 8: ......

Page 9: ......

Page 10: ......

Page 11: ......

Page 12: ......

Page 13: ...KingKORG Test mode Setting Connecting cable MonoPhone L R XLRmale miniStereoPhone XLRmale Cable for the CV GATE measurement KA310 PC for USB check Digtal Multi Meter MIRROR DP 1H EXP 2...

Page 14: ...with the holes in the jack Confirm that there is no tilt and float volume LED jack switch etc Confirm that it is not too narrow and not too wide gap between the keyboard Confirm that there is no extr...

Page 15: ...hile holding down the 3 switches FAVORITES PAGE and STRINGS 2 Checking the system version Version of the main system is displayed on the main display Left photo below Version of the panel system is di...

Page 16: ...5 Flash PCM 15 Pnl C ChkSum 6 Flash Wr Rd 16 Pnl R ChkSum Simultaneously press the VALUE dial and PROGRAM the test items will be displayed on the top line of the LCD When you press the PAGE or PAGE y...

Page 17: ...owing table shows the standard voltage Lower limit Reference value Upper limit Unit 0 000 0 000 0 500 V After confirming press the VALUE dial proceed to the next inspection The main display is display...

Page 18: ...n white from a hole in the R printed characters KORG of the rear 2 Be lit through the reflector 3 Other LED is lit in red 4 There is no variation in brightness 5 Shift of the hole in the bottom case a...

Page 19: ...o the switch will be lit Press the switch after confirming the lighting note Switch other than the test object is pressed LED will blink all Method B LED without switch and LED color Lighting or color...

Page 20: ...one rotation adjust the position of the knob Press the knob to reset the counter Make one rotation clockwise Check counter value is 12 or 30 Note The clicks value of knobs are shown in the table on p...

Page 21: ...below Inspection method and operator Numbers in the above figure Method Note 1 C 2 C 3 C 4 A Push BOOST button 5 A Push BOOST button 6 A 7 C 8 C 9 6 LED in blue circle B Push number 11 encoder 10 2 LE...

Page 22: ...below Numbers in the above figure Method Note 1 A 2 A 3 A 4 A 5 A no LED Only switch confirmation 6 A no LED Only switch confirmation 7 A 8 A 9 A 10 A 11 A 12 A 13 A 14 A 15 A 16 A 17 A 18 A 19 A Pus...

Page 23: ...UE dial 3 B Push VALUE dial 4 C 5 C 6 C 7 C 8 A 9 C 10 C 11 A 12 A 13 B Two places confirmation LED 14 B Two places confirmation LED 15 A 16 C 17 C 18 C 19 C 20 C 21 C 22 Push VALUE dial 7 8 12 11 10...

Page 24: ...with it finished to knock down JOYSTIC One rotation is made by left turning with it finished to knock down JOYSTIC Release JOYSTIC after knocking down to the left end and it returns it to the center...

Page 25: ...operated LED blinks It is possible to retry it by pushing SHIFT EXIT button 6 3 JOYSTI CH Y LED Make sure that the LED on the JOYSTICK ambient light four points 1 to 4 Proceed to the next test by pres...

Page 26: ...Phone cable after displaying right picture Start the test by pressing the VALUE dial If successful it will appear as shown on the right 8 2 MIC HEADPHONE check Connect MIC INPUT and HEADPHONE with the...

Page 27: ...release 1 key Keep pushing 2 key and push 3 key In the same way Keep pushing 3 key and release 2 key Keep pushing 3 key and push 4 key note Selected key number is incorrect or keyboard is defect if fo...

Page 28: ...wise Push SHIFT EXIT button and SYNTH simultaneously It appears as of right on the main display Play demo song by pushing BRASS button It appears as of right on the main display Check the sound throug...

Page 29: ...1 510320511051 VOLUME IC NJU72342V TE2 JZZH KLM 3137 JACK TOP IC9 1 510320535003 A D Converter AK5358BET E2 KLM 3137 JACK TOP IC15 1 510324038010 D A Converter AK4384ET E2 KLM 3137 JACK TOP IC18 IC21...

Page 30: ...3139 41 45 52 1 510450524506 PHONE JACK LJE0371 4P KLM 3230 31 32 TOP PH1 1 510312511512 Chip LED KPT 1608SURCK KORG KLM 3230 31 32 TOP LED1 6 6 510374520027 TACT SW SKRGARD010 KLM 3230 31 32 TOP SW1...

Page 31: ...ing 5 510646502380 X 11100 KNOB S KOC E30624 Mechanical Packing 21 510646501110 11110REAR LED REFLECTOR E40843 Mechanical Packing 1 510646502163 X 6140 PSW KNOB KOC E40774 Mechanical Packing 1 5106465...

Reviews: