Sequencer mode
202
Erase Control Data
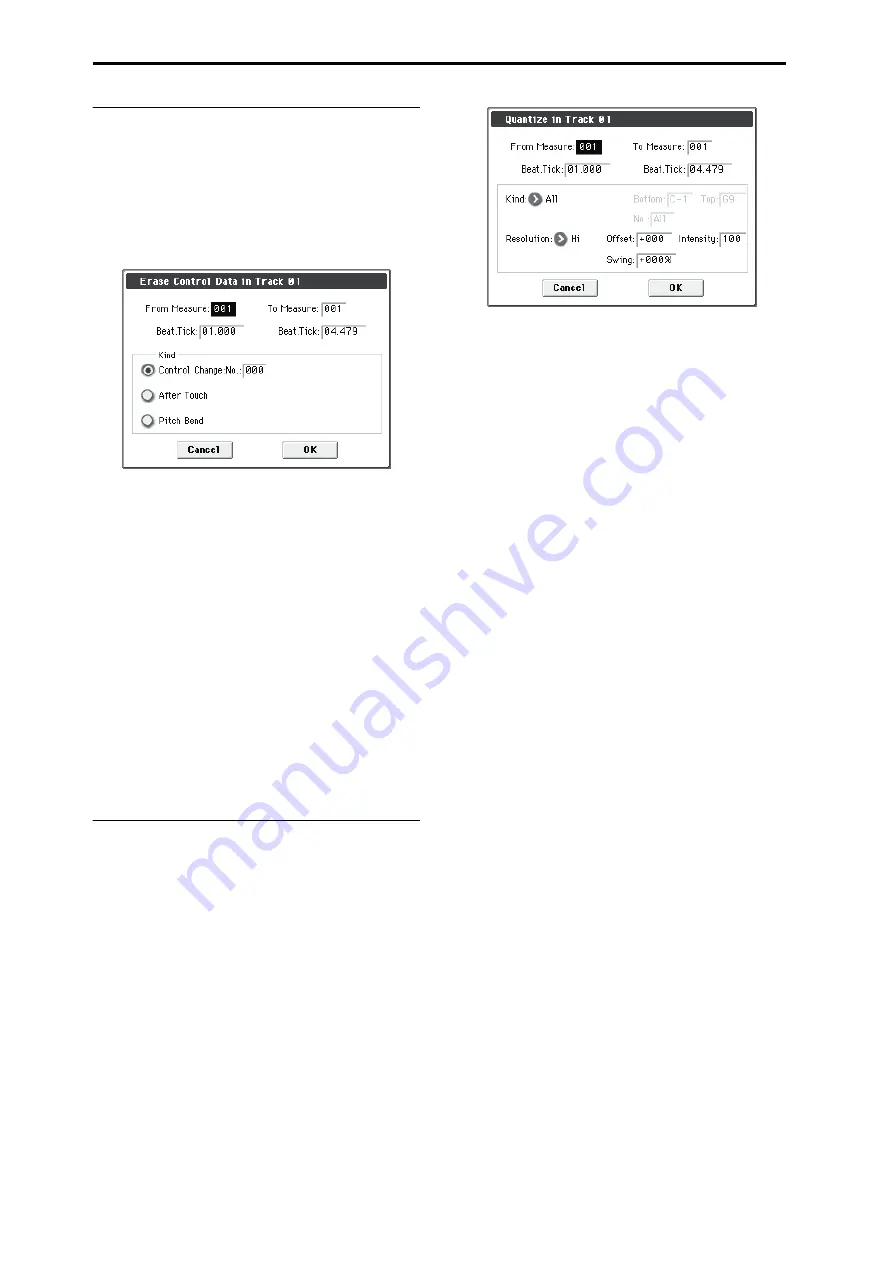
This command erases data such as control changes, after
touch, pitch bend, or tempo in the specified range.
1. In Track Select, select the track from which you wish to
erase control data.
If you wish to erase tempo data, select
Master Track
. In this
case, the
Kind
item in step 4 will be
Tempo
.
2. Select “Erase Ctrl Data” to open the dialog box.
3. Specify the range from which you wish to erase control
data.
In
From Measure
to
To End of Measure
specify the
measures, and in
Beat.Tick
specify the beat and clock. (By
default,
From Measure
and
To End of Measure
will be the
range that was specified in the Track Edit page.)
4. Set “Kind” to the type of musical data (event) that you
wish to erase.
Control change:
Control change data will be erased. In this
case, use “#” to specify the control change number.
After Touch:
Aftertouch data will be erased.
Pitch Bend:
Pitch bend data will be erased.
Tempo:
Tempo data will be erased. (If you’ve selected the
master track)
Note:
If you wish to erase all control change data from
specified measures, you can also use
Erase Measure
and set
Kind
to
Control Change
. However, this
Erase Control Data
command allows you to specify the range using
Beat.Tick
,
and also to erase only specific types of control change data.
Quantize
This command corrects the timing of MIDI data of the type
you specify (note data, control change, aftertouch, pitch
bend, program change, etc.) in the track.
When you execute the Quantize operation, the musical data
will be affected as follows:
• When you execute Quantize on note data, the timing of
the note-on will be corrected, but the length (duration of
the note) will not be affected.
• If the Quantize resolution is set to
Hi
, the timing will be
adjusted to units of the base resolution (
/480), so note
data will not be affected. However, continuous
controller data such as joystick or after touch which
occupies a large amount of memory will be processed so
that two or more data events of an identical type existing
at a single interval of the timing resolution will be
combined into a single event, thus conserving memory.
Similarly, two or more identical data events existing at the
exact same time will be combined into one, also conserving
memory.
1. In Track Select, specify the track.
2. Select “Quantize” to open the dialog box.
3. Specify the range that will be quantized.
In
From Measure
and
To End of Measure
, specify the
measures. In
Beat.Tick
specify the beat and clock. (By
default,
From Measure
and
To End of Measure
will be the
range that you specified in the Track Edit page.)
4. In Kind, select the type of musical data (events) that
you wish to quantize.
All:
Quantization will be applied to all performance MIDI
data.
Note:
Quantization will be applied only to note data. Use
Bottom
and
Top
to specify the range of notes.
Bottom
specifies the lowest note that will be affected, and
Top
specifies the highest note. You can use this when you want
to quantize only a specific note or notes (for example, just
the snare sounds of a drum track). If you want to quantize
all notes, set these parameters
C–1
and
G9
respectively.
Control Change:
Quantization will be applied to control
changes. If you want to quantize only a specific control
change, specify the number (“
No.
”). If you want to quantize
all control changes, select
All
.
After Touch:
Quantize both Channel Pressure and
Polyphonic Key Pressure messages.
Pitch Bend:
Pitch bend data will be quantized.
Program Change:
Program change data will be quantized.
5. In Resolution, specify the timing resolution to which
the data will be corrected.
By setting a lower resolution you can save more memory,
but the timing of the playback may not be acceptable.
6. In Offset, specify the number of clock ticks by which
the data will be moved forward or backward relative to
the standard timing.
A setting of
240
will be
, and
120
will be
. Positive (+)
settings will adjust the data forward, and negative (–)
settings will adjust the data backward. This allows you to
simulate “pushing” or “dragging” the beat.
7. In Intensity, specify the degree of sensitivity to which
the timing will be corrected; i.e., how close to the loca-
tions specified by steps 5 and 6 the data will be moved.
With a setting of
0
, no correction will take place. With a
setting of
100
, the data will be moved all the way to the
timing intervals specified by steps 5 and 6.
8. Use Swing to add a sense of swing to the rhythm. For
example, this provides an easy way to give a slight
shuffle groove to a “square” 16-beat rhythm.
Settings other than 0% will add a sense of swing by
adjusting the position of the notes at even-numbered beats
relative to the specified
Resolution
. With a setting of
+100%
,
these notes will be moved one third of the way toward
intervals of the specified
Resolution
. With a setting of
+300%
, notes of even-numbered beats will be moved all the
way to the next even-numbered beat.
* By varying the
Offset
and
Intensity
settings you can
create quantize effects such as the following.
Summary of Contents for M50-73
Page 1: ...2 E Parameter Guide ...
Page 86: ...Program mode 78 ...
Page 132: ...Combination mode 124 ...
Page 222: ...Sequencer mode 214 ...
Page 297: ...Effect Mixer Block Diagrams Main Outputs 289 ...
Page 418: ...Appendices 410 ...


