150
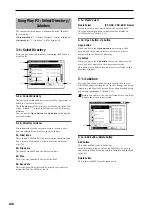
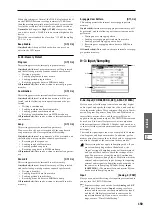
If tracks 1–16 to which arpeggiator A or B are assigned
have a track “Status” (1–1a/2a) of either INT or BTH,
they will be played by note data generated by the
arpeggiator regardless of the “Ch” (0–1b) setting of
each track. In the case of BTH or EXT, MIDI note data
will be transmitted on the “Ch” of each track. In this
case, arpeggiator A or B can be triggered by any MIDI
channel specified by the “Ch” of a track 1–16 to which
arpeggiator A or B is assigned. For example if arpeggia-
tor A is assigned to tracks 1 and 2, the arpeggiator will
be triggered by both MIDI channels 1 and 2.
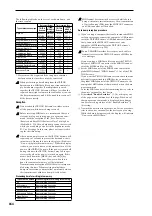
If (“Local Control On” Global P1: 1–1a) is set to off, the
arpeggiator will not be triggered by note data from the
keyboard. The arpeggiator will be triggered only by
note data from MIDI IN.
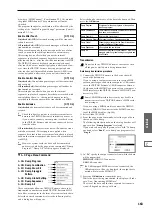
Example 1)
Here’s how you can use “Play (Track Select)” (0–1a) to
switch between tracks 1 and 2 to use different arpeggia-
tors for each track, in synchronization with SMF play-
back.
For tracks 1 and 2, set “Status” (1–1a/2a) to INT. Assign
arpeggiator A to track 1, arpeggiator B to track 2, and
check “Arpeggiator Run A, B” (7–1a).
For “Play (Track Select),” select Track01.
If the ARPEGGIATOR [ON/OFF] key is off, playing the
keyboard will cause track 1 to sound.
When you turn on the ARPEGGIATOR [ON/OFF] key,
arpeggiator A will run, and track 1 will be sounded by
the arpeggiator.
Use “Play (Track Select)” to select Track 02.
Arpeggiator B will run, and track 2 will be sounded by
the arpeggiator.
Arpeggiator Run A, B
When the ARPEGGIATOR [ON/OFF] key is on, the arpeg-
giator(s) you check here will operate for the tracks to which
they have been assigned. When the arpeggiator key is on, A
and B can be turned on/off independently.
▼
7–1: Page Menu Command
7–1A: Copy Arpeggiator
This command copies arpeggiator settings.
☞
Combination P7: 7–1A: Copy Arpeggiator.
7–3: Arpegg. A
(Arpeggiator A)
7–4: Arpegg. B
(Arpeggiator B)
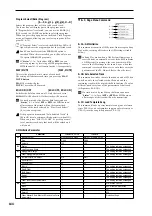
In the Arpegg. A page you can make settings for arpeggiator
A, and in the Arpegg. B page you can make settings for
arpeggiator B.
You can also use the “Copy Arpeggiator” page menu
command to copy settings from another mode, such as
Program mode.
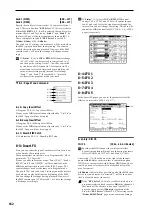
7–3(4)a: Arpeggiator–A(B) Setup
Pattern
[P000...P004, U000(A/B)...U506(User)]
Octave
[1, 2, 3, 4]
Resolution
[
,
,
,
,
,
]
Gate
[000...100(%), Step]
Velocity
[001...127, Key, Step]
Swing
[–100...+100(%)]
Sort
[Off, On]
Latch
[Off, On]
Key Sync.
[Off, On]
Keyboard
[Off, On]
These are the arpeggiator parameters for the Song Play
mode (
☞
“Program P7: 7–1: Arpeg. Setup”).
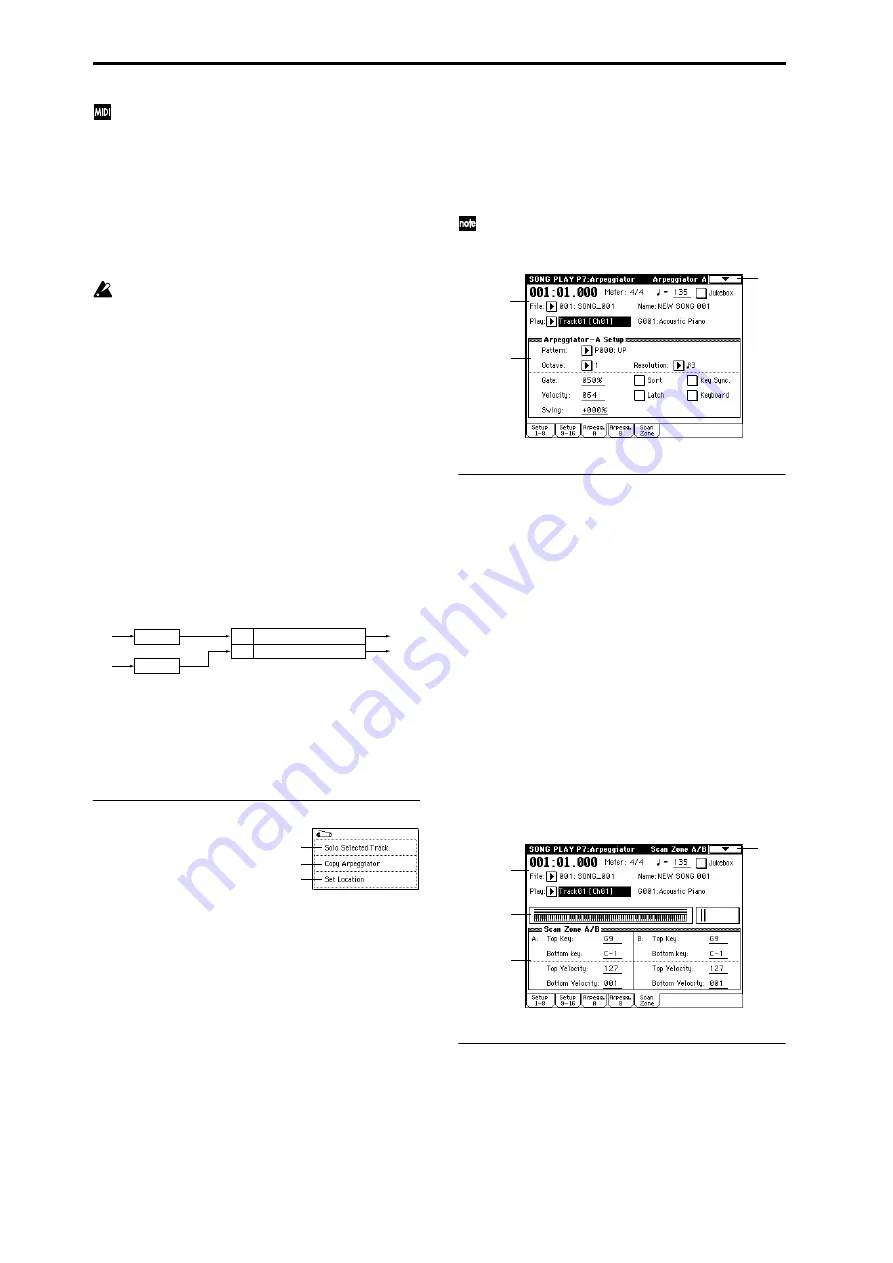
7–5: Scan Zone
(Scan Zone A/B)
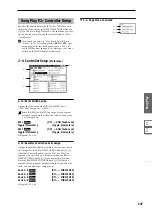
Here you can specify the range of notes and velocities that
will control each arpeggiator A and B.
7–5a: Zone Map
This area displays the “Scan Zone” area for each arpeggiator
A and B (
☞
Combination “Zone Map” 7–4a).
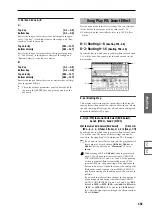
Track 2 MIDI Ch=2ch Status=INT
Arpeggiator
A
Arpeggiator
B
Arpeggiator
Assign
A
B
Pattern - A
Pattern - B
Pattern - A
Pattern - B
Trigger
= Ch1
(Play Track=Track1)
Trigger
= Ch2
(Play Track=Track2)
Track1 MIDI Ch=1ch Status=INT
0–1B
7–1A
0–1E
0–1a
7–1
7–3a
7–1
7–5a
7–5b
0–1a
Summary of Contents for TRITON Extreme
Page 1: ...2 E ...
Page 11: ...xii ...
Page 111: ...100 9 5 Page Menu Command 0 1A 0 1I 0 1J Program 9 5A ...
Page 185: ...174 ...
Page 215: ...204 ...
Page 281: ...270 ...
Page 349: ...338 ...
Page 350: ...339 ...
Page 351: ...340 ...
Page 352: ...341 ...
Page 353: ...342 ...


