181
0-7
0-1
0-2
0-3
0-4
0-5
0-6
Media
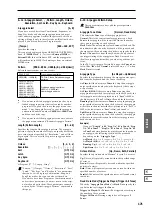
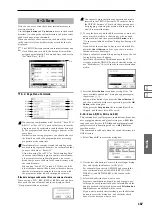
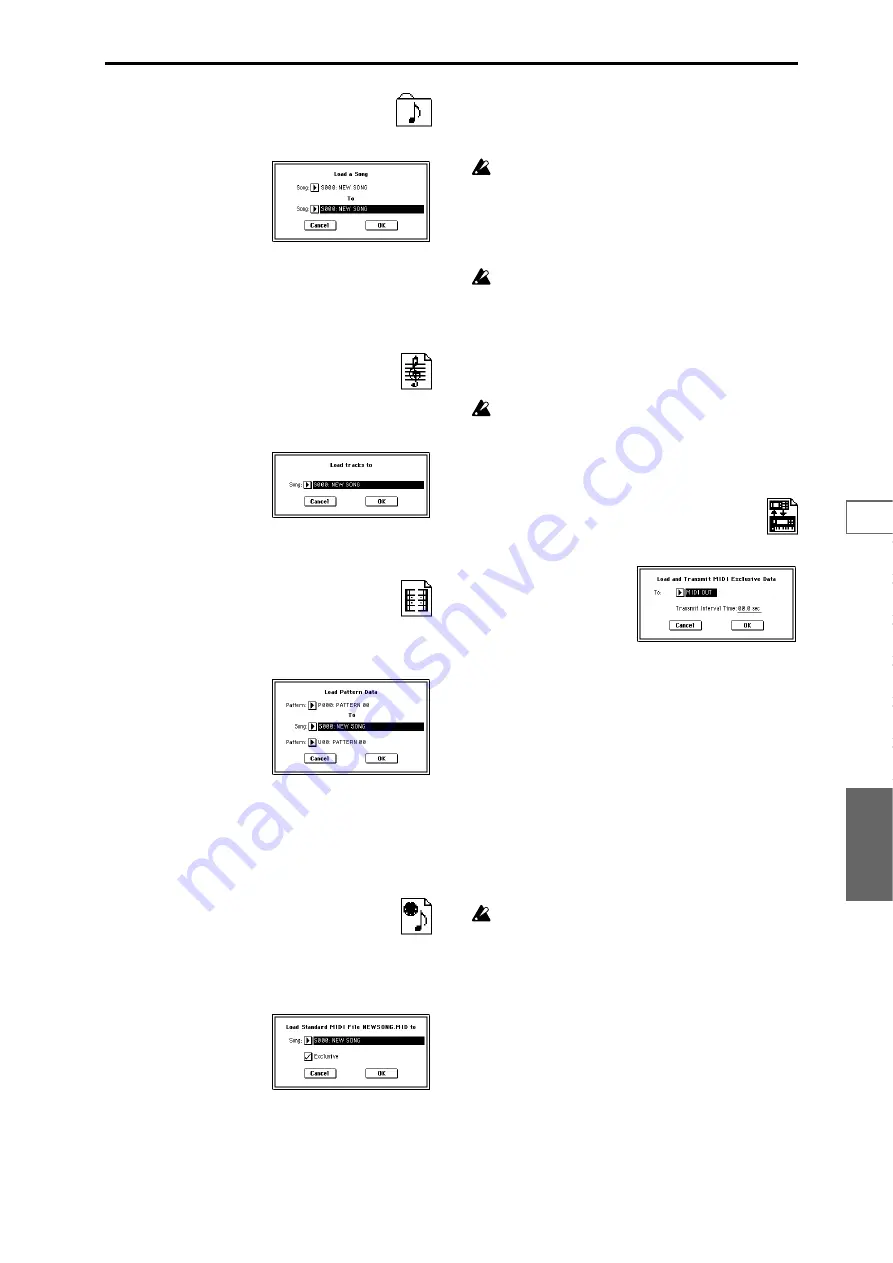
17) Load a Song:
selected icon
Data for the selected song will be loaded into the song num-
ber you specified as the load destination.
1
If you wish to load a song other than the selected song,
use “Song” (upper line) to re-select the song to be loaded.
2
In “To Song” (lower line), select the loading destination
song.
3
To load the data, press the OK button. To cancel without
loading, press the Cancel button.
18) Load Tracks:
selected icon
The event data of all tracks in the selected song will be
loaded into the song you specify as the loading destination.
However, it is not possible to specify an uncreated song as
the loading destination.
1
In “Song,” specify the loading destination song.
2
To load the data, press the OK button. To cancel without
loading, press the Cancel button.
19) Load Pattern Data:
selected icon
The selected user pattern will be loaded into a user pattern
of the selected loading destination song. However, it is not
possible to specify an uncreated song as the loading destina-
tion.
1
If you wish to load a user pattern other than the one
already selected, use “Pattern” (upper line) to re-select
the user pattern that you wish to load.
2
In “To Song” and “Pattern” (lower line), select the load-
ing destination song and user pattern.
3
To load the data, press the OK button. To cancel without
loading, press the Cancel button.
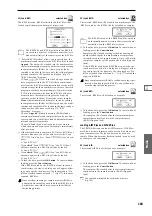
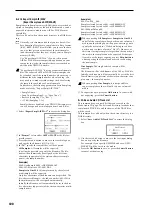
20) Load Standard MIDI File:
selected icon
The selected Standard MIDI File will be loaded into the song
number you select as the loading destination.
If you have selected an undefined file, it will be considered
to be a Standard MIDI File, and will be loaded into the song
you specify as the loading destination.
1
In “Song,” select the loading destination song.
2
If you turn “Exclusive” Off (unchecked), any system
exclusive messages or universal exclusive messages
included in the SMF data will not be loaded.
If this is On (checked), system exclusive messages and
universal exclusive messages included in the SMF data
will be loaded as exclusive events.
The TRITON Extreme does not support all of the GS/
XG sound maps or messages. Depending on the content
of the data, it may not play back correctly, but the data
itself will be maintained if “Exclusive” is On (checked).
3
To load the data, press the OK button. To cancel without
loading, press the Cancel button.
If you select an undefined file and choose “Load
selected,” the file will be assumed to be a Standard
MIDI File, and the “Load Standard MIDI File” dialog
box will appear. When you execute loading, the file will
be loaded into the song that was specified as the load-
ing destination. However if the file format is inappro-
priate, the operation will be invalid and an error
message will be displayed.
The program bank and program numbers loaded into
the song will follow the “Bank Map (Global P0: 0–2a)
setting. If “Bank Map” is KORG, bank A will be
selected for bank select 00.00 (MSB.LSB). If “Bank Map”
is GM(2), bank G will be selected.
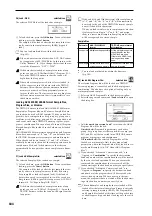
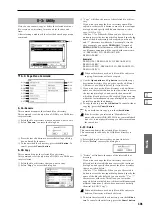
21) Load and Transmit MIDI Exclusive Data:
selected icon
All data in the .EXL file will be loaded, and transmitted from
MIDI OUT or USB B connector.
1
In “To,” specify the output connector from which the
data will be transmitted.
MIDI OUT:
MIDI OUT connector
USB:
USB B connector
2
If the .EXL file contains two or more exclusive data items,
use “Transmit Interval Time” to specify the time interval
that will be inserted between each item of exclusive data.
If you are transmitting the data to another TRITON
Extreme, the required time interval will depend on the
type of data. After transmitting all program data, you
must allow an interval of approximately 2 seconds. For
details refer to the Global mode section on Dump (
☞
Glo-
bal P1–1: Page Menu Command). For other MIDI
devices, refer to their owner’s manual.
3
To load the data, press the OK button. To cancel without
loading, press the Cancel button.
The maximum data size that can be transmitted is
1,048,576 bytes.
Summary of Contents for TRITON Extreme
Page 1: ...2 E ...
Page 11: ...xii ...
Page 111: ...100 9 5 Page Menu Command 0 1A 0 1I 0 1J Program 9 5A ...
Page 185: ...174 ...
Page 215: ...204 ...
Page 281: ...270 ...
Page 349: ...338 ...
Page 350: ...339 ...
Page 351: ...340 ...
Page 352: ...341 ...
Page 353: ...342 ...


