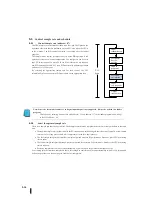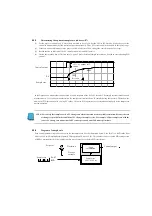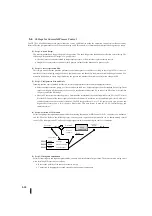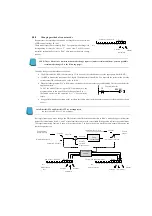
(6)
Step 6: Control Parameters
Set control parameters after wiring and installation. The easiest way to set up a control table is to use KPP. This software has
a PID configuration dialog box that simplifies the task.
(7)
Step 7: Check open loop execution
After wiring of the sensor and actuator is complete and PID control parameters are entered, the new control system must be
checked manually and carefully (using manual mode).
Check that the PV value from the sensor is correct.
If correct, gradually increase the control output by 0% or more to see if the PV is responding correctly (and whether it
is moving in the correct direction).
(8)
Step 8: PID Control Adjustment
(9)
Step 9: Executing a Process Cycle
If the PV is changing at a value less than SP in a closed-loop test, then you think you are actually running the process cycle.
You must complete the programming to create the necessary SP in real time. In this step, a machine-based product test is
performed to determine the SP changes according to the recipe.
(10)
Step 10: Saving Parameters
After completing the control test and adjustment, ensure that all PID control parameters are stored on the disk.
Note: DirectSOFT4 and DirectSOFT5 are not supported.
Be sure to use KPP Ver1. 5.0.0 or higher.
Note: It is important to understand the meaning of all PID control parameters described in this chapter before
choosing the values to be entered.
Warning
Make sure that emergency stop and power off measures are available immediately in case the process
cannot be controlled. Failure to control the process may result in equipment damage or personal injury.
Summary of Contents for Kostac SJ-Ether Series
Page 1: ...English version of the KOSTAC SJ Ether series user s manual SJ ETHER USER M...
Page 12: ......
Page 13: ...1...
Page 14: ......
Page 88: ......
Page 89: ......
Page 113: ...3 24 Note Refer to 6 3 3 Module Assembly for connections and locks between modules...
Page 153: ......
Page 156: ...flashing OFF Not sent H W RX Green flashing Receiving H W OFF Not received H W...
Page 161: ...4 8...
Page 221: ......
Page 310: ...Chapter 7 Maintenance...
Page 311: ......

