background image

KQQ MIRROR DASH CAM

Model: T36S

Detachable Split Dash Camera

User Manual

Summary of Contents for T36S

Page 1: ...KQQ MIRROR DASH CAM Model T36S Detachable Split Dash Camera User Manual ...

Page 2: ......

Page 3: ... 2 3 Precautions 2 4 Warnings 4 5 Installation and Operating 5 6 Introduction of Functions 9 7 Product Specifications 17 8 Common Issues and Trouble Shooting 17 9 About the User Manual 20 10 Warranty 21 11 Thanks 22 12 Customer Service 22 ...

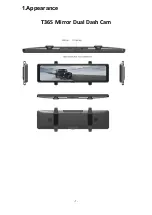
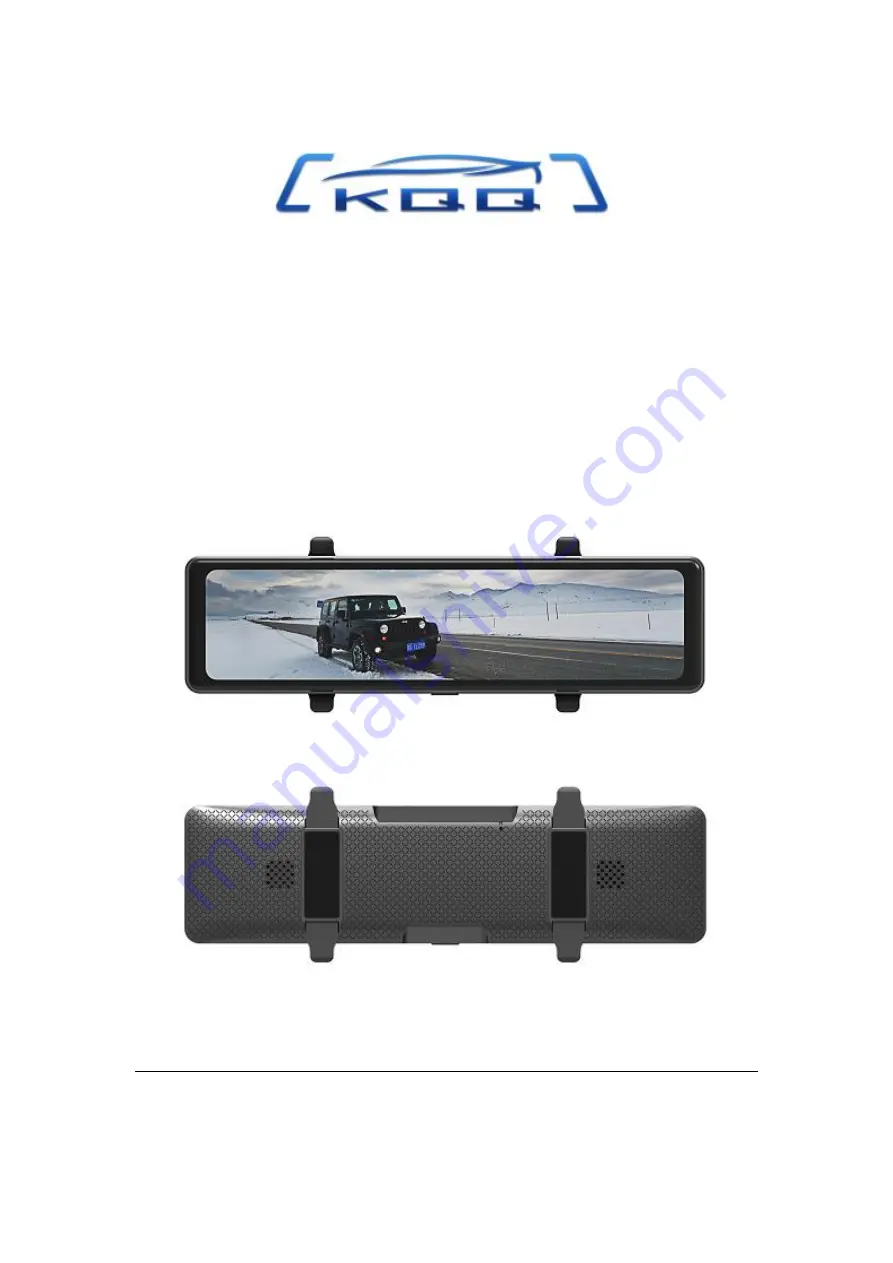
Page 4: ... 1 1 Appearance T36S Mirror Dual Dash Cam ...

Page 5: ... And more If you want to know more details about the accessories please visit the KQQ store 3 Precautions 1 Once receiving the package Please make sure the camera surface sticker and the recorder screen sticker are all torn off otherwise the sticker will affects image clarity 2 Contact us If you have any questions or want accessories replacement please Scan the QR Code to CONTACT US Email LESA_168...

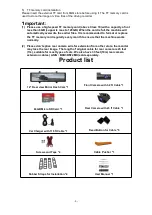
Page 6: ...the TF memory card regularly every month to ensure that the machine works normally 2 Please don t splice rear camera wire for extension from other store the monitor may lose the rear image The length of original cable for rear camera is 23 feet 7m suitable for most types of cars We also have 33 feet 10m rear camera extension cables ASIN B0B3DNT2MX sold separately Product list 12 Rear view Mirror D...

Page 7: ... the camera or attempt to change any setting while driving If it interferes with driving please do not do any of these because this may cause an accident Make sure to Pull off the main road first and only do so when it is safe 7 This camera is intended to use inside a motor vehicle Don t install it where it will block the driver s view of the road including on top of the dashboard or the deploymen...

Page 8: ... US by the QR Code Email LESA_1688 163 com 5 Installation and Operating 5 1 Notes on Installation 1 Before Installing Power on the dash cam to check whether all functions and its display can work normally 2 When Installing Please do not turn on the mirror screen until all the cameras are plugged in then the cameras can start up with a stable power voltage perfectly which is a must have installatio...

Page 9: ...ports again 5 DON T destroy or modify the original wiring without permission If cables are damaged during installation cables MUST be replaced 6 Scan the QR Code to CONTACT US 5 2 How to hide power cable inside your car s dash board Many people on YouTube already demonstrated how and where to hide power cable inside your car You can view one of the possible ways on the link this video is NOT recor...

Page 10: ...allation positions Two options Position 1 Install the rear camera near the license plate Note Position 1 is highly recommended It support rear viewing and parking assistant Installation steps for position 1 1 Run rear camera cable along from top of windshield door frame A pillar B pillar car boot and all the way to car license plate and hide the cable behind car rubber seals 2 Find a suitable inst...

Page 11: ...oor frame and all the way to passenger side glove box Hide the cable behind car rubber seal on edge Then plug car charger into vehicle s cigarette lighter and dash cam power port 1 Hard wire Kit Optional to install NOTE Hard wire kit needs to be purchased separately not included in the package As shown in figure run cable along from the top of front windshield door frame A pillar and all the way t...

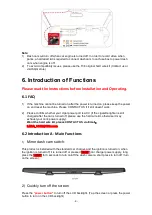
Page 12: ...ase confirm whether your cigar power port is ACC if the cigarette lighter is still charged after the car is turned off please use the hard wire kit otherwise it may exhaust your car s power supply Want the hard wire kit please CONTACT US via Email LESA_1688 163 com 6 2 Introduction A Main Functions 1 Mirror dash cam switch This product is installed with the standard car charger and the ignition is...

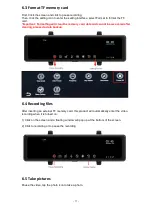
Page 13: ...mation of the Micro SD card facing towards the front of the Mirror Side Then insert the memory card halfway in Then use the fingernail or a paper clip to push the card all the way inward until it clicks and locks in place 2 TO REMOVE To remove the Micro SD card gently push its edge inward until it clicks and then pops out then simply pull it out of the slot 3 NOTE If you experience camera FREEZING...

Page 14: ...mory card data and cannot be recovered after clearing please do data backup 6 4 Recording files After inserting an external TF memory card this product will automatically enter the video recording when it is turned on 1 Click on the screen and a floating window will pop up at the bottom of the screen 2 Click to recording or to pause the recording 6 5 Take pictures Pause the video tap the photo ico...

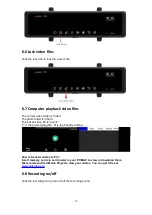
Page 15: ...oto The locked video file is event F is the prerecording file R is the Post Recording How to transfer videos to PC Insert memory card via card reader to your PC MAC to view or download them We recommend VLC Media Player to view your videos You can get it free at www videolan org 6 8 Recording on off Click the recording icon to turn on off the recording sound ...

Page 16: ...ing Tap the camera switch icon or swipe the screen to the right 6 11 Parking Monitoring This function requires a dedicated power cord to be installed Requires separate purchase of hardwired cables After the vehicle is turned off and stationary when the body vibrates to a certain extent due to the collision The driving recorder will automatically start recording and lock the video ...

Page 17: ...n B More Function Settings Click to enter setup menu to see more setting applications Tap any functions you need to set up to start setting 6 14 Resolution 2 5K 2560x1440P 1080P 1920X1080P Please select 2 5K 2560x1440P in the setting for the best front camera vision 6 15 Loop Recording 1Min 3Min 5Min Select to record and archive video in segment of 1 3 5 minutes Loop recording automatically overwr...

Page 18: ... to turn on or turn off the parking monitoring mode Note Hard wire kit is needed to connect dash cam to car battery to power the dash cam when the engine is off 6 19 Date Watermark On Off Turn on to stamp recording date and time on footage to remain accurate evidence for accident 6 20 Car OSD On Off Modify Input and save your car license plate number You can choose whether to stamp it on footage f...

Page 19: ...nguages and you can select your preferred language 6 29 Time Setting Set local date time and time zone manually Please set the actual time before using dash cam to effectively record date and time of evidence for traffic accident 6 30 Time Format 12H 24H 6 31 Date Format YY MM DD MM DD YY DD MM YY 6 32 Frequency Auto 50Hz 60Hz 6 33 Key Volume Off On Choose to open or close the voice of clicking ke...

Page 20: ... Parking Time mode at Never 1 hour 2 hours 5 hours 10 hours and 24 hours Note The Parking Time icon appears only when hard wire kit is connected Want the hard wire kit please CONTACT US via Email LESA_1688 163 com 7 Product Specifications Memory card Micro SD card 8GB 16GB 32GB 64GB 128GB Front camera resolution 2 5K 2560 1440 Rear camera 1080P 1920 1080 Video format AVI Control method Screen Touc...

Page 21: ...e torn off 2 Make sure you use the original accessories in the package such as front and rear cameras and car cigarette lighters 3 Check that all accessories are stably inserted into the rear view mirror 4 Adjust screen brightness settings Touch the touch screen to display the brightness scroll bar in the upper center and then swipe left or right to adjust the brightness 5 Factory reset 8 3 Overex...

Page 22: ... button only ONCE at the bottom of the camera with a paper clip or tip of the pen while it is turned ON This will restart the camera Other Note 1 The power cord and memory card are original 2 Take out the SD or TF card or press the power button 3 Re plug and power on 4 Check whether the socket of the charger is inserted stably 5 Format the memory card 6 Turn off the automatic shutdown mode 7 Check...

Page 23: ...d or not going in slot easy Please make sure you align the micro SD card correctly and align the side that shows information of the Micro SD card facing towards the front of the Mirror Side 8 12 The camera shows Memory Error or Please Insert Micro SD Card even though the memory card is already installed into the camera 1 Please make sure the memory card is at least Class 10 U3 and purchased from t...

Page 24: ...nd is not transferable 2 Service Repairs during warranty period shall be carried out by company authorized personal only 3 It is the responsibility of the purchaser to bring the product to the authorized service center at purchaser s cost and risk 4 The company will not be liable for any hardware and or data loss arising from the use of any third party software whether downloaded or otherwise 5 In...

Page 25: ...or to influence from external chemical products 5 hereinafter referred to as the company guarantees to the purchaser that this product carries a warranty for the period mentioned above commencing from the date of purchase 11 Thanks Thank you for purchasing your new KQQ Dash Cam We hope you find your new dash cam useful and fun to use 1 If you are having difficulties setting it up please email us a...

Page 26: ... 23 Email LESA_1688 163 com Check us out here We have professional customer service ...

Reviews: