14
7055
KRAUSMANN POWER TOOLS
4
2
1
English |
EN
Working LED light
Switching the tool ON and OFF
To switch the tool on, push the ON / OFF switch
1
.
To turn the tool off, release the ON / OFF switch
1.
CAUTION:
D
o not change the speed during operation.
5. Maintenance
For safe and proper working, always keep the
tool and ventilation slots clean.
Τhe tool may be cleaned most effectively with
compressed dry air.
Always wear safety goggles
when cleaning tools with compressed air.
C
ertain cleaning agents and solvents dam
-
age plastic parts.
Some of these are: gasoline,
carbon tetrachloride, chlorinated cleaning solvents,
ammonia and household detergents that contain
ammonia.
S
tore the tool, operating instructions and where
necessary the accessories in the original packag-
ing. In this way you will always have all the informa-
tion and parts ready to hand.
R
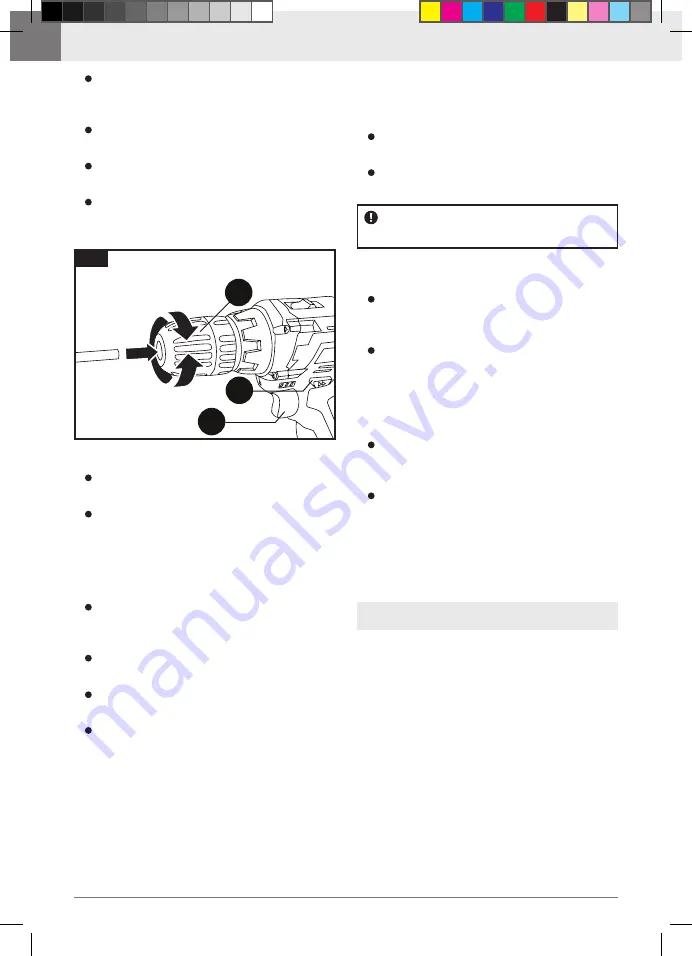
otate the front section of the drill chuck
4
to
the right to open the jaws until the tool can
be inserted.
Insert the drill bit or the tool as far as it will go
into the drill chuck.
T
o close the drill chuck, rotate the front sec-
tion to the left to close the jaws (fig 1).
Ensure that the drill bit or tool is seated
correctly and centrally as you close the drill
chuck.
Pushing the ON / OFF switch
1
will turn on
the working LED light
5
.
Leaving the operating button
1
will switch off
the working LED light
5
.
fig 1
The rotation direction of the drill chuck
4
can be
changed using the rotation direction switch
2.
This machine is fitted with a switch
8
to select two
rotation speed settings.
The battery powered drill is fitted with a torque
setting.
See below to select the appropriate rotation
speed.
When drilling into metal, wood ir plastic, the adjust-
able ring
3
should be adjusted so that the drill symbol
indicates the appropriate marking on the housing.
To change the direction of rotation, stop the
machine and turn the left / right switch
2
in
the desired direction (fig 1).
T
he central position of the left / right switch
2
locks the ON / OFF switch
1
.
Do not change the direction of rotation of the
machine when it is operating!
B
efore beginning to work, check that the
rotation direction switch
2
is in the desired
position in order to avoid potential damage
to the tool or to the battery powered drill.
The first setting sets the machine rotation
speed between 0-550 min-1.
T
he second setting sets the machine rotation
speed between 0-1400 min-1.
Rotate the ring
3
to adjust the torque. The
higher the adjustment number, the higher
the torque.
For drilling, turn the ring
3
to the drill symbol,
which will provide the highest possible
torque.
Low rotation speed (setting 1) is for drilling
into non pre-worked materials, for screwing,
mixing paints, or for drilling into ceramics.
T
he high rotation speed (setting 2) is for
drilling into metal and plastic.
Left / right motion direction
Revolutions pre-selection
Torque settings
Drilling


