11
EN
1. Connect the charging base to a suitable power
supply. The green light on the charging base will
turn on.
2. Manually dock the Mission
TM
into the charging
base while the Mission
TM
is powered off.
3. The green light on the charging base will turn to
red. Mission
TM
will begin to charge.
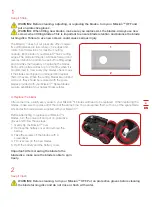
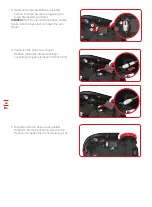
1. Gently turn your Mission
TM
upside down.
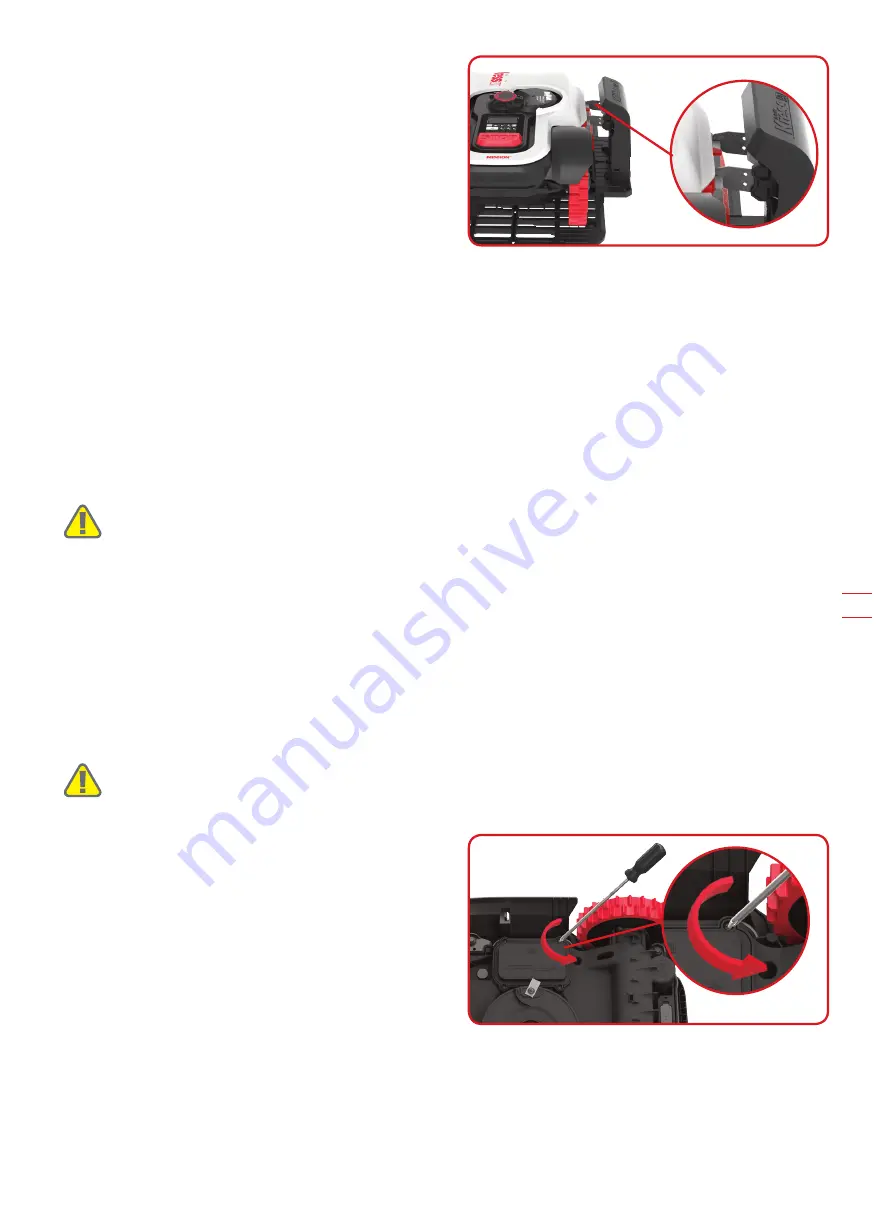
2. Remove the screws on the battery cover.
Remove the battery cover.
Mission
TM
can be charged manually without the
boundary wire.
If you need to replace the battery, follow these
steps:
Your Mission
TM
will live longer and healthier if it is allowed to hibernate. So even though it is tough, we
recommend storing your Mission
TM
in your shed or garage during the winter.
Before you prepare your Mission
TM
for winter hibernation, we recommend you:
• Thoroughly clean your Mission
TM
• Fully charge the battery
• Turn the power off
To maximize the battery life, fully charge the battery before storage during winter.
WARNING: Protect the underside of Mission
TM
from water. NEVER store Mission
TM
upside down
outdoors.
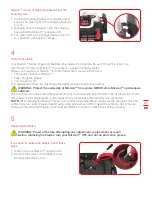
The boundary wire can be left in the ground although its ends should be protected, such as placed in a tin can
with grease. If the charging base is left outside for the winter, leave the boundary wire connected.
NOTE:
When bringing the Mission
TM
back to work after winter hibernation, make sure the charging strips and
contact pins are clean. We recommend using a fine grade emery cloth to clean the contacts. Using the app,
make sure the date and time are correct and send Mission
TM
back to what it loves doing: mowing.
Winter Hibernation
4
WARNING: Power off before attempting any adjustment, replacement or repair.
Before replacing the blades, turn your Mission
TM
OFF and put on protective gloves.
Replacing the battery
5


