9
EN
1
2
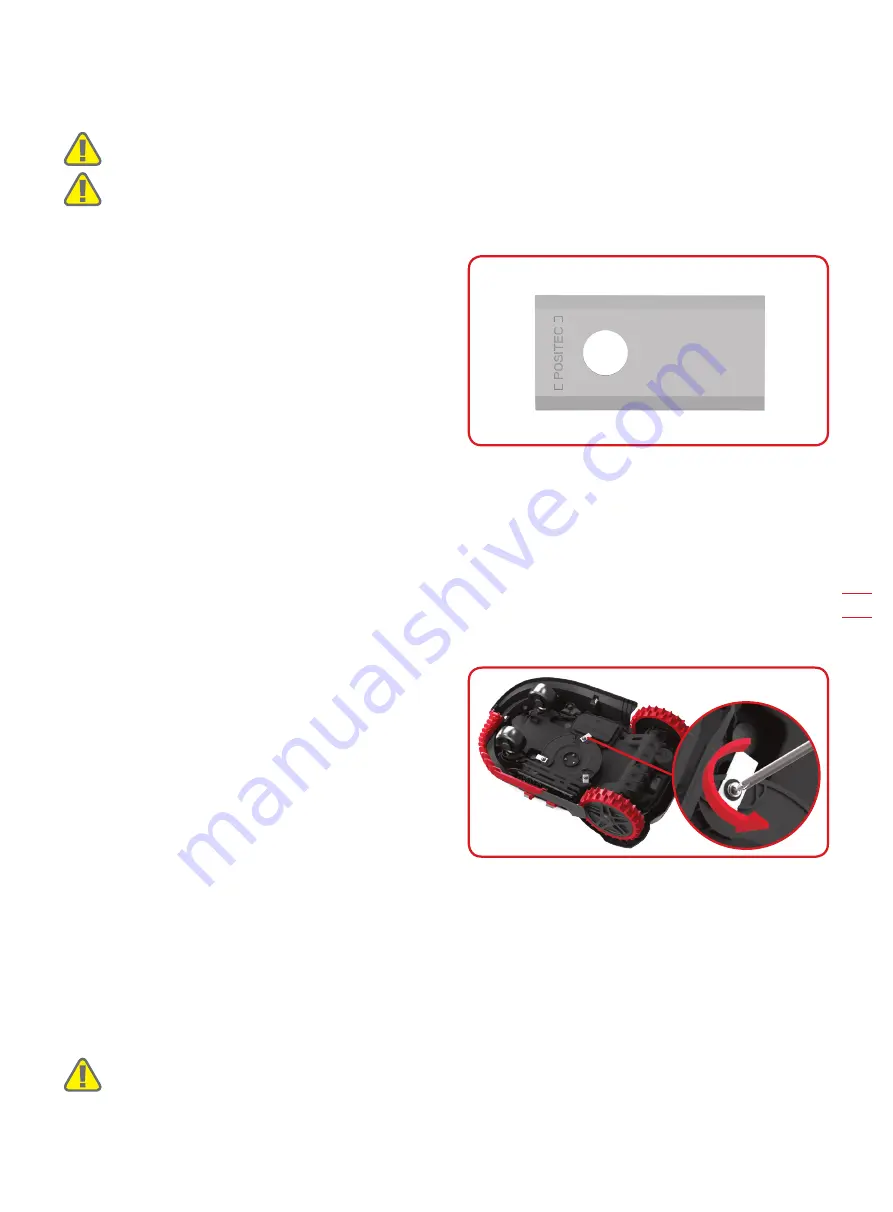
After some time, usually every season, your Mission
TM
’s blades will need to be replaced. When replacing the
blades, make sure to replace all of them at the same time. You can replace them with one of the spare blade
kits and extra blade screws supplied with your Mission
TM
.
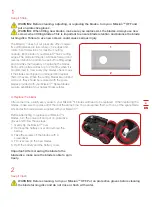
Before attempting to replace your Mission
TM
’s
blades, turn the power off and put on protective
gloves and follow these steps:
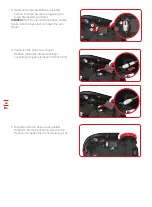
1. Gently flip the Mission
TM
over.
2. Remove the battery cover and remove the
battery.
3. Take the screws off the blades with a
screwdriver.
4. Firmly screw on the new blades.
5. Refit the battery and the battery cover.
Important: After screwing the blade to the
blade disc, make sure the blade is able to spin
freely.
A. Replace the blades
The Mission
TM
does not cut grass like other mowers.
Its cutting blades are razor sharp on 2 edges and
rotate in both directions for maximum cutting
capacity. Each blade of your Mission
TM
has 2 cutting
edges. The blade turning disc will make forward and
reverse rotation at random to use both cutting edges
and minimize the frequency of replacing the blades.
Each cutting blade will last up to 2 months when it is
programmed to mow every day. Always check to see
if the blades are chipped or damaged and replace
them if they are. When the cutting blades are dull and
worn out, they should be replaced with the spare
blades provided with your Mission
TM
. Spare blades
are also available at your nearest Kress retailer.
1
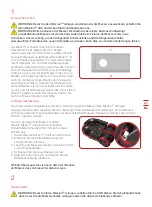
WARNING: Before cleaning, adjusting, or replacing the blades, turn your Mission
TM
OFF and
put on protective gloves.
WARNING: When fitting new blades, make sure you replace ALL the blades. Always use new
screws when fitting blades. This is important to ensure blade retention and balance the blade
turning disc. Failure to use new screws could cause serious injury.
Keep it Sharp
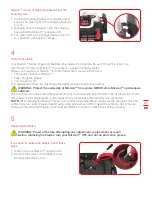
WARNING: Before cleaning, turn your Mission
TM
OFF. Put on protective gloves before cleaning
the blade turning disc and do not rinse or flush with water.
Keep it Clean
2


