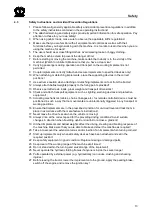
Commissioning
24
Pos: 17.10 /Ü berschriften/Ü berschriften 2/A-E/AAnbau an den Tr aktor @ 0\mod_1199717845194_78.docx @ 34039 @ 2 @ 1
5.3
Mounting onto the Tractor
Pos: 17.11 /Ü berschriften/Ü berschriften 3/K-O/KKuppelpunkte @ 9\mod_1220531326398_78.docx @ 126608 @ 3 @ 1
5.3.1
Clutching points
Pos: 17.12 /BA/Erstinbetriebnahme/M ähwer ke AM Baurei he/Es gibt 3 Anbaumöglichkeiten @ 72 \mod_1307454621482_78.docx @ 651058 @ @ 1
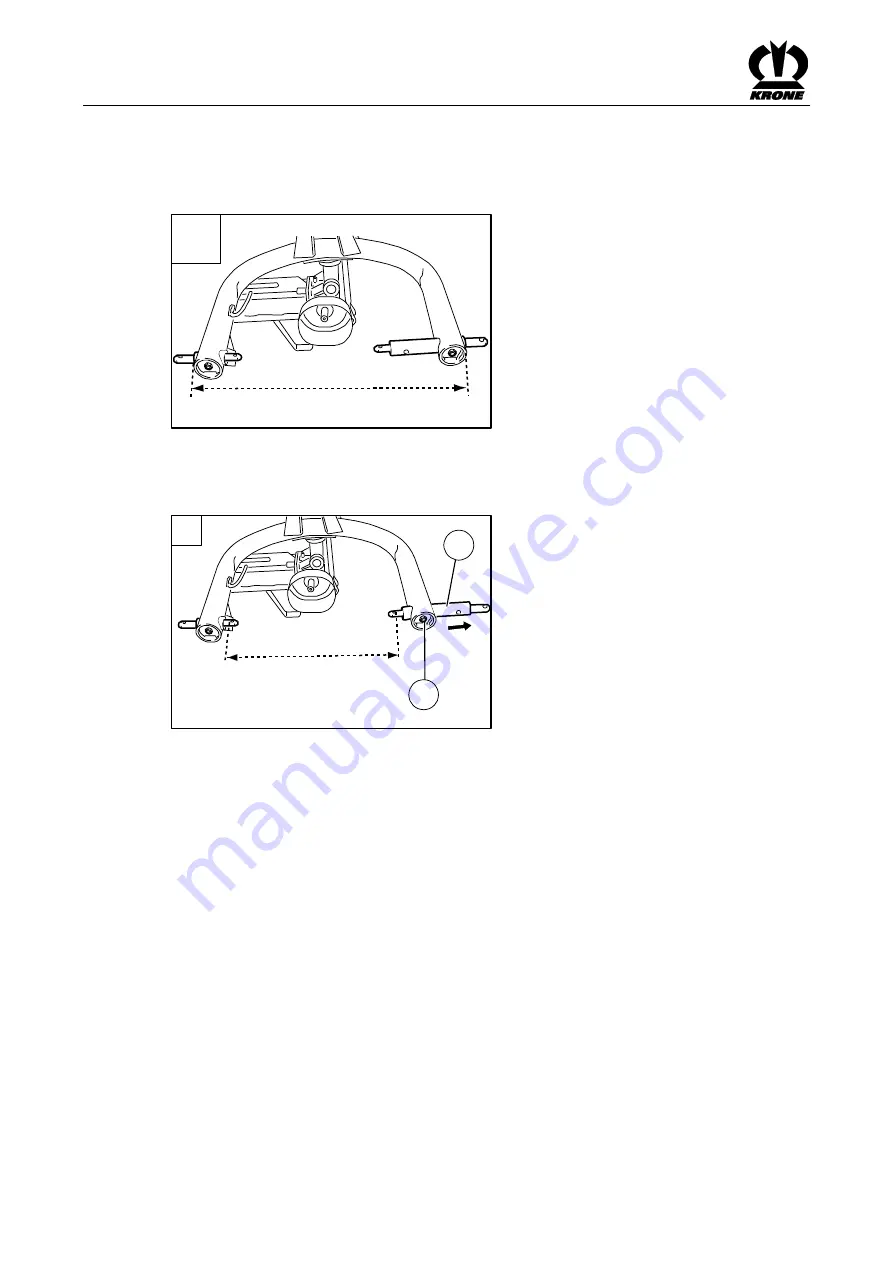
There are 3 ways to attach the mowing unit:
Pos: 17.13 /BA/Erstinbetriebnahme/M ähwer ke AM Baurei he/Kuppelpunkte Bild AM-S Kat.II @ 69\mod_1305036907477_78.docx @ 632616 @ @ 1
a
Kat.II
AMS-1-001
Fig. 4
Pos: 17.14 /BA/Erstinbetriebnahme/M ähwer ke AM Baurei he/a) Kat. II Kuppelpunkte T ext AM S und AM C V Baurei he @ 69\mod_1305036909040_78.docx @ 632644 @ @ 1
a) Cat. II
The standard setting of the steerable pinions is for
Cat. II
.
Pos: 17.15 /BA/Erstinbetriebnahme/M ähwer ke AM Baurei he/Kuppelpunkte Bild AM-S Kat.I @ 73\mod_1308144145546_78.docx @ 655231 @ @ 1
b
2
1
Kat.I
AMS-0-040
Fig. 5
Pos: 17.16 /BA/Erstinbetriebnahme/M ähwer ke AM Baurei he/b) Kat. I Kuppel punkte Text AM 203S/243S/283S/323S @ 69\mod_1305037666765_78.docx @ 632720 @ @ 1
b) Cat. I
For
Cat. I
the steerable pinion (1) must be offset to the outside
.
To do this:
• Remove the screw (2)
• Offset the steerable pinion (1) outwards
• Tighten the screw (2) again
Pos: 17.17 /Layout Module /---------------Seitenumbr uch---------------- @ 0\mod_1196175311226_0.docx @ 4165 @ @ 1

