SUPERSTRUCTURE OPERATION
Operating instructions • Load Carrier • 505410638-02 • 07/2019
83
► Fold up the board wall.
ü
The board wall has been inserted.
6.4
Roofs
!
WARNING
Risk of accident from objects falling
from the roof!
Objects falling from the roof (e.g. tools,
snow, ice) can result in accidents with per-
sonal injury and material damage.
► Do not leave any objects on the roof.
► Prior to departure, remove any snow
or ice from the roof, if necessary.
► When cleaning the roof surface, main-
tain an adequate safe distance from
surrounding people and objects.
NOTE
Material damage from driving with the
roof open!
Driving with the roof opened can result in
material damage and is prohibited by law.
► Close the roof before every trip.
6.4.1
Roof tarp
Depending on the version, the roof tarp
can
○
be pushed together with the sliding
roof,
(see "6.4.2 Sliding roof", pg. 83)
○
be rolled up or folded up separately via
the fixed roof
tarp superstructure)", pg. 84)
6.4.2
Sliding roof
Sliding roofs can be slid together within the
superstructure length for crane loading
from the rear to almost the front wall. De-
pending on the design, it is also possible to
slide together from the front wall to the
rear. Opening and locking the sliding roofs
depends on the specific roof design.
► Please consult the enclosed supplier
documentation for information about
the superstructure and the operation of
the sliding roofs.
Also observe the enclosed supplier
documentation.
INFO
On trailers with Ice-Protect Easy, the belt
with the tensioning bolt in the front area
also needs to be unhooked. Follow the op-
erating instructions for the Ice-Protect
Easy.
Moving the sliding roof from the rear to
the front wall
► Please consult the enclosed supplier
documentation for information about
moving the sliding roof from the rear to
the front wall.
Also observe the enclosed supplier
documentation.
Moving (opening) the sliding roof from
the front wall to the rear
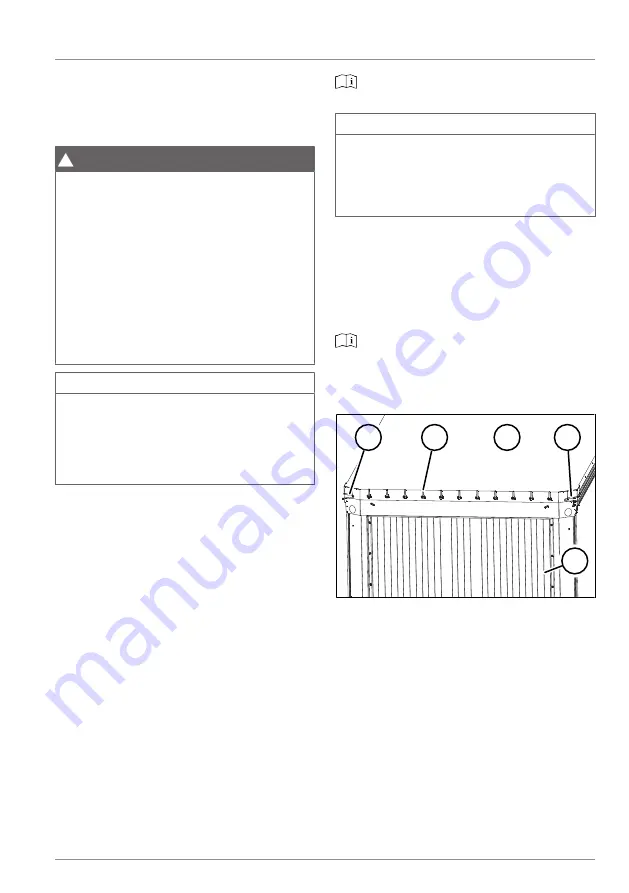
1
2
4
3
1
Fig. 6-47:
Sliding roof on the front wall side
1
Roof tarp rope
2
Plug lock
3
Roof tarp
4
Front wall
► Unhook the roof tarp rope.
► Open all the plug locks on the roof
tarp.
► Fold back the roof tarp at the front.
► Remove the securing rope and, if ne-
cessary, the diagonal rope of the slid-
ing roof on the front wall side.


