43
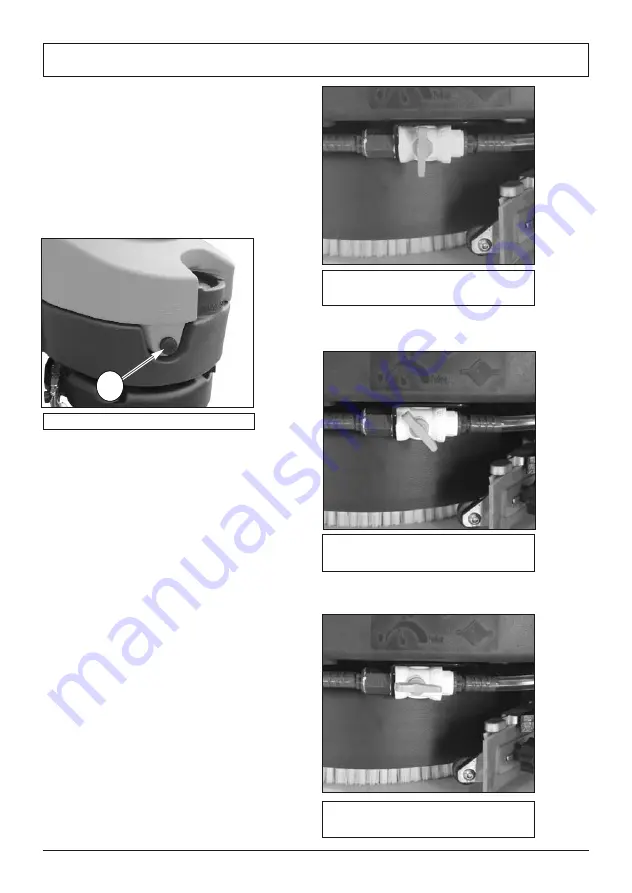
A
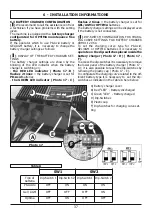
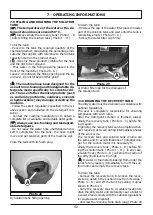
Photo 30
A) Recovery tank drain plug
- A ) and empty the tank in the selected drainage
point. After the drainage of the recovery tank it is
recommended to check how much dirt is still in the
tank unscrewing the inspection cap ( Photo 3 - C )
and, if necessary, wash it inside to remove the solid
dirt.
- Once the drainage and the cleaning of the tank is
finished, close the tank screwing the drain plug (
Photo 30 - A ) and the inspection cap ( Photo 3 - C ).
7.11 ADJUSTING THE SOLUTION WATER
FLOW
To adjust the flow of the solution water it is neces-
sary to operate the water valve placed over the
brush unit.
Set the solution flow control lever in an interme-
diate position between the closed ( Photo 31 ) and
fully opened ( Photo 33 ) position, according to the
kind of cleaning to be performed.
The machine is provided with a solenoid valve; the
solution water outlet occurs only when the machine
is working, by pulling the control lever ( Photo 2 - A
);
to allow the water solution outlet it is necessary to
set the solenoid valve switch ( Photo 5 - C ; Photo
7 - B ) and the brush motor switch ( Photo 5 - D ;
Photo 7 - C ) to the “ON” position.
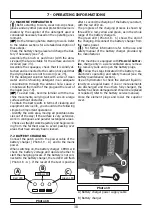
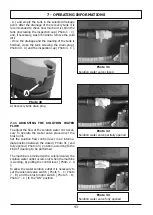
Photo 31
Solution water valve closed
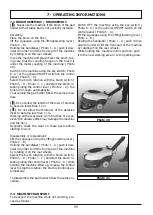
Photo 32
Solution water valve partially opened
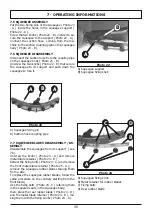
Photo 33
Solution water valve fully opened
7 - OPERATING INFORMATIONS

