ENGLISH
18
M1145-2_draft-0
tact your dealer for repair.
Display Description
n
Temperature probe must be checked
u
Humidity probe must be checked
Tab.C – Error messages
How to use
Start-up
When the plug is connected the display D blinks for 5 seconds
and shows the last functioning mode selected: then, if the func-
tioning mode is different to zero, the display stops blinking.
Shutdown
To switch off the dehumidifier push button T1 until the value
displayed is 0. When zero is selected both the green light S1 and
the display D blink.
The defrosting cycle
The electronic board automatically performs the defrosting cy-
cle to melt the ice and keep the air flow efficient even at lower
temperatures. The yellow light S3 switches on when the defrost-
ing cycle is started.
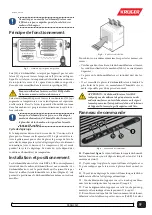
How to empty the tank
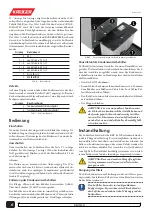
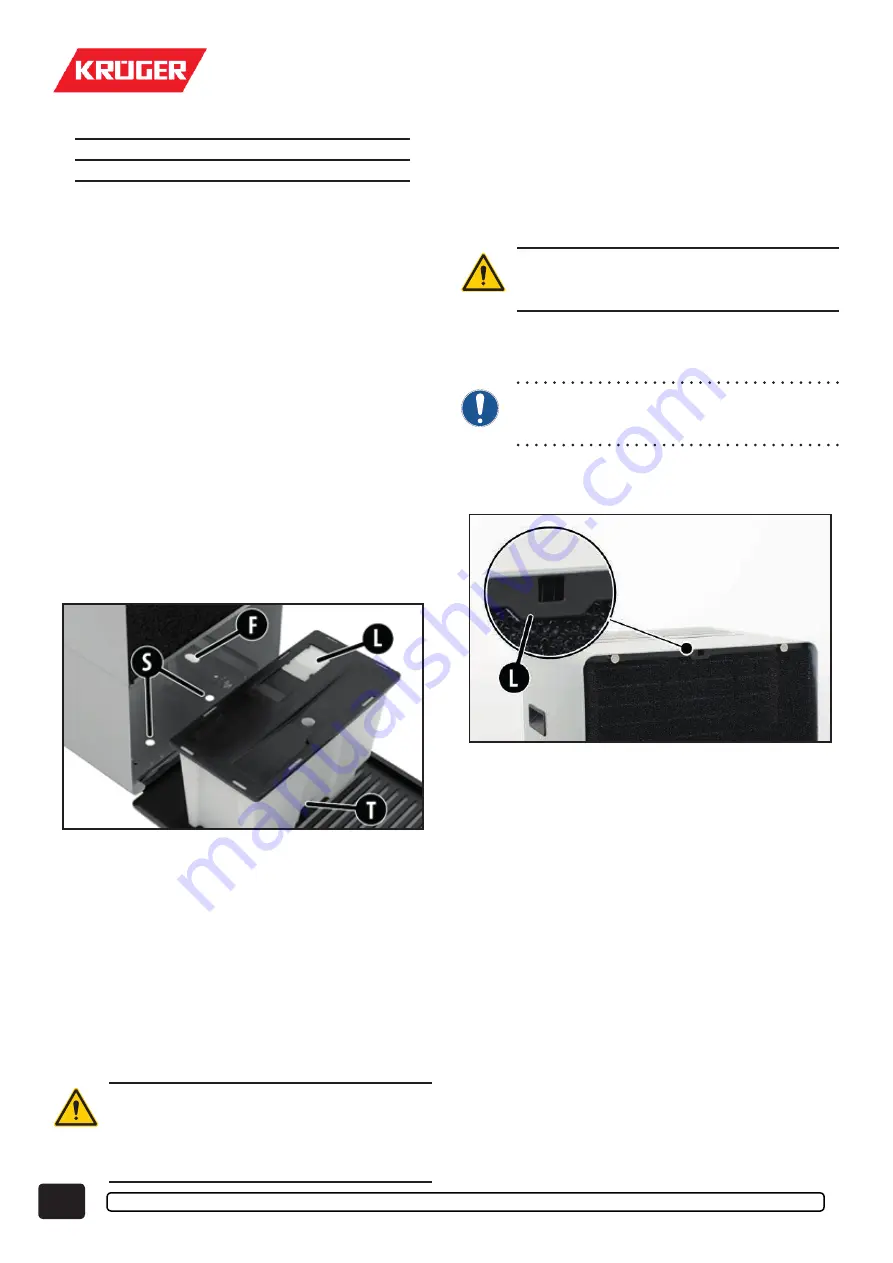
Open the front door and take out the tank as shown in Pic.5.
Use the front door (L) to empty the water.
Then put the tank back into its place so that the lower feet are
positioned inside the two holes (S). Then close the front door.
Pic.5 –
Holes for correct positioning of the tank
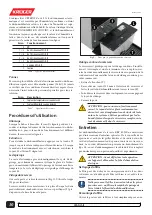
Continuous drainage
The tank is prepared for continuous drainage. Installation is
very simple and, once done, you will not need to empty the tank
manually anymore. To install the continuous drainage follow
these instructions:
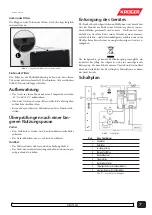
• Remove the rubber stopper (T).
• Connect a rubber hose with an internal diameter of 10 mil-
limetres to the connector on the tank and run it through the
hole (F).
• Put the tank with the drain tube back in its place.
• Then close the front door.
ATTENTION: to guarantee regular drainage of the
water, make sure that the drainpipe has a slope and
is straight, without any bends or constrictions. In
any case the floating device inside the tank is active
and will stop the dehumidifier when full.
Maintenance
The dehumidifiers of the KRP 60 NE series need no particular
maintenance. It is advisable to dust them and keep the air intake
and outlet grids clean. Contact your dealer if it should function
badly or break down. The power supply cable has an M type
connection; in the event of damages the cable must be replaced
with a similar one only by experienced and qualified staff.
ATTENTION: Before doing anything on the appli-
ance disconnect the power supply by unplugging the
machine.
How to clean the filter
The filter can be cleaned with a vacuum cleaner or with water: in
this case dry it before assembly.
Keep the air filter clean, especially in dusty rooms: a
dirty filter reduces the air flow and efficiency of the
dehumidifier.
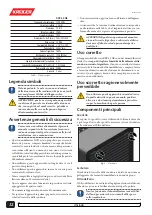
How to remove the air filter
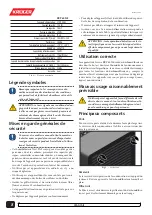
Open the front door: the air filter simply stands on the front
grid.
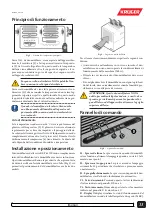
Pic.6 –
How to place the air filter on the front grid.
How to put the air filter on
Place the air filter on the stainless steal support and put the up-
per side on the central flap (L) of the rear grid (Pic.6): then close
the front panel.

