background image

WORK

5

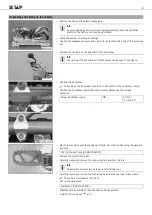
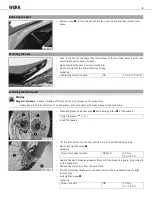
3.1

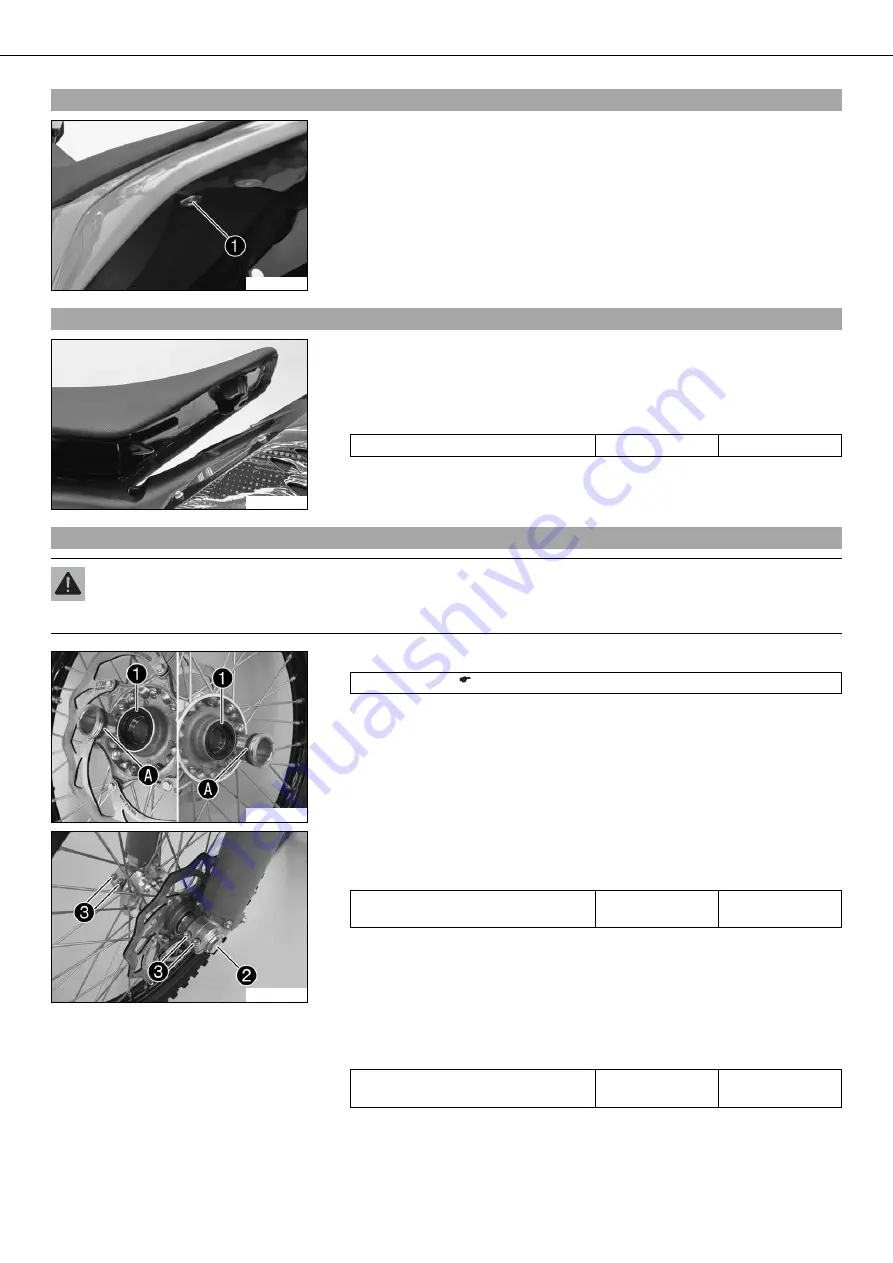
Removing the seat

500080-10

Remove screw

. Lift up the seat at the rear, pull it back and then remove from

above.

3.2

Mounting the seat

600674-01

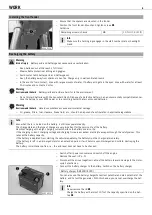
Hook in the front of the seat at the collar sleeve of the fuel tank, lower it at the rear
and simultaneously push it forward.

Make sure that the seat is correctly locked in.

Mount and tighten the screw of the seat fixing.
Guideline

Remaining screws, chassis

M6

10 Nm (7.4 lbf ft)

3.3

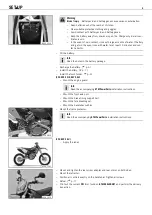
Installing the front wheel

Warning

Danger of accidents

Reduced braking efficiency due to oil or grease on the brake discs.

Always keep the brake discs free of oil and grease, and clean them with brake cleaner when necessary.

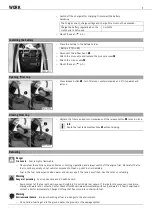
500086-11

Clean and grease shaft seal rings

and bearing surface

of the spacers.

Long-life grease (

p. 11)

Insert the spacers.

500084-11

Lift the front wheel into the fork, position it, and insert the wheel spindle.

Mount and tighten screw

.

Guideline

Screw, front wheel spindle

M24x1.5

45 Nm
(33.2 lbf ft)

Operate the hand brake lever several times until the brake linings are lying correctly
on the brake disc.

Remove the motorcycle from the work stand.

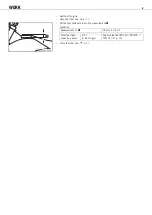
Pull the front wheel brake and push down hard on the fork several times to align
the fork legs.

Fully tighten screw

.

Guideline

Screw, fork stub

M8

15 Nm
(11.1 lbf ft)

Summary of Contents for 250 EXC-F EU

Page 1: ...SETUP INSTRUCTIONS 2010 250 EXC F EU 250 EXC F SIX DAYS EU Art no 3211542en ...

Page 2: ......

Page 3: ...serves the right to modify or delete technical specifica tions prices colors forms materials services designs equipment etc without prior notice and without specifying reasons to adapt these to local conditions as well as to stop production of a particular model without prior notice KTM accepts no liability for delivery options deviations from illustrations and descriptions as well as misprints an...

Page 4: ...Identifies an unexpected reaction e g of a work step or a function Identifies a page reference more information is provided on the specified page Formats used The typographical and other formats used are explained below Proprietary name Identifies a proprietary name Name Identifies a protected name Brand Identifies a brand available on the open market ...

Page 5: ...ale on the handlebar should be in the center of the handlebar clamp Position the handlebar clamp Mount and evenly tighten the four screws Guideline Screw handlebar clamp M8 20 Nm 14 8 lbf ft 800042 10 Mount the footrests with the springs and bolts Secure the bolts using the washers and pins Plier for footrest spring 58429083000 Remove the protective plastic Carefully loosen and remove the tensioni...

Page 6: ...tery package Recharge the battery p 6 Install the battery p 7 Install the front fender p 6 250 EXC F SIX DAYS EU Mount the engine guard Info Read the accompanying KTM PowerParts installation instructions Mount the front axle pull Mount the brake lining support bolt Mount the fork bleeding set Mount the handlebar cushion 600808 10 Mount the frame protector Info Read the accompanying KTM PowerParts ...

Page 7: ... grease on the brake discs Always keep the brake discs free of oil and grease and clean them with brake cleaner when necessary 500086 11 Clean and grease shaft seal rings and bearing surface of the spacers Long life grease p 11 Insert the spacers 500084 11 Lift the front wheel into the fork position it and insert the wheel spindle Mount and tighten screw Guideline Screw front wheel spindle M24x1 5...

Page 8: ... cleaners brake fluid etc should be disposed of as stipulated in applicable regulations Info Even when there is no load on the battery it still loses power steadily The charge state and the type of charge are very important for the service life of the battery Rapid recharging with a high charging current shortens the battery s service life If the charging current charging voltage and charging time...

Page 9: ...hout kinking 3 9 Refueling Danger Fire hazard Fuel is highly flammable Never refuel the vehicle near open flames or burning cigarettes and always switch off the engine first Be careful that no fuel is spilt especially on hot vehicle components Clean up spilt fuel immediately Fuel in the fuel tank expands when warm and can escape if the tank is overfilled See the notes on refueling Warning Danger o...

Page 10: ...he filler cap p 7 A A 400382 10 Fill the fuel tank with fuel up to measurement Guideline Measurement of 35 mm 1 38 in Total fuel tank capacity approx 9 2 l 2 43 US gal Super unleaded ROZ 95 RON 95 PON 91 p 10 Close the filler cap p 7 ...

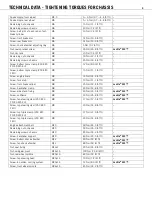
Page 11: ...iper M8 25 Nm 18 4 lbf ft Loctite 243 Screw handlebar clamp M8 20 Nm 14 8 lbf ft Screw side stand fixing M8 40 Nm 29 5 lbf ft Loctite 243 Screw subframe M8 35 Nm 25 8 lbf ft Loctite 243 Screw top steering stem 250 EXC F SIX DAYS EU M8 17 Nm 12 5 lbf ft Loctite 243 Screw top steering stem 250 EXC F EU M8 20 Nm 14 8 lbf ft Screw top triple clamp 250 EXC F SIX DAYS EU M8 17 Nm 12 5 lbf ft Screw top t...

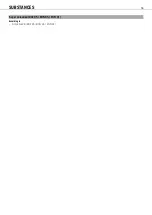
Page 12: ...SUBSTANCES 10 Super unleaded ROZ 95 RON 95 PON 91 According to DIN EN 228 ROZ 95 RON 95 PON 91 ...

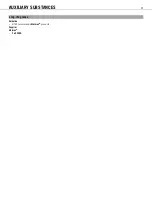
Page 13: ...AUXILIARY SUBSTANCES 11 Long life grease Guideline KTM recommends Motorex products Supplier Motorex Fett 2000 ...

Page 14: ... 3211542en 3211542en KTM Sportmotorcycle AG 5230 Mattighofen Austria http www ktm com 06 2009 Photo Mitterbauer ...

Reviews: