Section 1: Assembly & Set-up
11/13/19
AP-SSG2524 Stump Grinder 328-215MK
13
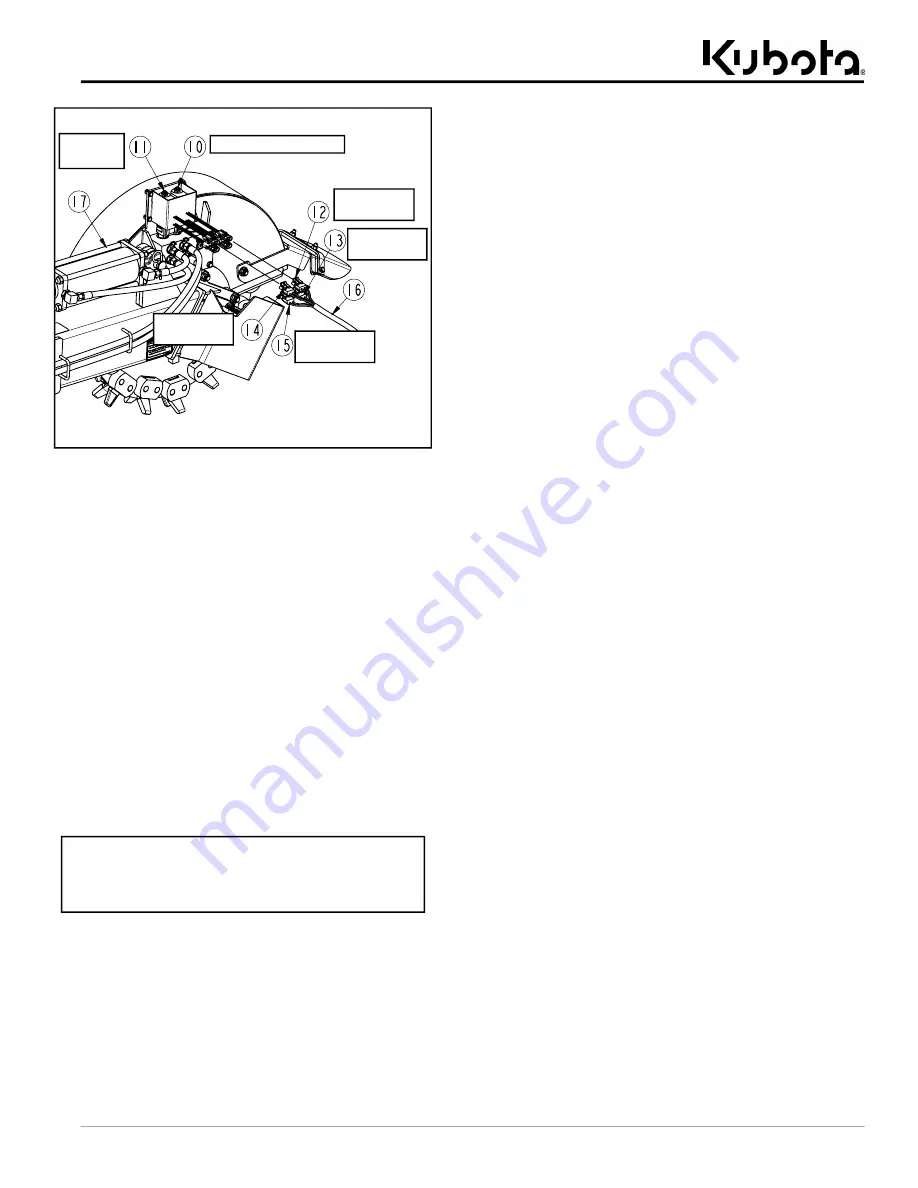
Solenoid Hook-up
Figure 1-5
Check Equipment Clearances
It is important to check clearance before putting the
grinder into operation. Make sure hydraulic hoses and
wiring harness are long enough and won’t become
pinched or entangled in the equipment. Also, make sure
Stump Grinder does not come in contact with skid steer
frame and tires by carefully going through its full range of
motions.
1. Visually inspect hydraulic hoses for possible pinch
points and shortness. If needed, make hose
adjustments before putting equipment into service.
2. Visually inspect wiring harness for possible pinch
points and shortness. If needed, make adjustments
to the wiring harness before putting equipment into
service.
3. If necessary, have someone stand nearby that can
motion for the operator to stop if a problem develops
while completing steps 4-8 below.
4. Start skid steer and raise loader arms high enough to
tilt the hitch plate fully down without Stump Grinder
making contact with the ground.
5. Fully extend tilt cylinder on the Stump Grinder.
6. Fully extend hydraulic cylinders on end of loader
arms.
35333
Red Wire
Connector
Green Wire
Connector
White Wire
Connector
Brown Wire
Connector
Articulate Solenoid
Tilt
Solenoid
Make sure hydraulic hoses and wiring
harness are long enough and properly secured so
that they do not become stretched or pinched
through their full range of motions.
7.
Lower loader arms while watching for interferences
between skid steer and grinder frame.
8. Return loader arms to the height established in
step 4.
9. Fully extend articulate cylinder on the Stump Grinder
to pivot cutting wheel to the right and repeat
10. Fully retract articulate cylinder on the Stump Grinder
to pivot cutting wheel fully to the left and repeat
11. Retract hydraulic cylinders on end of loader arms
and tilt cylinder on Stump Grinder to return Stump
Grinder to its straight out parking position.
12. Lower Stump Grinder until resting on its skid shoes.


