61
REGULAR CHECKS AND MAINTENANCE WORK
B
Battery Charging
To avoid personal injury:
A
When the battery is being activated, hydrogen
and oxygen gases in the battery are extremely
explosive. Keep open sparks and flames away
from the battery at all times, especially when
charging the battery.
A
When charging battery, remove battery vent
plugs.
A
When disconnecting the cable from the battery,
start with the negative terminal first.
When connecting the cable to the battery, start
with the positive terminal first.
A
Do not check battery charge by placing a metal
object across the terminals.
Use a voltmeter or hydrometer.
1. Make sure each electrolyte level is to the bottom of
vent wells. If necessary add distilled water in a well-
ventilated area.
2. The water in the electrolyte evaporates during
recharging. Liquid shortage damages the battery.
Excessive liquid spill damages the excavator body.
3. To slowly charge the battery, connect the battery
positive terminal to the charger’s positive terminal and
the negative to the negative one. Then, recharge in the
standard fashion.
4. A boost charge is only for emergencies. It will partially
charge the battery at a high rate and in a short time.
When using a boost-charged battery, it is necessary to
recharge the battery as early as possible.
Failure to do this will shorten the battery's service life.
5. When the specific gravity of electrolyte falls between
1.27 and 1.29, charge has completed.
6. When exchanging old battery for a new one, use
battery of equal specification.
B
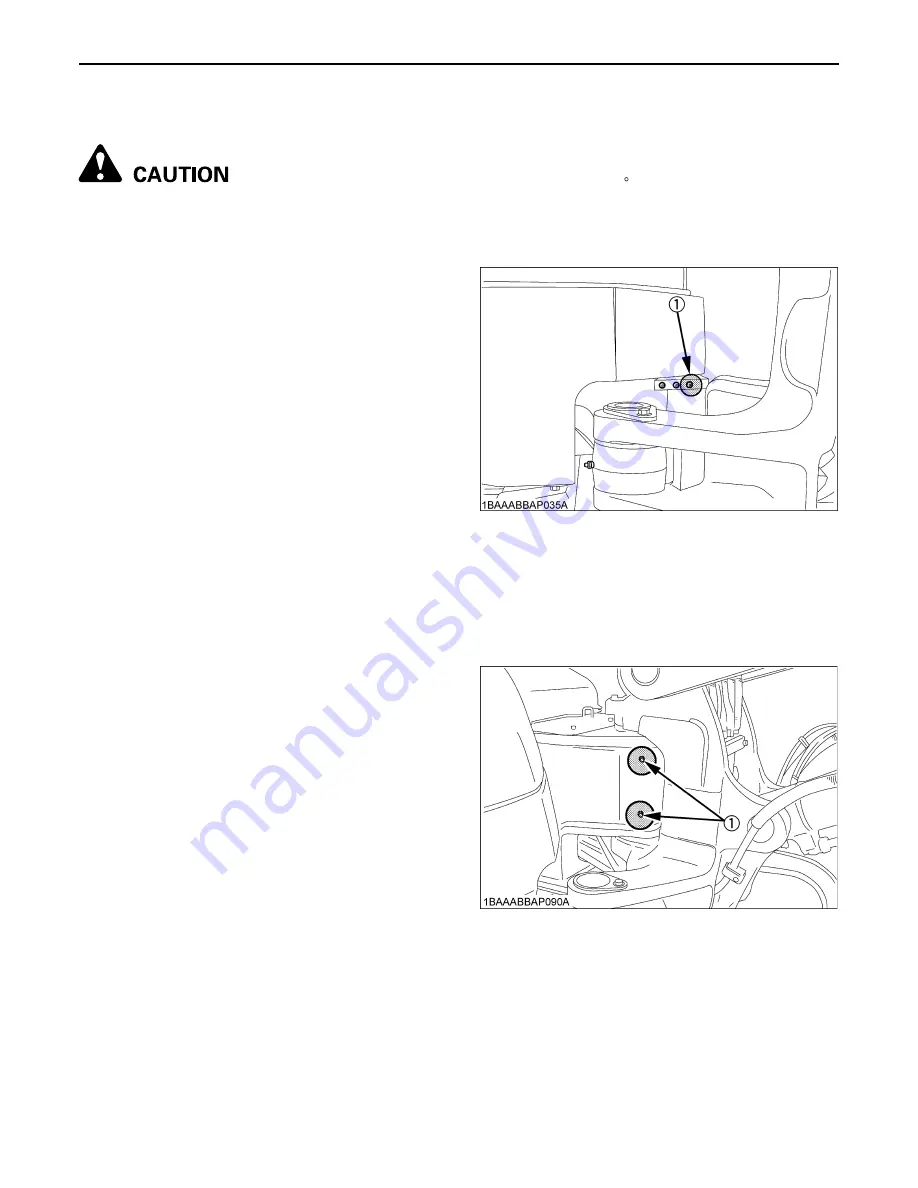
Greasing Swing Bearing Teeth
1. Pump grease with the grease gun through the grease
nipple.
2. Grease at each 90 (1.58 rad.) position of the swing
frame.
3. Fill with approx. 50g of grease (approx. 20 to 30
pumps with the grease gun at each position).
Distribute the grease over the teeth.
EVERY 100 SERVICE HOURS
B
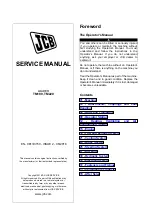
Greasing Boom Swing Fulcrum
Grease the marked grease nipples shown by arrows in the
illustration below.
(1) Grease nipple (for swing bearing teeth)
(1) Boom swing fulcrum
Summary of Contents for KX080-3
Page 15: ...7 SAFE OPERATION...
Page 16: ...SAFE OPERATION 8...
Page 17: ...9 SAFE OPERATION...
Page 18: ...SAFE OPERATION 10...
Page 19: ...11 SAFE OPERATION...
Page 20: ...SAFE OPERATION 12...
Page 22: ......
Page 115: ...93 LIFTING CAPACITY...


