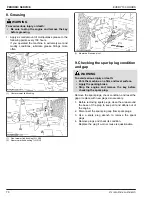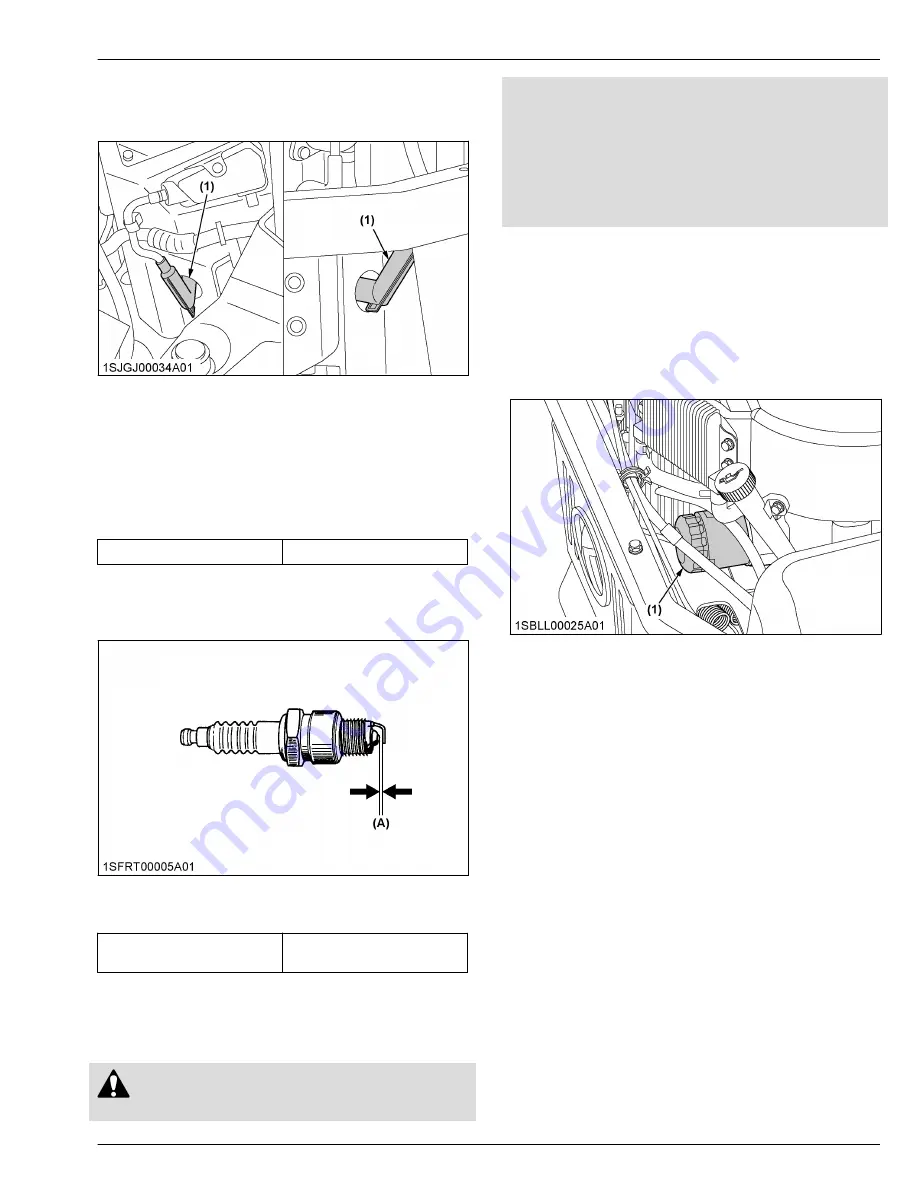
5. Inspect spark plugs for cracked porcelain, pitted
electrodes, or other wear and damage. Replace the
spark plug if necessary.
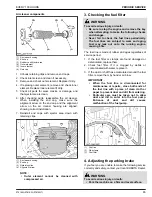
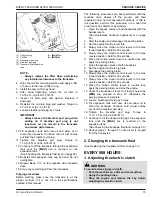
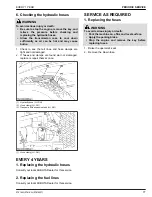
(1) Spark plug cap and spark plug
NOTE :
• Do not clean the spark plug in a machine
using abrasive grit. Some grit could remain
in the spark plug and enter the engine,
which may cause extensive wear and
damage.
Recommended spark plug
NGK BPR4ES
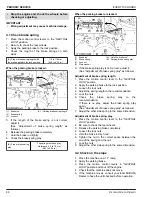
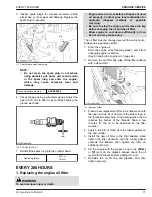
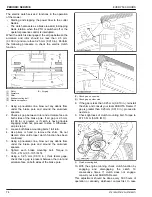
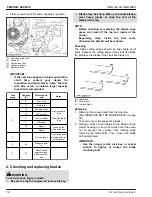
6. Check the gap using a wire feeler gauge. Adjust the
gap to 0.76 mm (0.030 in.) by carefully bending the
ground electrode.
(A) 0.76 mm (0.030 in.)
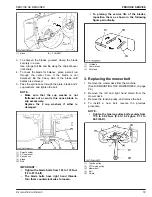
7. Reinstall the spark plug into the cylinder head.
Tightening torque
22 N
⋅
m
16 lbf
⋅
ft
EVERY 200 HOURS
1. Replacing the engine oil filter
WARNING
To avoid serious injury or death:
• Engine oil is a toxic substance. Dispose of used
oil properly. Contact your local authorities for
approved disposal methods or possible
recycling.
• Be sure to stop the engine and remove the key
before changing the oil and the oil filter.
• Allow engine to cool down sufficiently; oil can
be hot and may cause burns.
The oil filter must be changed every 200 service hours.
Always use a genuine oil filter.
1. Drain the engine oil.
Drain the engine oil by following steps 1 and 2 from
changing engine oil section.
(See Changing the engine oil on page 64.)
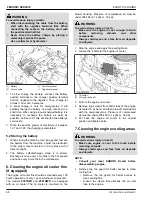
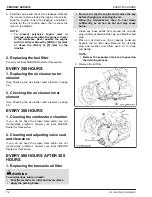
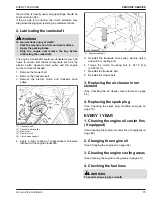
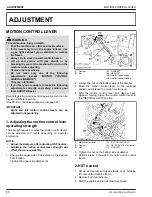
2. Remove the old filter and wipe off the filter adapter
with a clean cloth.
(1) Engine oil filter
3. Place a new replacement filter in a shallow pan with
the open end up. Pour new oil, of the proper type, in
the threaded center hole. Stop pouring when the oil
reaches the bottom of the threads. Allow a few
minutes for the oil to be absorbed by the filter
material.
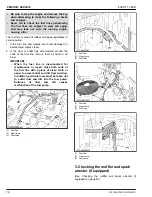
4. Apply a thin film of clean oil to the rubber gasket on
the new oil filter.
5. Install the new oil filter to the filter adapter. Hand
tighten the filter clockwise until the rubber gasket
contacts the adapter, then tighten the filter an
additional 2/3 turn.
6. Fill the engine with the proper oil up to the
[FULL]
or
[F]
mark on the dipstick. Always check the oil
level with the dipstick before adding more oil.
7. Reinstall the oil fill cap and dipstick, and then
tighten securely.
EVERY 200 HOURS
PERIODIC SERVICE
Z751KWi,Z781KWi,Z781KWTi
71
Summary of Contents for Z751KWi
Page 3: ...OPERATOR S MANUAL 1SJGJ00001A01 READ AND SAVE THIS MANUAL MODELS Z751KWi Z781KWi Z781KWTi ...
Page 15: ...SAFETY LABELS SAFE OPERATION 10 Z751KWi Z781KWi Z781KWTi ...
Page 16: ...SAFE OPERATION Z751KWi Z781KWi Z781KWTi 11 ...
Page 17: ...SAFE OPERATION 12 Z751KWi Z781KWi Z781KWTi ...
Page 18: ...SAFE OPERATION Z751KWi Z781KWi Z781KWTi 13 ...
Page 19: ...SAFE OPERATION 14 Z751KWi Z781KWi Z781KWTi ...
Page 21: ...16 Z751KWi Z781KWi Z781KWTi ...

