- 12 -
GB
DE
GB
FR
ES
IT
PT
NL
SE
DK
NO
FI
GR
RU
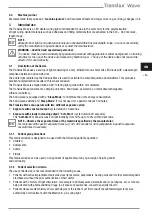
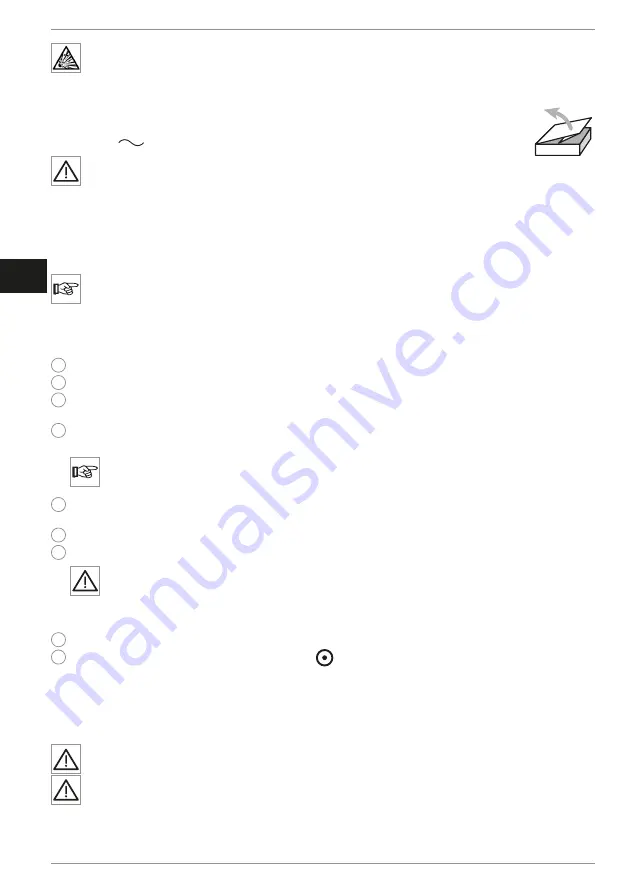
WARNING – RISK OF EXPLOSION
Do not
install the device where there is the risk of explosions. The device must not be used where an
inflammable atmosphere is present (anaesthetic mixtures, oxygen, nitrous oxide, etc.). Install the device
in a well ventilated area.
5.2
Connection of the charging unit to the mains power outlet
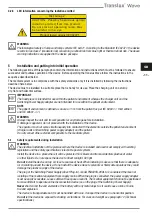
The Translux Wave is supplied with a separated universal-input unit (
6
) that accepts
100 to 240 V (
), 50 / 60 Hz.
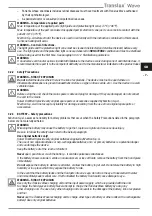
WARNING
Before connecting the charging unit (
6
) to the mains network, check carefully that the voltage and frequency
of the mains network correspond to the values stated on the rating plate of the device. The rating plate is
fitted to the bottom of the charging unit.
Use only the switching power supply adapter which is provided with the device. The use of any other power
supply adapter can result in damage of the battery.
Do not connect the switching power supply adapter to the mains socket by using a multiple portable sock-
et-outlet.
NOTE
The Translux Wave power supply unit (6) is supplied with
three interchangeable adapters:
Fig. (6 a)
= Europe type 1
Fig. (6 b)
= UK
type 2
Fig. (6 c)
= US / JP type 3
1
Select the correct adapter between the ones available: Europe – Type 1, UK – Type 2, US / JP – Type 3.
2
Each adapter has a slot into which the retaining latch on the power supply unit fits.
3
With the slot oriented toward the power supply unit, place the adapter onto the power supply unit so that the slides
on the adapter are aligned with their respective slots on the power supply unit.
4
Pressing down on the adapter and power supply unit, slide the adapter into the power supply unit until a click
is heard and the adapter is locked in place.
NOTE
Pressing down on the adapter during installation ensures that all the slides are held by the retainers on the
power supply unit. If the adapter feels loose, remove it and re-install.
5
To remove the adapter from the power supply unit, press the latch retainer button (marked with the word “
PUSH
”)
and slide the adapter away from the power supply unit and remove the adapter.
6
Retain unused adapters for future use.
7
Connect the plug of the power cord into the socket on the underside of the charging unit.
WARNING
Check the power cable, the power supply unit and the adapter regularly to make sure that they are in good
condition. If damage is apparent do not use damaged part until it is replaced. Use original spare parts and
accessories only. Kulzer GmbH will provide only original spare parts or accessories supplied by Mectron
S.p.A.
8
Plug the power supply unit with its adapter into the mains power outlet.
9
The GREEN LED on the charger unit will light up (icon
).
5.3
Inserting the battery into the hand piece
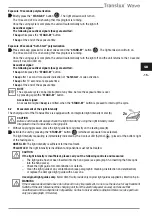
The Translux Wave is supplied with a powerful Lithium-ion rechargeable battery.
The battery is supplied separately in the device packaging and must be inserted into the hand piece before initial
operation.
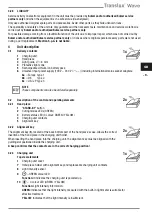
WARNING
Carefully follow all the safety precautions described in the paragraph 3.2.3 (BATTERY – Safety precautions).
CAUTION
NEVER
place the hand piece in the charging unit without the battery inserted in the hand piece.
1x
Summary of Contents for 05100081
Page 2: ...2 4 1 4 2 3 5 2 6c 6b 6a 5 4 3 6 9 10 7 1 8...
Page 3: ...4 2 1 4 2 2 1 5 4 5 4 X X 3 2 2 1 3...
Page 4: ...5 5 6 2 5 4 2 2 8...
Page 37: ...33 DE...
Page 38: ...34 DE nderungen vorbehalten Stand 2021 08...
Page 71: ...33 GB...
Page 72: ...34 GB Subject to modifications Dated 2021 08...
Page 105: ...33 FR...
Page 106: ...34 FR Sujet modifications Mise jour de l information 2021 08...
Page 139: ...33 ES...
Page 140: ...34 ES Sujeto a modificaciones Revisi n 2021 08...
Page 173: ...33 IT...
Page 174: ...34 IT Soggetto a modifiche Aggiornamento al 2021 08...
Page 207: ...33 NL...
Page 208: ...34 NL De informatie in dit document kan gewijzigd worden Status 2021 08...
Page 241: ...33 SE...
Page 242: ...34 SE Kan komma att ndras Version 2021 08...
Page 275: ...33 FI...
Page 276: ...34 FI Muutosten kohteena Painos 2021 08...
Page 282: ...6 GR 3 1 3 3 1 1 3 3 1 4 3 2 3 2 1 3 Mectron S p A Translux Wave Translux Wave...
Page 293: ...17 GR 7 5 Translux Wave 2 2 8 8 1 8 2 1 2 pH pH 7 8 2 1 8 3 pH pH 7...
Page 295: ...19 GR 8 5 pH pH7 8 6 pH pH7 2x...
Page 296: ...20 GR 8 6 1 8 6 2 Kulzer Kulzer 1 2 3 4 5 2 12 6 7 9 5 2x 2x...
Page 297: ...21 GR 10 Kulzer WEEE ElektroG...
Page 309: ...33 GR...
Page 310: ...34 GR 2021 08...
Page 311: ......
Page 312: ...5 3 4 2 3 8 5 8 6 1 4 1 2 3 8 6 2 11 12 12...
Page 313: ......


