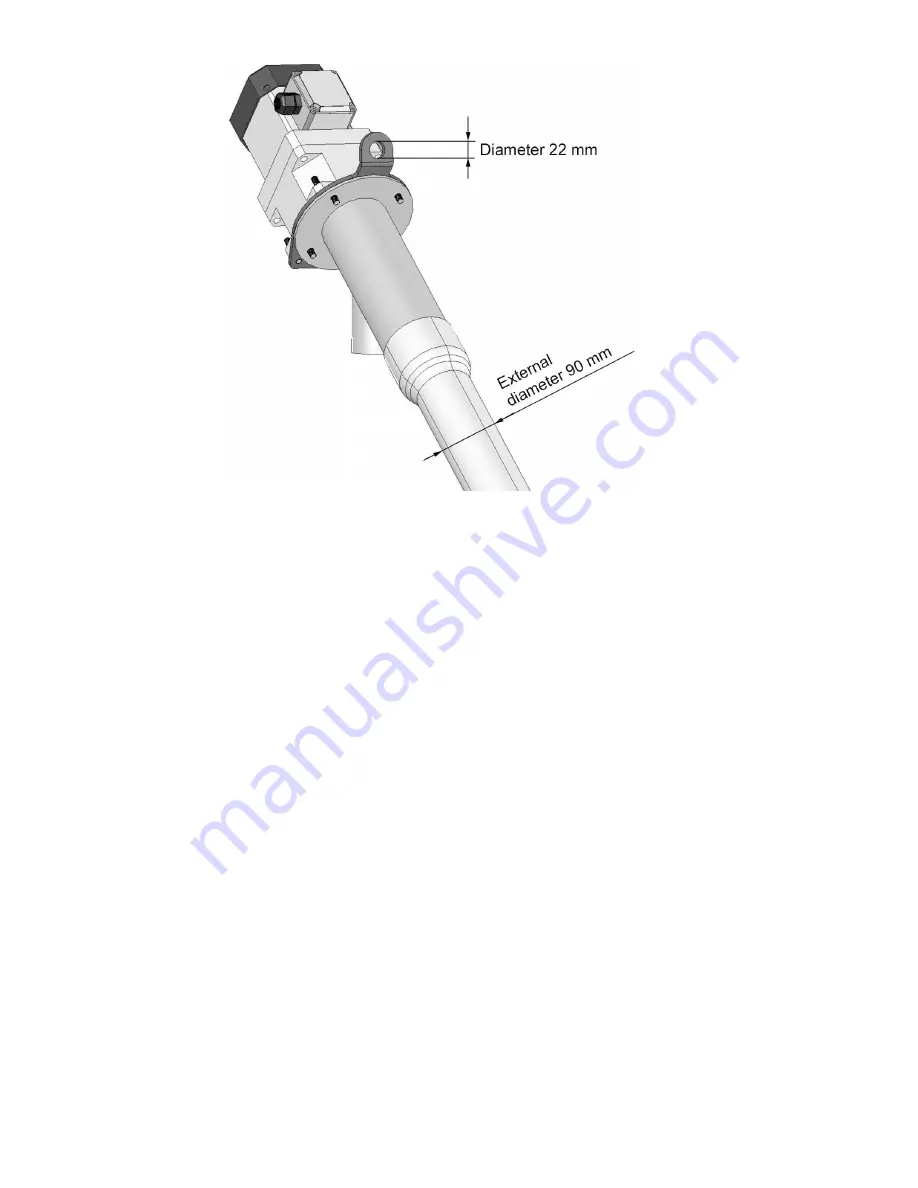
Figure 11: The suspension arrangement
If the ceiling is not sufficiently strong, a suspension frame (part no.: 100053) is available as an optional
accessory.
Fasten the downpipe hose to the output of the external conveyor screw and the input of the burner using
hose clamps; apply some washing-up liquid to the internal surface of the hose if necessary to simplify
the installation procedure. Stretch the hose so that it is not possible for any pellets to become trapped
within it. Otherwise the hose could become blocked and necessitate repair work. However, please note
that the hose must be long enough to allow the burner door to swing open.
In order to ensure that the external pellet silo is emptied as well as possible, position the input to the
external conveyor screw in the centre and/or at the lowest point of the external silo. Please note that a
storage room can never be emptied entirely because the pellets generally have an angle of repose of
about 45
◦
(in the case of flour it can be as much as 80
◦
). The amount of remaining material depends on
the design of the storage room and can only be used if it is moved so that the pellets can be captured
by the conveyor screw once again. Providing the walls with inclined smooth surfaces improves the
emptying of the silo.
13
Summary of Contents for PK 10
Page 1: ...Installation manual pellet boiler PK 10 PK 15 and PK 20 May 4 2009 ...
Page 25: ...4 Technical data Figure 26 The PK pellet boiler Figure 27 Connecting dimensions 25 ...
Page 28: ...Figure 29 Wiring diagram for pellet boiler 28 ...
Page 29: ...Figure 30 Wiring diagram for PK 230V conveyor screw drive 29 ...
Page 30: ...Figure 31 Wiring diagram for PK 400V conveyor screw drive 30 ...
Page 31: ...Personal notes 31 ...
Page 32: ... ...


