


16
ENG
During cleaning and maintenance work,
make sure the safety instructions set out
on page 14 are complied with.
• If your kitchen hood is made from stainless
steel, use proprietary cleaners mentioned
in the product instructions.
• If your hood has aluminium finish, use
lukewarm water and a neutral soap.
• Never use metallic scourers, nor abrasive
or corrosive products.
• Dry the kitchen hood using a cloth that
does not produce fibres.
To remove the filters from their fittings, press
lightly on the locks and then pull them off.
The metal filters can be cleaned by soaking
them in hot water with neutral detergent until
the fat dissolves and then rinsing them under
the tap or using special anti-grease products.
They can also be washed in a dishwasher. In
this case, it is advisable to stack them
vertically to avoid food residues to stick to
them.
Cleaning in a dishwasher with aggressive
detergents or polish may damage the metallic
surface (blackening it), although this will not
affect its fat retention capacity.
Once clean, leave them to dry off and then fit
them onto the kitchen hood.
Fig. 2 (Page 19)
Proceed as follows:
• Remove the metal filters.
• Loosen the screws (B) to dismount the
cover top (A).
• Dismount the support (C) by loosening the
screws (D).
• Change the broken/burnt out lamp (E).
Maximum lamp power is 20 W (G-4).
• Mount the supports again (C) and (A).
• Fit the metal filters.
Cleaning and maintenance
_________________________________________________________
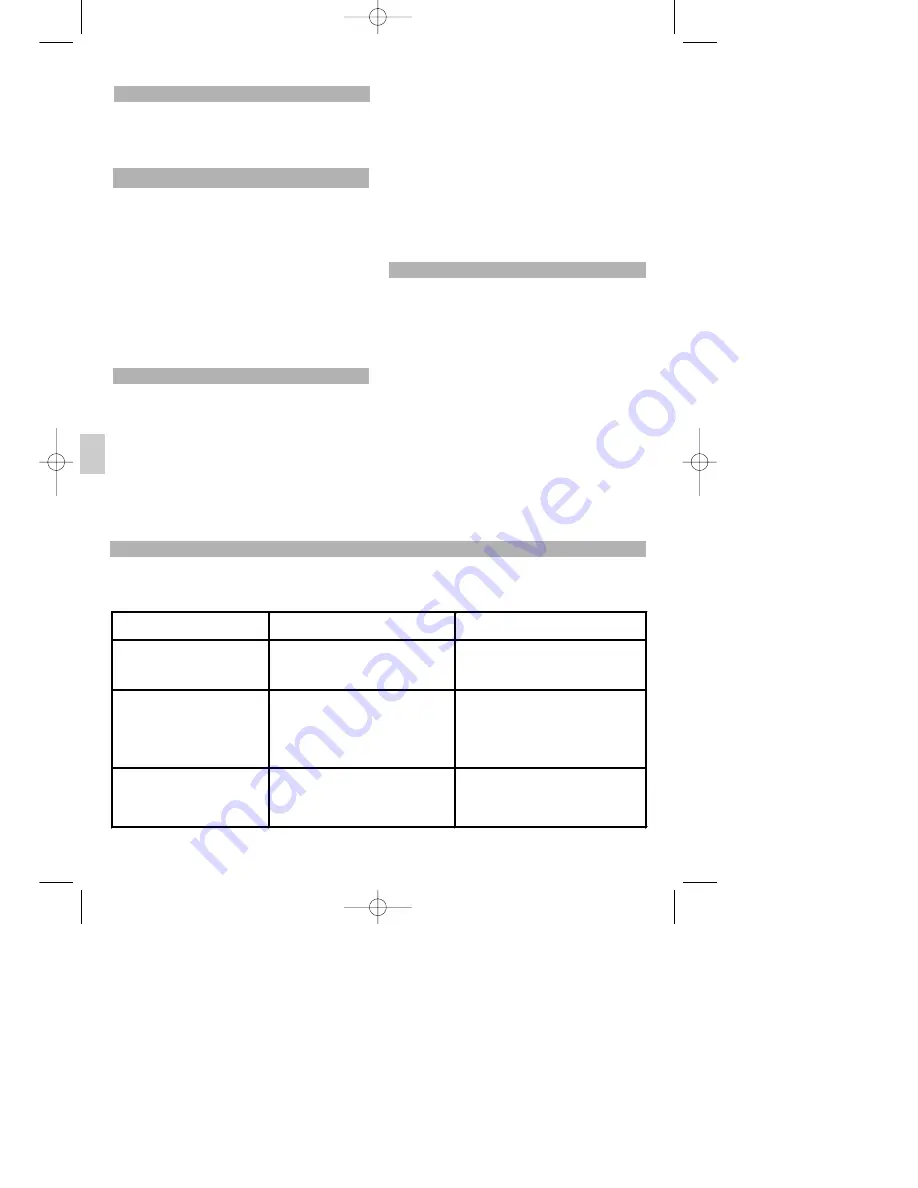
Problem solving
Proceed with the following checks before calling the Technical Service:
Problem
Possible cause
Solution
The extractor fan does not work.
The mains cable is not connected to the
network.
There is no current in the network.
Connect mains cable to the network.
Provide current to the network.
The kitchen hood does not extract
sufficiently or vibrates.
Filters are saturated with fat.
Obstruction in the air exit conduct.
Change or clean the active charcoal and/or metal
filters, as the case may be.
Remove the obstruction.
The lamps do not light up.
The lamps are blown.
The lamps are slack.
Change the lamps.
Tighten the lamps.
Cleaning the hood body
Cleaning the metal filters
Changing light bulbs
Manual KDT.qxd 17/06/2004 13:47 Page 16


