6 | Function description
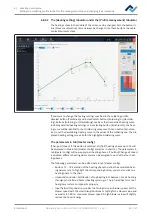
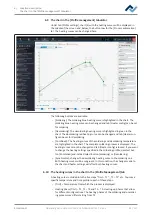
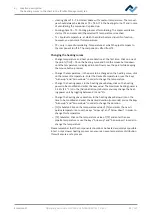
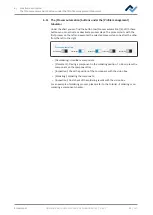
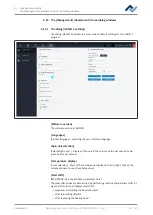
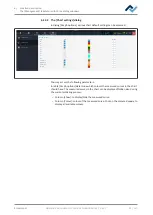
The [Management] tabulator with three dialog windows
Style
Rework
Archive
User administration
Profile management
Administration
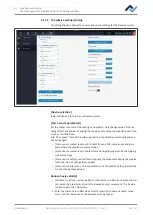
HRSoft 2 options
Graph options
Device options
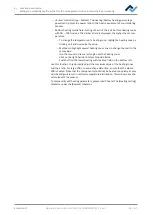
Back
Next
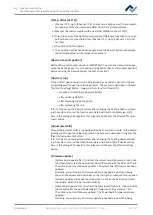
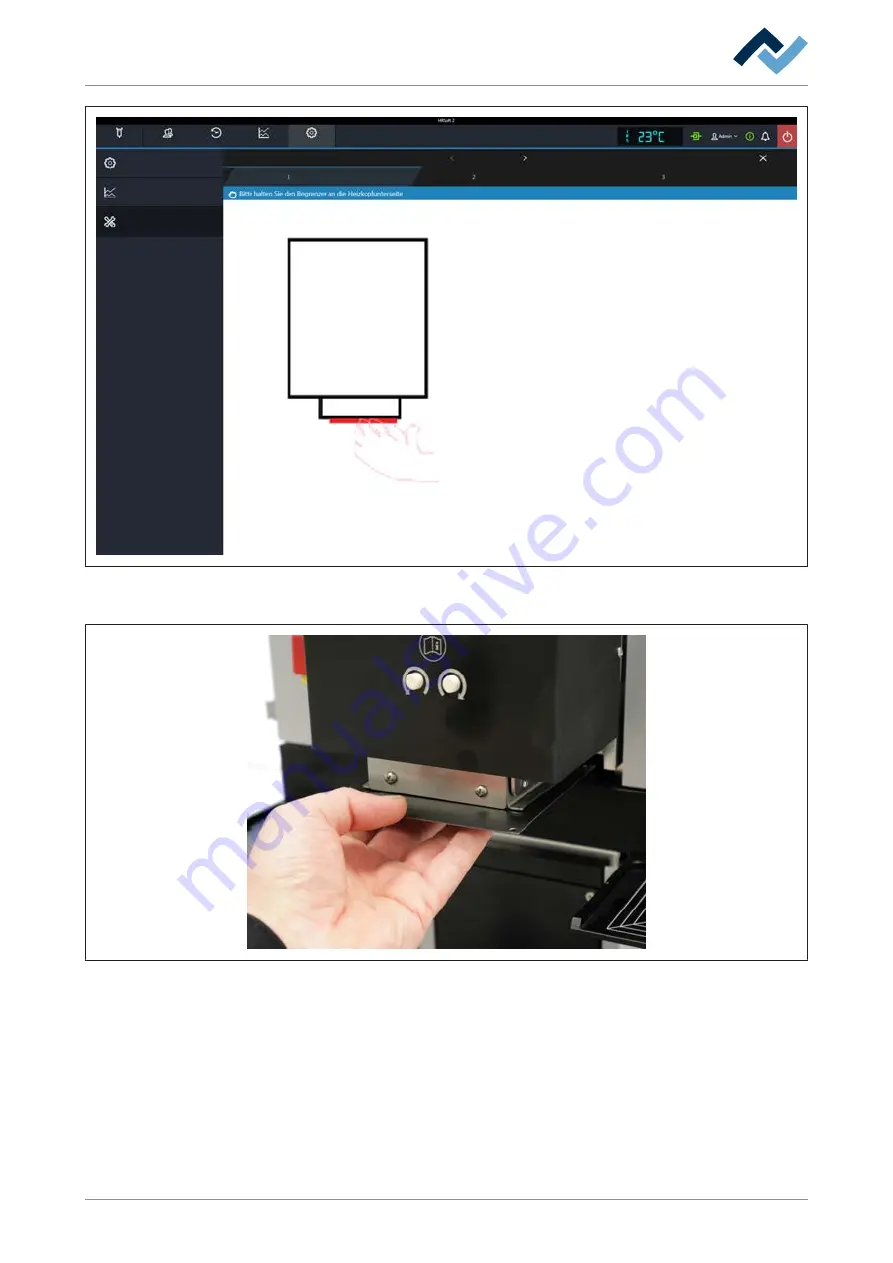
Zero Point Teach In
Tray Table Teach In
Vision Box Teach In
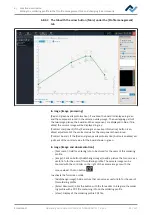
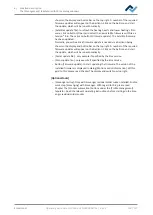
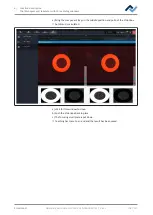
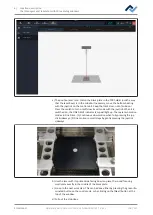
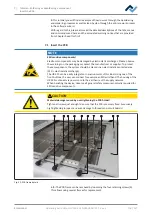
Alternatively, you can use any flat, inflexible object. Hold the plate perfectly hori-
zontal and flush with the underside of the heating element.
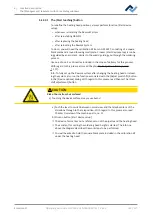
a) Keep holding the plate steady and go on to the next work step. This can be
done either by pressing the green illuminated button on the control unit, or by
clicking on the [Next] button at the top of the window.
ð
The suction pipette comes into contact with the plate and the height is learnt.
ð
The work step “Remove spacer” follows.
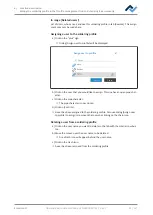
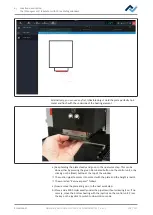
a) Now remove the plate and go on to the next work step.
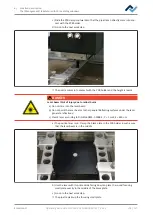
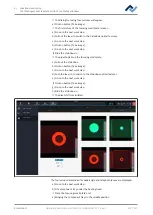
b) Place a side PCB holder exactly under the pipette without screwing it on. If ne-
cessary, move the bottom heating with the joystick on the control unit. Press
the key on the joystick to switch to slow motion mode.
Ersa GmbH
Operating instructions HR 550 XL EN 3BA00247-01 | Rev. 1
102 / 157

