7 | Tutorial – Soldering or desoldering a component
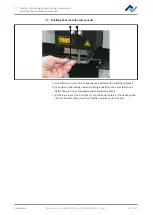
Replacing the soldering nozzle
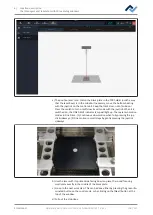
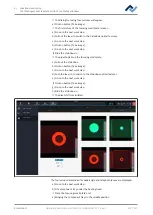
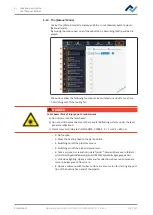
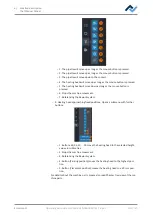
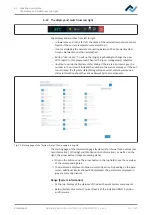
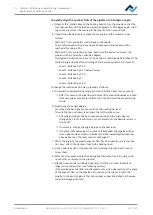
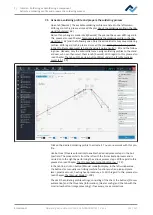
To exactly align the spanner flats of the pipette at a 90-degree angle:
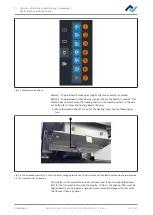
a) Now use the rotation keys on the heating head to turn the pipette so that the
two spanner flats of the pipette are exactly aligned at a 90-degree angle. In do-
ing so, the pipette can be secured in the recess of the transport lock.
b) Inspect the pipette closely to check the set angle and the movement per-
formed.
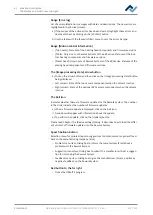
– Method 1: Press and hold a rotation key continuously.
The rotation speed will increase slowly. Maximum rotation speed will be
reached after approx. 30 s.
– Method 2: Press a rotation key once. Each time the button is pressed, the
pipette will be rotated by a specified degree.
The degree of rotation can be set to one of five rotation levels beforehand. The
standard angle degree after switching on the Rework system is 0.5° (level 2).
– Level 1: Rotation by 0.25°
– Level 2: Rotation by 0.5° (default value)
– Level 3: Rotation by 0.75°
– Level 4: Rotation by 1°
– Level 5: Rotation by 1.25°
To change the rotation by one step, proceed as follows:
a) First switch to programming mode: press both rotation keys for one second.
ð
After this second, the pipette will rotate a little counterclockwise and then
clockwise (wave motion) to indicate that it has entered the programming
mode.
b) Now change the angle degree:
press the right-hand key once to switch to the next higher level.
To switch to the next lower level, press the left-hand key once.
ð
The programming mode has now been exited and the angle degree
changed by 1 level. It will remain set as default until the Rework system is
turned off.
ð
If necessary, change the angle degree to the next level.
ð
If the level falls below level 1, or level 5 is exceeded, the pipette will per-
form a double wave motion to indicate that the lowest/highest level has
already been set. The level remains unchanged.
ü
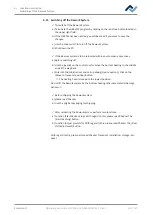
When the angle of the pipette spanner flats has been exactly set via the rota-
tion keys, attach the transport lock to the heating head:
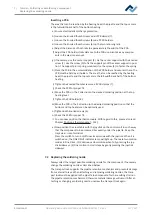
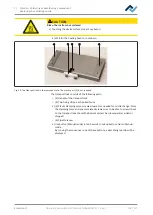
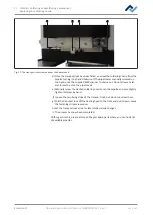
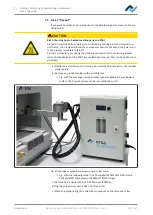
a) Use an Allen key size 2 to loosen the two fastening strips (4), but do not un-
screw them.
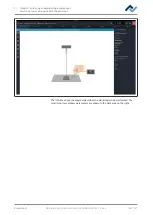
b) Attach the transport lock to the heating head from the front. In doing so, do
not exert any pressure on the pipette!
c) Slightly screw on the two fixing strips (4) so that the transport lock will no
longer move under stress (see following picture).
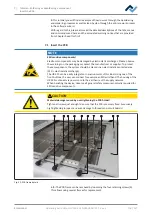
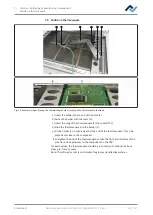
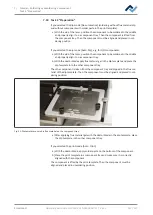
If the pipette does not slide into the pipette recess (6, upper picture), the angle
of the spanner flats on the pipette has not been correctly set. Rotate the
pipette to the exact angle via the rotation keys as described above, otherwise
material damage will occur!
Ersa GmbH
Operating instructions HR 550 XL EN 3BA00247-01 | Rev. 1
120 / 157

