8 | Service and maintenance
Change the heating head
8.3 Change the heating head
CAUTION
Risk of burning due to heated machine parts and PCB!
All heated machine parts as well as the surrounding housing parts and product sup-
port frame, the circuit board and the components become hot even during warm-up
to the process temperature [Tinit]!
Parts are particularly hot during the soldering process! After the soldering process,
wait until the device and the PCB have cooled down and reached non-hazardous tem-
peratures!
If you have several heating heads, you may change them:
a) Close HRSoft 2.
b) Turn off the rework system.
c) Allow the heating head to cool down.
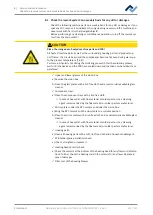
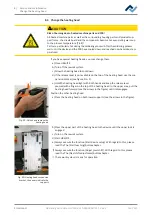
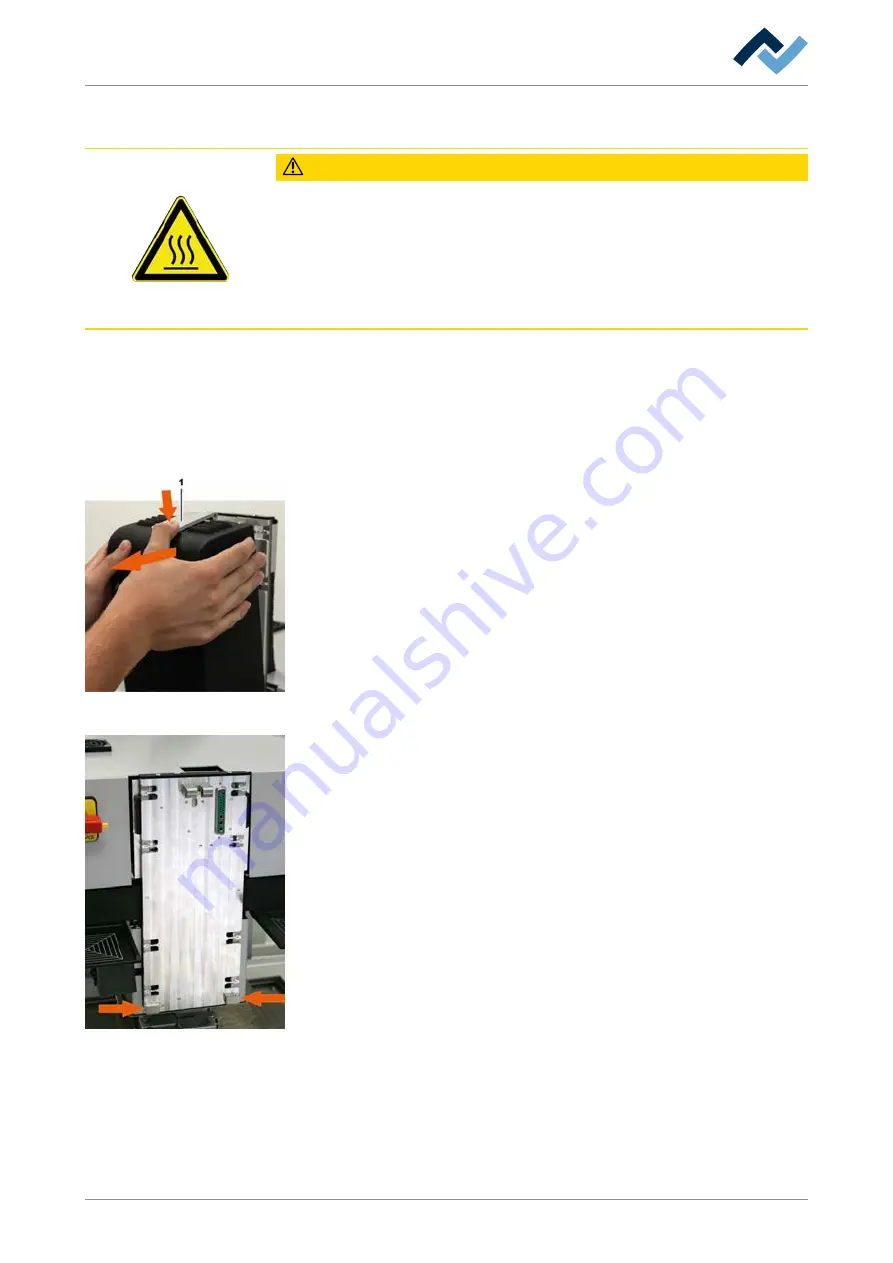
d) If the release lever is not available on the top of the heating head, use the sus-
pension bracket (see figure, No. 1).
Fig. 39:
Unlock and remove the
heating head.
e) Hold the heating head tight with both hands and keep the release lever
pressed with a finger on the top of the heating head. In the upper area, pull the
heating head forward (see the arrows in the figure) until it disengages.
Position the other heating head:
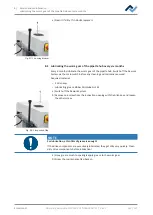
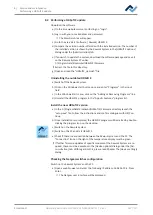
a) Place the heating head on both lower supports (see the arrows in the figure).
Fig. 40:
Heating head suspension
bracket, the arrows indicate the
supports
b) Press the upper part of the heating head to the device until the upper lock is
engaged.
c) Turn on the rework system.
d) Start HRSoft 2.
e) Always execute the function [Start device setup]. With regard to this, please
read the The [Start teaching] buttonchapter.
f) Always execute the function [Adjust pixel shift]. With regard to this, please
read the The [Pixel shift adjustment] buttonchapter.
ð
The rework system is ready for operation.
Ersa GmbH
Operating instructions HR 550 XL EN 3BA00247-01 | Rev. 1
146 / 157

