3-6
User Interface Basics
Navigation
Navigation
The navigation section of the front panel consists of the display and the buttons surrounding it.
These navigation buttons will take you to every one of the PC3A’s programming parameters.
The Display
Your primary interface with the PC3A is its backlit graphic display. As you press various buttons,
this
fluorescent display reflects the commands you enter and the editing changes you make. The
ample size of the display (240-by-64
pixels
) enables you to view lots of information at one time.
Pages
Within each mode, the functions and parameters are organized into smaller, related groups that
appear together in the display. Each one of these groups of parameters is called a
page
. Each
mode has what we call an entry-level page; it’s the page that appears when you select that mode
with one of the mode buttons. Within each mode and its editor(s), the various pages are selected
with the navigation buttons. There are many pages, but there are a few features common to each
page.
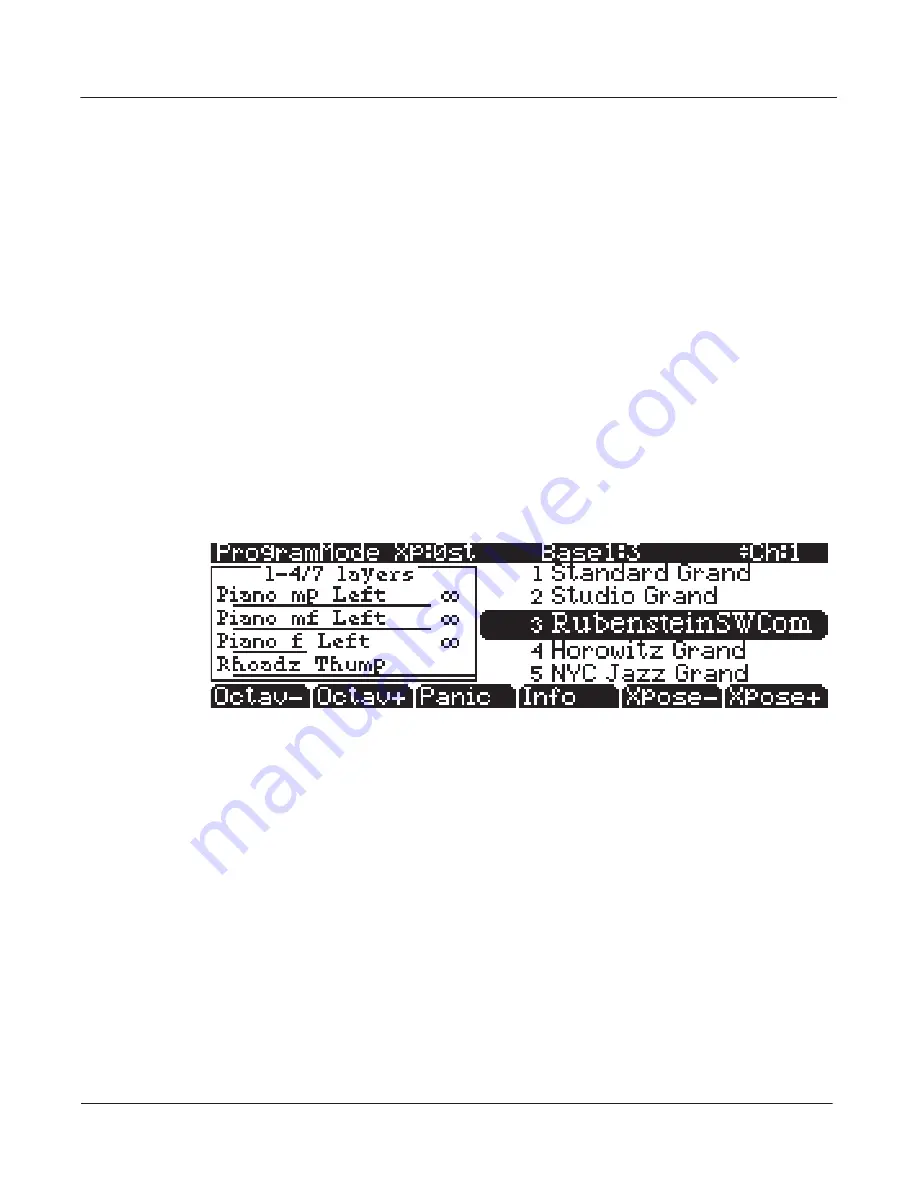
The illustration below shows the entry-level page for Program mode.
The Top Line
On the top line of most pages, there’s a reminder of which mode you’re in and which page you’re
on. Many pages display additional information in the top line, as well. The Program-mode page
above, for example, shows you the current amount of MIDI transposition and the currently
selected MIDI channel. The top line is almost always “reversed”—that is, it has a white
background with blue characters.
The Bottom Line
The bottom line is divided into six (sometimes fewer) sets of reversed characters that serve as
labels for the six buttons directly beneath the display. These labels—and the functions of the
buttons—change depending on the currently selected page. Consequently the buttons that select
these functions are called “soft” buttons.


