13-56
Tutorials: Setup Mode
Basics Of Using Riffs
9.
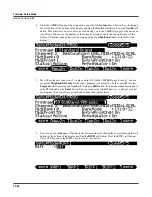
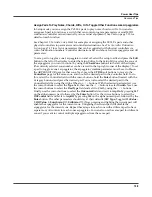
Next, press the top
Chan/Zone
button (to the left of the display) to move to the
RIFF1
page for
zone 2. The currently selected zone number can be viewed in the top right corner of the display. Use
the cursor buttons to select the
Src Track
field, then press the minus button twice (below the Alpha
Wheel) to select
ALL
(see below.)
Next, use the cursor buttons to select the left most
Start
field
(this is the Start
bars
field,) then press the plus button twice (below the Alpha Wheel) to change this
field to
3
(see below.) This will make riff 2 play a two bar loop of the song
428 H-Fact Sng,
but
unlike riff 1 it will play bars 3 and 4 instead of bars 1 and 2.
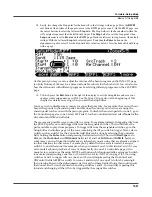
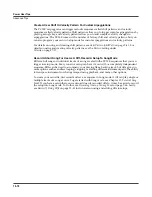
10. Before this riff can be triggered, press the
RIFF2
soft button to move to the RIFF2 page for zone 2.
On the RIFF2 page for zone 2, use the cursor buttons to select the
SyncType
field and use the Alpha
Wheel to set this field to
None
(see below.)
This turns off the riff sync settings that had been saved
with this setup. Now pad 1 and 2 will each play a different section of the song
428 H-Fact Sng.
Try
starting and stopping each pad separately to hear each two bar loop.
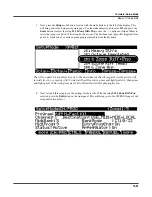
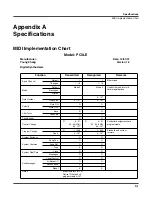
11. Since each riff is now playing a different section of the song, lets use some riff sync settings to sync
the timing when switching between the two riffs. On the RIFF2 page for zone 2, use the cursor
buttons to select the
SyncType
field and use the Alpha Wheel to set this field to
Loop
(see below.)
Leave the
SyncZone
field set to
Riff 1
(see below.)
These settings make riff 2 wait to start until the
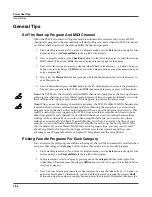
loop point of riff 1 occurs. Next, use the cursor buttons to select the
RelSynTyp
field and use the
Alpha Wheel to set this field to
StartWait
(see below.)
Next, use the cursor buttons to select the
RelSynZn
field and use the Alpha Wheel to set this field to
Riff 1
(see below.)
These settings make
riff 2 wait to release (stop) until riff 1 starts.
Summary of Contents for PC3LE6
Page 10: ...vi...
Page 24: ...2 10 Startup Software Upgrades...
Page 38: ...3 14 User Interface Basics Quick Song Recording and Playback...
Page 42: ...4 4 The Operating Modes Using the Modes...
Page 64: ...6 16 Program Mode The Program Editor...
Page 134: ...7 70 Setup Mode The Control Setup...
Page 138: ...8 4 Quick Access Mode The QA Editor...
Page 194: ...10 34 Song Mode and the Song Editor Song Editor The EVENT Page...

