
7
3. Setting up the tonearm:
Remark:
On our web site look for KAA 2016 download ( Kuzma Analogue Academy 2016) where you
will find theoretical and practical information how to optimally set up tonearm and cartridge!
Connecting tonearm:
Check the horizontal movement of the tube to ensure that the headshell will reach the inner grooves
(approximately to the edge of record label), but will not travel to the centre of the record due bearing
construction. Connect the tonearm cable and ground wire into the phono preamp.
Due to the added mass of the tonearm, turntable levelling and suspension should be checked and
adjusted according to the turntable manual.
Cartridge mounting:
Mount the cartridge with the appropriate set of M 2.5 mm screws. When fixing cartridge clips be sure
that you do not damage wires under the insulation tubes! If you wish you can fix the fingerlift on the
side of the headshell- no key required.( Fig. 9d)
Headshell removal and fixing:
This tonearm has a detachable headshell and fixing and positioning it has no negative effect on
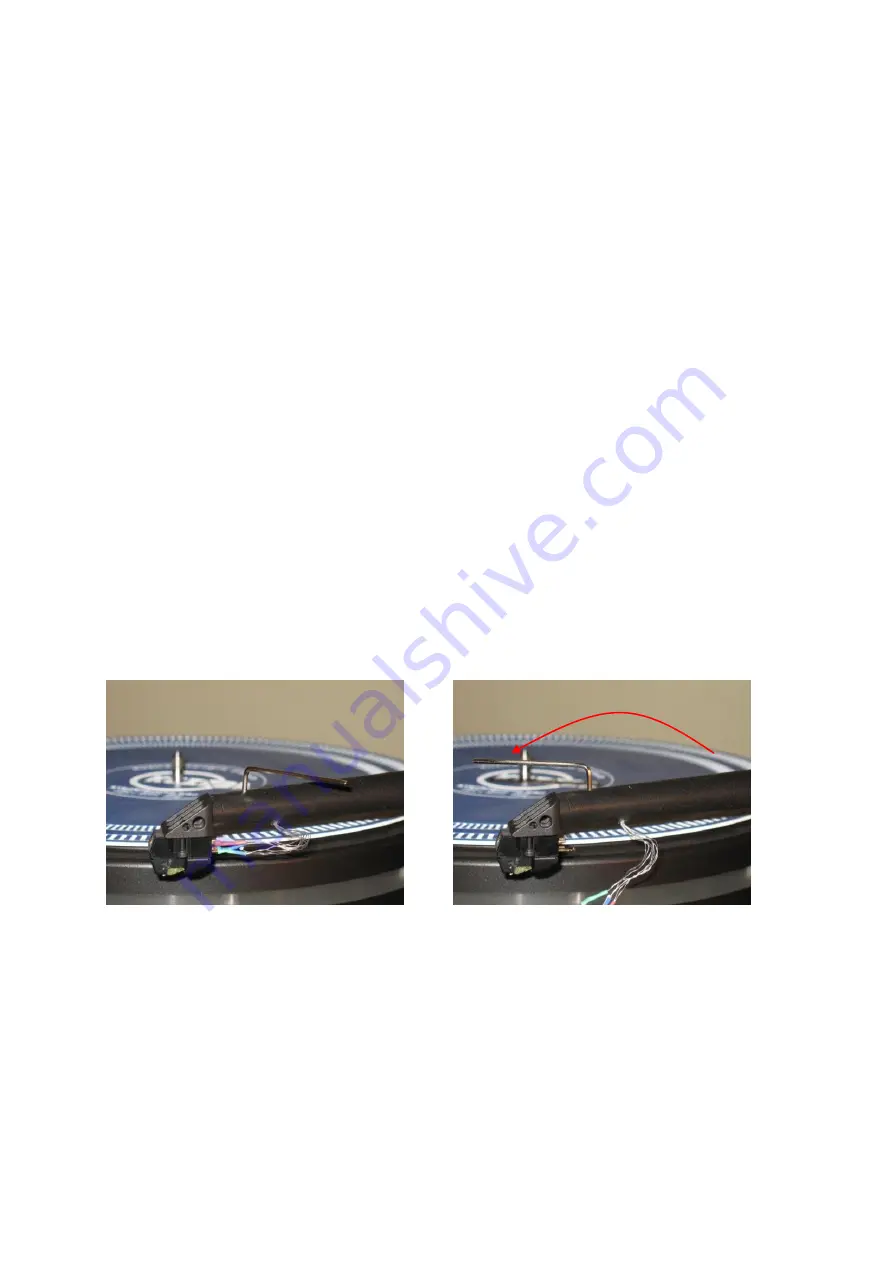
tonearm performance. The whole headshell is fixed with one Allen key 2 mm. ( Fig. 9a-c)
Insert Allen key in the hole on top of the tube and release screw for at least one turn (ACW). (Fig.
9b)
Disconnect cartridge clips, remove Allen key and pull out the headshell. (Fig. 9c)
Fix the cartridge on the headshell and reinsert headshell back into the tube. If it can not be inserted
easily, rotate the screw a little more in ACW direction. Then fix headshell into the tube, rotate the
screw in a CW direction with gentle force, about one turn.
Fig. 9a. Locked Fig. 9b. Unlocked
Note:
Do not
over-tighten the screw which locks the headshell.