background image


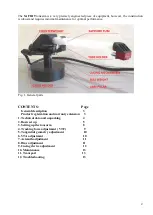
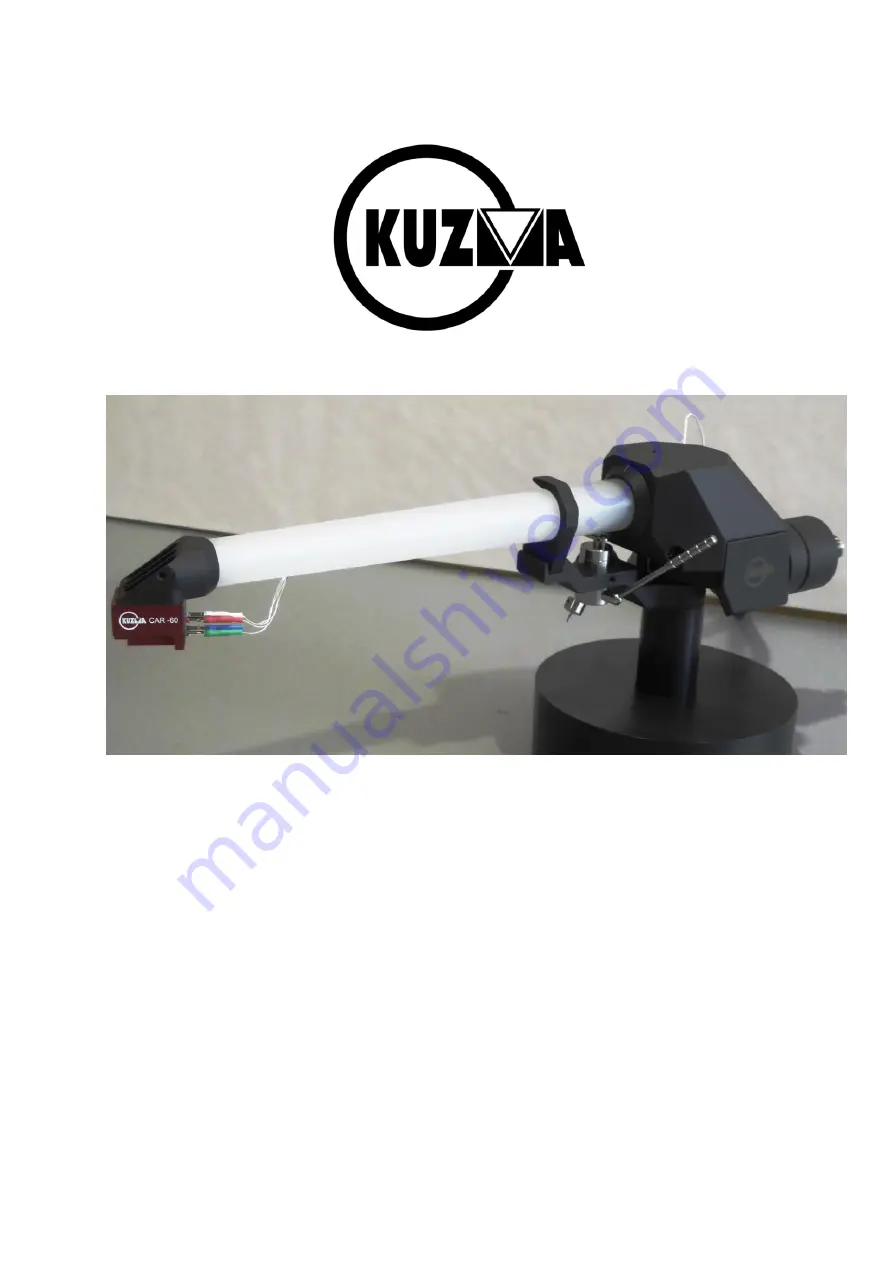
KUZMA SAFIR 9  TONEARM  


 Instruction manual  

                  Serial Number: …….. 

2022-05-22 


Summary of Contents for SAFIR 9

Page 1: ...1 KUZMA SAFIR 9 TONEARM Instruction manual Serial Number 2022 05 22 ...

Page 2: ...ts CONTENTS Page General description 3 Product registration and warranty extension 3 1 Technical data and unpacking 4 2 Basic set up 5 3 Setting up the tonearm 8 4 Tracking force adjustment VTF 9 5 Tangential geometry adjustment 10 6 VTA adjustment 10 7 Azimuth adjustment 11 8 Bias adjustment 11 9 Cueing device adjustment 12 10 Maintenance 13 11 Transport 13 12 Troubleshooting 13 ...

Page 3: ... the Kuzma arm base VTA is adjusted by raising or lowering the tonearm s pillar in the arm base with a VTA screw which controls its height thus still allowing precise VTA changes when required Internal wiring is of superior special alloy silver wires A set of 4 wires runs unbroken from the cartridge pins via a 1 5 m long tonearm cable with silver RCA bullet connectors Listening suggestions Play re...

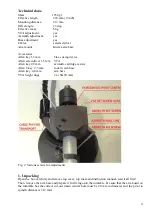
Page 4: ...mm VTA Allen key 2 0 mm azimuth cartridge screws Allen T key 2 5 mm lock in arm base Allen key 4 0 mm arm base VTA height rings 2x 5 20 mm Fig 2 Various screws for adjustments 1 Unpacking Open the box carefully and remove top cover top foam and instruction manual read it all first Then remove the arm base and prepare it for fixing onto the turntable Be sure that the arm board on the turntable has ...

Page 5: ...from spindle Use Allen key 4 mm If the pre cut arm board has a thread M5 then use three screws and fix them from the top through the arm base into the arm board thread or use a ring underneath and fix three screws into this ring which will then hold the arm base very tightly Ensure that you position the arm base so as to give access to an Allen key for fixing the arm tower into the arm base i e to...

Page 6: ... 6 Arm tower removing transport foam Remove the fixing foam on the horizontal bearing assembly Fig 6 Check that the bias thread is fixed and gently rotate the horizontal bearing assembly from one to another extreme It is only possible to make approximately of a turn and it is normal to feel slack in the bearings Tube assembly Carefully take the tube assembly with the cable and gently position the ...

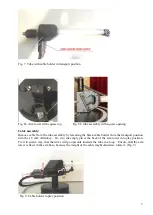
Page 7: ...easing the black cable holder from the transport position with the 1 5 mm Allen key Fix it to the empty pin at the back of the arm tower into play position Fix it in such a way that the wires will go upwards towards the tube in a loop Ensure that the arm tower is fixed in the arm base because the weight of the cable might otherwise rotate it Fig 9 Fig 9 Cable holder in play position ...

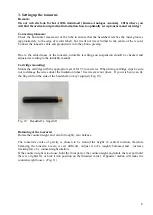
Page 8: ...Mount the cartridge with the appropriate set of M 2 5 mm screws When fixing cartridge clips be sure not to damage the wires under the insulation tubes Use tweezers not pliers If you wish you can fix the fingerlift on the side of the headshell no key required Fig 10 Fig 10 Headshell s fingerlift Balancing of the tonearm Rotate the counterweight and aim for roughly zero balance The tonearm s centre ...

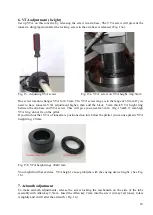
Page 9: ... a record on the platter cue the cartridge lift up the cartridge from the record and adjust height of the arm tower in such a way that the central axis of the tube will be parallel to the record If you cannot move the arm tower down check VTA screw See Fig 13a Using the protractor adjust geometry at two null points Rough guidance is given by the edges of the cartridge body but accurate adjustment ...

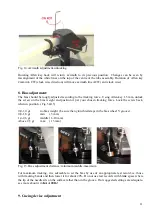
Page 10: ...A height ring between the arm base and VTA screw This will give you an extra 5 mm Fig 13a b 5 mm high VTA ring do not fix on the pillar If you find out that VTA of tonearm is positioned too low below the platter you can use plastic VTA height ring 20 mm Fig 13b VTA height rings 20 5 mm You might find that extreme VTA height cause problems with the cueing device height See Fig 16 7 Azimuth adjustme...

Page 11: ...d position it per your chosen tracking force Lock the screw back when in position Fig 5 15 0 0 1 0 gr no bias weight be sure the nylon thred stays in the bias wheel V groove 0 8 1 6 gr min 3 mm 1 4 2 6 gr middle 6 10 mm Above 2 5 gr max 13 mm Fig 15 Bias adjustment distance minimum middle maximum For maximum tracking it is advisable to set the bias by use of an appropriate test record ie those wit...

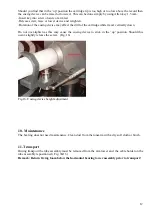
Page 12: ...idge while travel vertically down Do not over tighten as this may cause the cueing device to stick in the up position Should this occur slightly release the screw Fig 16 Fig 16 Cueing device height adjustment 10 Maintenance The bearing does not need maintenance Clean dust from the tonearm with a dry soft cloth or brush 11 Transport During transport the tube assembly must be removed from the arm to...

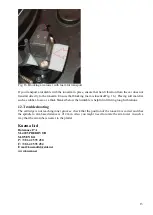
Page 13: ...foam or a thick blanket below the turntable is helpful in filtering rough vibrations 12 Troubleshooting The cartridge is not reaching inner grooves check that the position of the tonearm is correct and that the spindle to arm base distance is 212 mm Also you might need to rotate the arm tower in such a way that the arm tube is nearer to the platter Kuzma Ltd Hotemaze 17A SI 4205 PREDDVOR SLOVENIJA...

Reviews: