


About Chisels
3-31
965X Service Manual
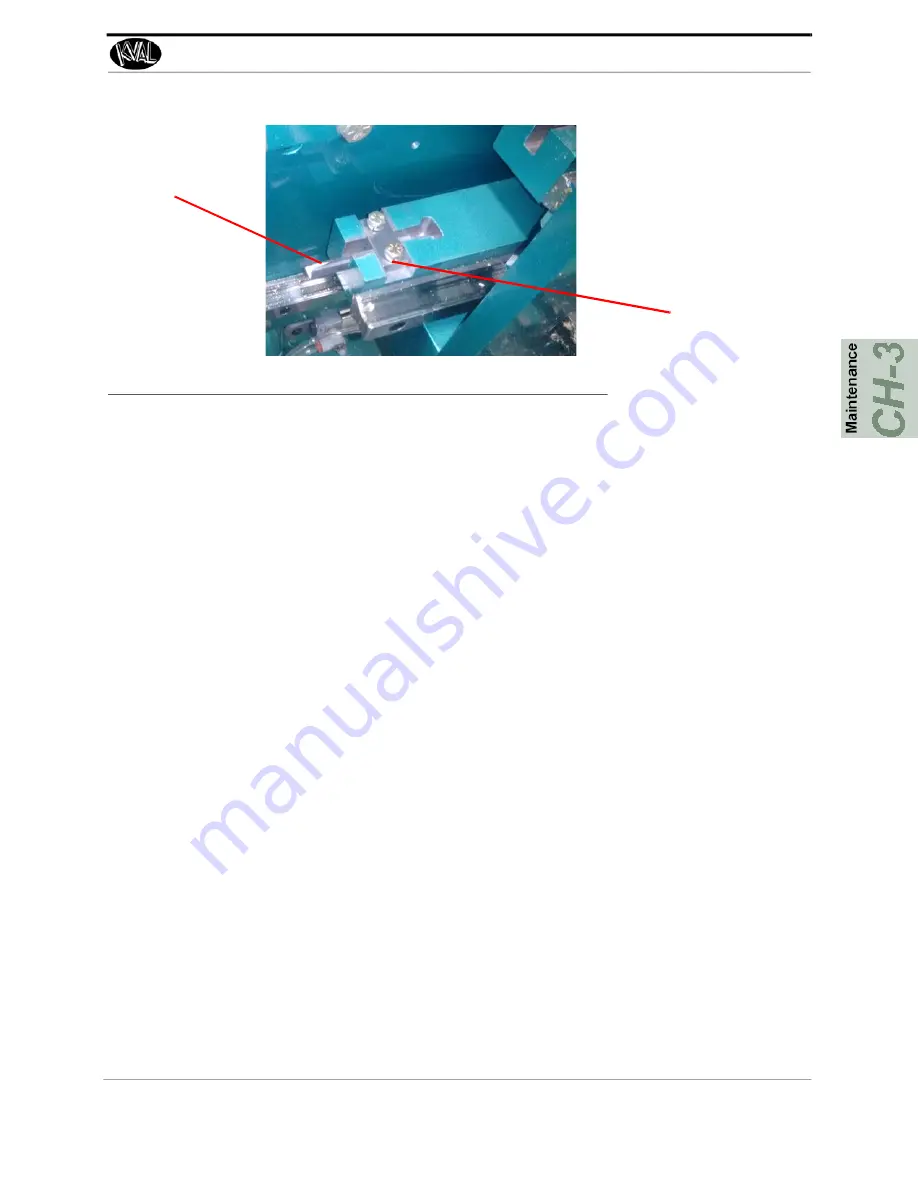
FIGURE 3- 26.
Chisel Clamps
5.
Clean off any particulate that may have accumulated on the clamp and chisel area.
This is especially important for the lower tools, where particulate can get trapped on
the tool surface instead of falling under gravity’s influence.
6.
Place the new chisel in the fixture, add the clamp, and tighten down the bolts back
onto the clamp.
7.
Verify that the chisel does not wobble in the fixture after tightening. Chisels should
be rigid and straight in the assembly.
8.
Push the chisel cylinder back into the machine head.
9.
Before starting the cutting process, check the Tool Configuration screen at the inter
-
face.
See “Check or Update Tool Configuration” on page 3-29
10.
Clear the machine area and turn back on air and power to the machine.
Clamp
Chisel


