How to Replace the Front Section Chipout Block
KVAL 990-F4 Service Manual
3-46
4.
Insert the new Chipout Block with the 2 bolts.
Note:
If continuing to use the block, add spacers to the back of the block at this time.
See “Chipout Block Spacers” on page 3-44.
6.
Insert a door and jamb into the machine, clamp into position.
7.
Burn the Chipout.
See “Chipout Block Spacers” on page 3-44 .
8.
For each Hinge Carriage, screw in the stop bolt by 3 flats.
9.
Burn the Chipout.Push the Burn Chipout Button at the Interface.
10.
For each Hinge Carriage, screw in the stop bolt all the way.
11.
Remove the door and the jamb.
13.
Run a test door to verify a clean cut.
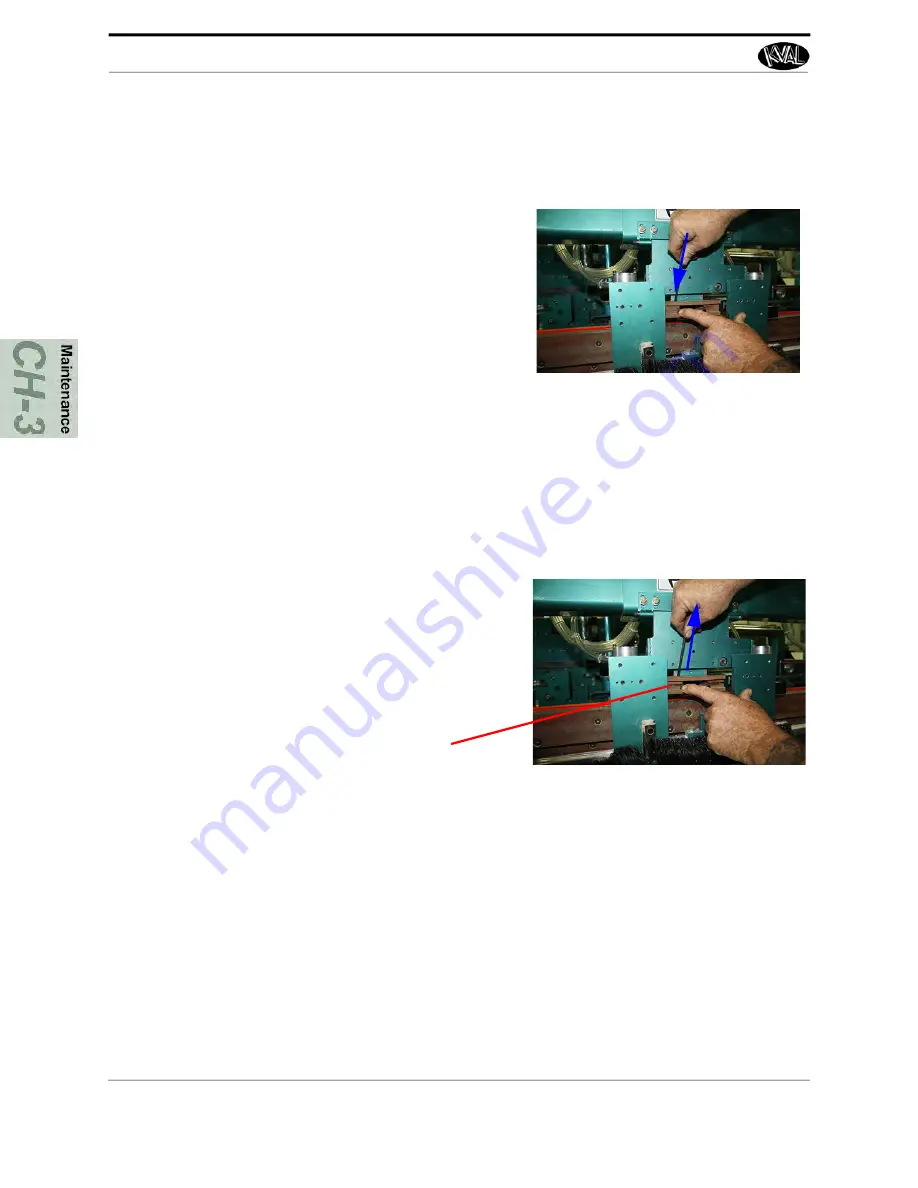
5.
Before burning in the block, tighten the 2 top
screws to compress the top and bottom of
the block together.
12.
Loosen the Allen bolts on the Chipout
Block to a 1/16'' gap between the top and
bottom Chipout. Ensure that the heads of
the bolts do not rise above the surface of
the Chipout when it is fully compressed.
Adjust to 1/16'' Gap


