About Calibration Sequence
KVAL Operation Manual
4-9
About Calibration Sequence
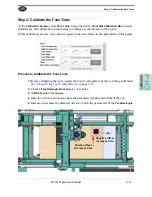
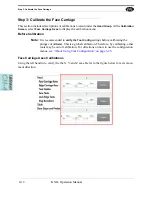
The machine has been calibrated at the factory. It is best to verify or calibrate in the order
described in this section.
Step 1: Calibrate the Length and Width
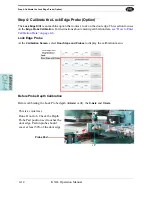
The Length Probes and the Width Adjust
are the first calibrations that should be checked or per-
formed.These calibrations are a starting reference for calibrations on the machine.
Calibrate the Length and Width
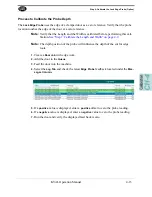
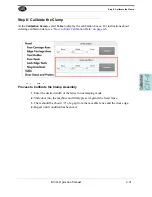
For this calibration, enter offsets in the
Length Probe Calibration Box and the Width Adjust Cali-
bration Box.
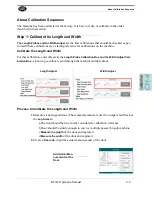
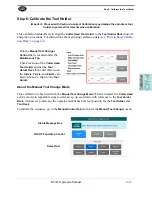
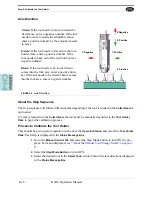
A known good door is send through the machine multiple times.
Length Adjust
Width Adjust
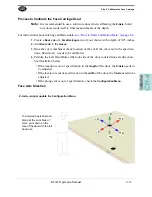
Process to Calibrate the Length and Width
1.
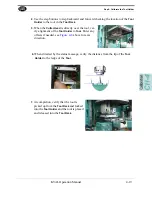
Measure a known good door. (These measurements are used to compare feed back at
the
Log Screen
.)
a.The door should be true and be considered a calibration reference
b.Door should be sturdy enough to survive multiple passes through machine.
c.
Measure the length
of the door and capture it.
d.
Measure the width
of the door and capture it.
2.
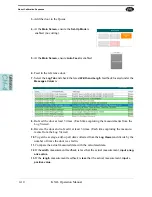
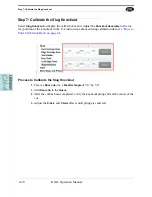
Create a
Door Job,
input the actual measurements of the door.
.
Add Actual Mea-
surements of the
Door
Summary of Contents for DL-NCD
Page 10: ...KVAL DL NCD Operation Manual Table of Contents ...
Page 28: ...How to Download the Service Application KVAL Operation Manual 1 18 ...
Page 30: ...Safety Sign Off Sheet KVAL Operation Manual 1 20 ...
Page 62: ...About the LiteCutout Feature Detail KVAL Operation Manual 2 32 ...
Page 94: ...Appendix About Backing up the Data KVAL Operation Manual 3 32 ...
Page 118: ...Appendix Servo Motor Drive Assembly Locations KVAL Operation Manual 4 24 ...
Page 139: ...About the Electrical Panels KVAL Operation Manual 5 21 I ...
Page 142: ......
Page 143: ......


