About the EFX Process
KVAL Operation Manual
3-2
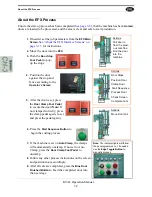
About the EFX Process
Ensure the start-up process has been completed (
See
), that the machine has been
Homed
,
doors are loaded to be processed, and the area is clear and safe to start production.
1.
If needed, set the job parameters from the
EFX Main
Screen
.
See “About the EFX Interface Screens” on
for instructions.
2.
Move the door
into the
EFX.
7.
If the machine is set on
Auto Clamp
, the clamps
will automatically unclamp. If not set to Auto
Clamp, press the
Door Clamp Foot Pedal
to
unclamp.
8.
Follow any other process instructions on the screen
and position door accordingly.
9.
After all cuts are completed, press the
Blue Door
Finished Button
to Feed the completed door into
the next stage.
3.
Push the
Door Stop
Foot Pedal
to pop-
up the stops.
4.
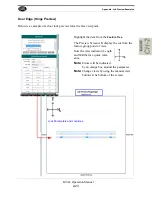
Position the door
against the stop and
fence according to the
Operator’s Screen
5.
After the door is set, press
the
Door Clamp Foot Pedal
to secure the door.(
Note:
If
not clamped correctly, press
the clamp pedal again, re-set
and press the pedal again.)
6.
Press the
Start Sequence
Button
to
begin the cutting process.
Note:
The indicator lights will follow
the per-programmed cut. If needed
use the
Edge Toggle Button
to
manually process.
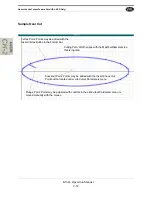
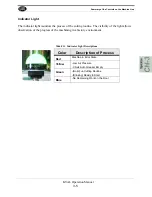
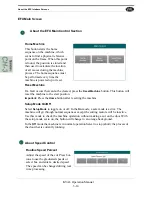
Actions
Pull door in
from the previ-
ous machine
Roll the door
into the
machine
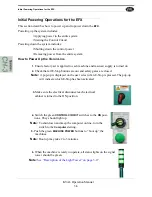
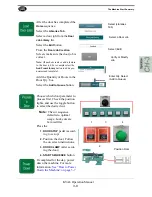
Actions
Door Stops
Position Door
Clamp Door
Start Sequence
Process Door
Check Screen
Complete Cuts
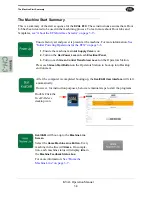
Actions
Move Door Out.
Summary of Contents for EFX
Page 10: ...KVAL EFX Manual Table of Contents ...
Page 32: ...Safety Sign Off Sheet KVAL Operation Manual 1 22 ...
Page 66: ...About the LiteCutout Feature Detail DL NCD Only KVAL Operation Manual 2 34 ...
Page 95: ...Appendix About Backing up the Data 3 29 KVAL Operation Manual ...
Page 112: ...Step 4 Calibrate the Face Axes KVAL Operation Manual 4 17 X Y Z X Y Z Y ...
Page 121: ...Routers How to Isolate and Calibrate a Specific Router KVAL Operation Manual 4 26 ...
Page 136: ......
Page 138: ...Index 1 2 Kval EFX ...
Page 139: ......


