Quick Installation Guide Applicable model: UAS-002/UAS-004 2/4-port USB Auto Switch
Rev. 1.2 Copyright© All rights reserved
USB Auto Switch Utility for task control and management
Auto switch for easy USB sharing among multiple PCs
USB share status indicated by software icon
Auto / Manual sharing mode selectable
UAS-002/UAS-004
2/4-port USB Auto Switch
Quick Installation Guide
Thank you for purchasing the
UAS-002/UAS-004 USB Auto
Switch
! With our highly reliable and quality product, user can
enjoy countless benefits from using it.
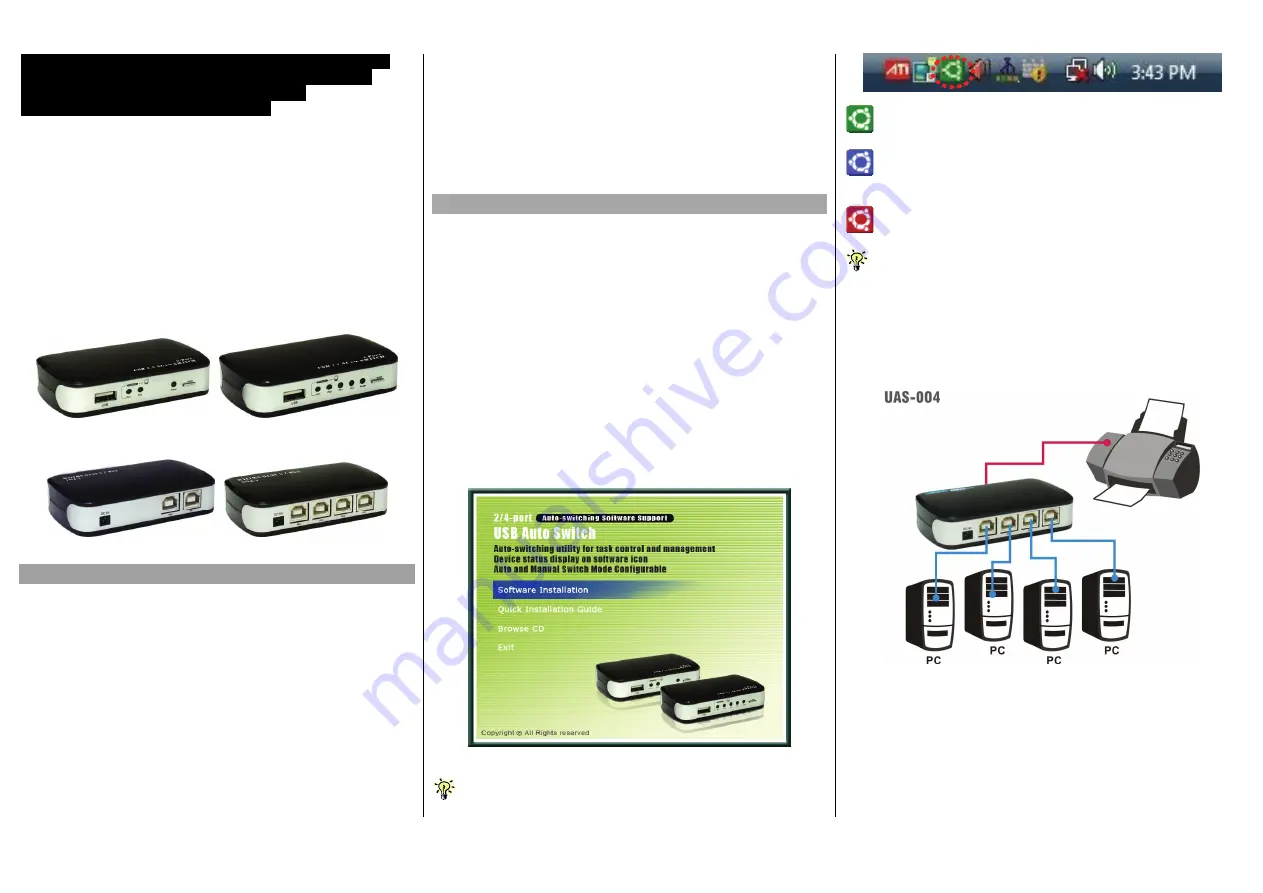
UAS-002 – Front View UAS-004 – Front View
UAS-002 – Rear View AS-004 – Rear View
Introduction
The UAS-002/UAS-004 USB Auto Switch can easily allow a vital
USB device such as a printer to be efficiently shared among
several computers, without pains and troubles of constantly
changing USB cable connections. All this is done intelligently by
the working of its smart USB Auto Switch utility that knows when
and how to allocate USB resource efficiently to satisfy every
connected computer’s demand.
The Auto Switch software utility works seamlessly with the USB
Auto Switch to serve users, based on a FCFS (First Come, First
Serve) basis. The utility assign priority to each USB job request
coming from different computers, and queue and control and
manage all these tasks in clear and clean sequence.
Users will no longer have to worry about someone switching off
their USB connection while printing a very important document
on the shared USB printer. In addition to the Auto mode, the
Manual mode can also be applied as an available option for this
USB Auto Switch. Having this small gadget, you can forget all the
troubles and happily use the USB device just like you have it
directly connected to your computer while each and every user
will be happily served.
Out-of-the-box Installation
Take the Companion CDROM and the KVM Switch out of the box
and follow the steps below for installation on each of the
computers….
Step 1.
Insert the companion CD ROM into your CD drive, and
the Autorun screen will pop up (If the Autorun feature
has not been enabled on your computer. Just find the
Autorun.exe on the CDROM and double-click it to start).
Step 2.
Just click the “Software Installation” to start installation.
Follow the instructions to completion. If the installation is
complete, you will see a USB Autoswitch icon on the
system tray of your desktop. Double-click to evoke the
configuration box. For configuration details of the Auto
Switch software, please refer to the
Auto switch utility
configuration.
Autorun Main Screen
The Auto Switch software is recommended for use on Windows 98
SE or later.
Available (USB port is idling and no job pending)
. Servicing (USB port is in the process of handling your job
request now)
Occupied (USB port is now occupied by other request)
The USB Autoswitch Software supports all Windows platforms from
Windows 98 SE and later. However, for the Mac OS operating systems
and other OS platforms such as Linux, you can still use the switch in
manual mode. That means the USB job requests will not be managed
automatically, and has to be managed manually by the user.
Step 3.
Repeat Steps 1~2 to install the Auto Switch Software to
each of the computer you want to connect.
Configuration Diagram
Step 4.
Connect the USB device you want to share to the
device port of the USB Auto Switch
. (The Device Port
is marked with “USB” for indication).
Then connect the
individual computers to the PC ports.
(The PC ports
are marked with “PC1”, “PC2”, “PC3”, “PC4” for
indication).
After you have connected the KVM and computers
properly, Now you need to configure the Autoswitch


