


36 | kvm-tec
kvm-tec | 37
3. extender menu/settings
3. extender menu/settings
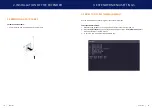
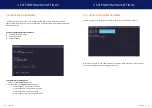
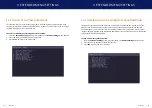
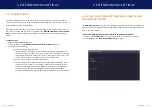
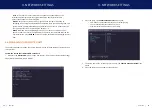
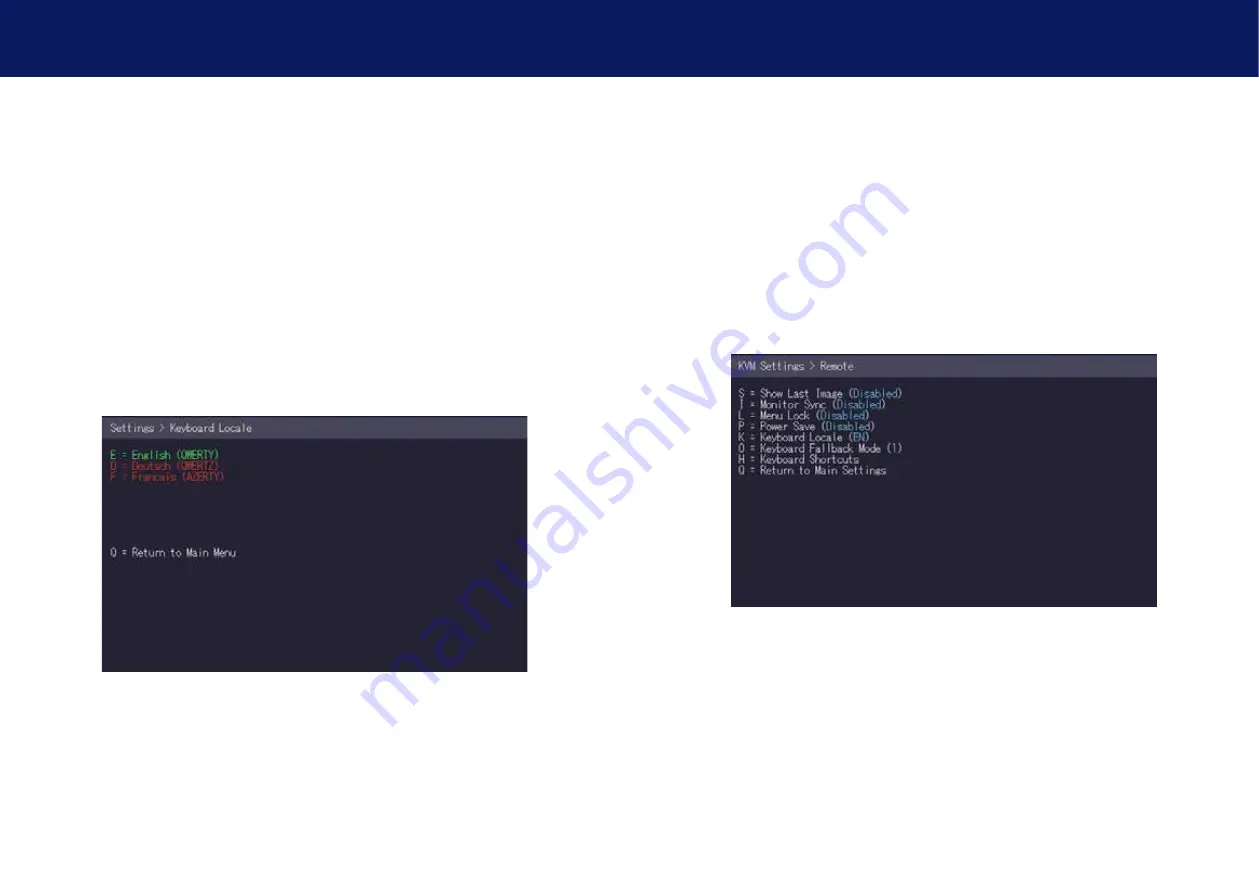
3.9.6 SELECTING A KEYBOARD LAYOUT
the
Keyboard Locale
menu lets you switch between keyboard layouts for navigating the on
screen display menu (OSD). You can choose between French (Azerty), English (Qwerty) and
German (Qwertz).
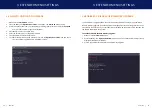
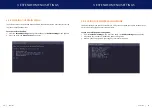
To select a keyboard layout:
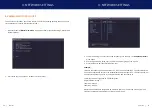
1. from the
Extender Settings
menu, press the
R
key. the
Remote Settings
menu appears.
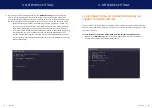
2. Press the
K
key. the
Keyboard Locale
menu opens:
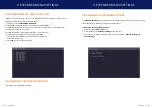
• Press
E
to select English (QWERTY)
• Press
D
to select German (QWERTZ)
• Press
F
to select French (AZERTY)
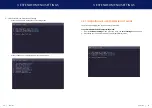
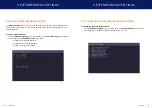
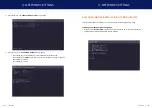
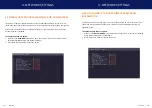
3.9.7 ChANGING ThE KEYBOARD FALLBACK MODE
To change the keyboard fallback mode:
1. from the
Extender Settings
menu, press the
R
key. the
Remote Settings
menu appears.
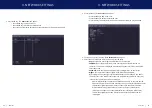
2. Press the
O
key to change the keyboard fallback mode to 0, 1 or 2.
Summary of Contents for 6502
Page 36: ...70 kvm tec 11 Notes ...


