Chapter 6 - SAT Measuring Range
27
106 V3.2
SAT Measuring Range
Chapter 6
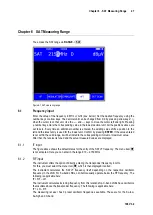
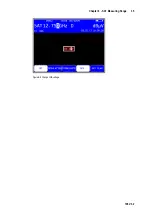
You access the SAT range via
RANGE
->
SAT
.
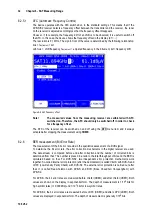
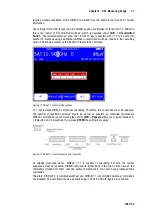
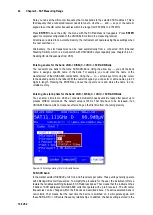
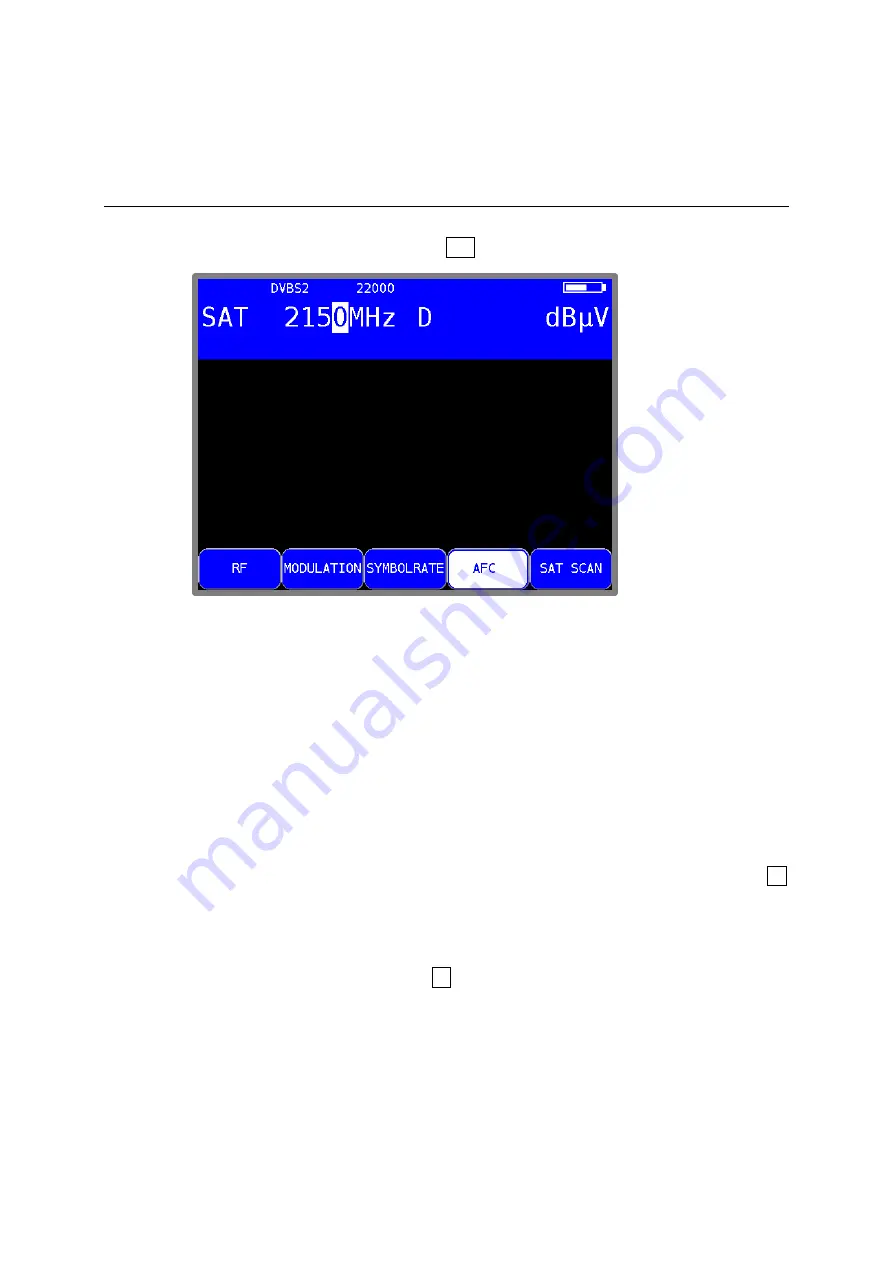
Figure 6-1 SAT measuring range
6.1
Frequency input
Enter the value of the frequency in MHz or GHz (see below). Set the desired frequency using the
number keys or arrow keys. The decimal unit can be changed from 0-9 by pressing arrow keys ↑/↓
when the cursor is on that unit. Use the ← and → keys to move the cursor left and right. Pressing
a number key enters the corresponding value in the lowest decimal unit. All the positions above are
set to zero. Every time an additional number is entered, the existing value shifts a position to the
left and the latest entry is used for the lowest unit. Confirm by pressing
ENTER
. If the value entered
is not within the valid range, it will be limited to the corresponding minimum or maximum value.
After that, the receiver is tuned and the actual measured values are displayed.
IF input
6.1.1
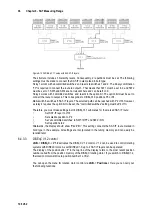
The figure above shows the default status for the entry of the SAT-IF frequency. The menu item
RF
is not activated. Here you can enter in the range 910 – 2,150 MHz.
RF input
6.1.2
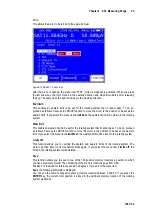
The instrument offers the option of directly entering the transponder frequency in GHz.
For this, you must select the menu item
RF
, which is then displayed inverted.
The instrument calculates the SAT-IF frequency itself depending on the respective oscillator
frequency in the LNB. For Ku-band LNBs, oscillators usually operate below the RF frequency. The
following is applicable here:
IF = RF – LO.
The instrument calculates its tuning frequency from this relationship. C-band LNBs have oscillators
that oscillate above the transponder frequency. The following is applicable here:
IF = LO – RF.
The measuring receiver has 3 preset oscillator frequencies available. These are for the Ku-low,
Ku-high and C-band.

