Chapter 17 - Optical Receiver 123
106 V3.2
Optical input power
The measuring instrument does not have an integrated adjustable optical attenuator element.
As a result, the measuring instrument’s optical receiver can be operated with up to 8 dBm of
continuous power.
However, the optimal range for the receiver is from -7 dBm to +3 dBm. At lower power levels, the
reception quality is reduced because of the receiver noise.
At higher input power levels, the intermodulation products have a negative effect on the
performance. In this case, optical attenuation elements should be used.
Example:
Measurements must be taken on an optical transmitter with an output power of
8 dBm. The optical power can be measured directly. However, an attenuation
element of 5 to 10 dB should be connected between the transmitter and the
receiver to determine the signal quality.
17.2
Activating the optical input
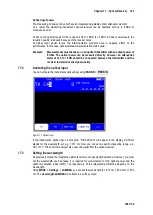
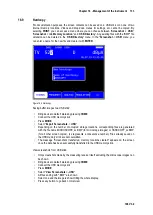
You can activate the instruments optical input using
RANGE
->
FIBRE-IN
.
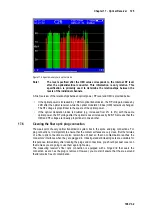
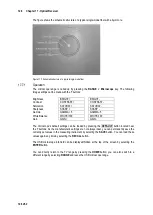
Figure 17-1 Optical input
If the instrument’s optical input is activated, “FIB XXXXnm” will appear in the display. XXXXnm
stands for the wavelength set, e.g. 1,310 nm. Now you can set a specific measuring range, e.g.
SAT or TV. The spectrum analyzer also uses the signal from the optical receiver.
17.3
Setting the wavelength
As previously stated, the integrated optical receiver is not wavelength-selective. However, you must
set the wavelength used because it is required for measurement of the optical power and the
optical modulation index (OMI). The responsivity of the integrated photodiode depends on the
wavelength.
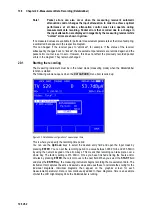
Using
MODE
->
Settings
->
LAMBDA
you can set the wavelength to 1,310 nm, 1,490 nm or 1,550
nm. The
wavelength LAMBDA
menu itself is a soft key menu.

