Windows XP - USB, Custom
Installation
User Guide
1-9
7
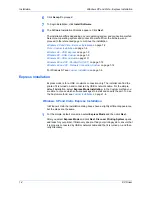
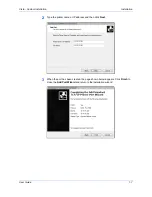
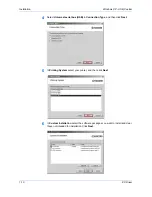
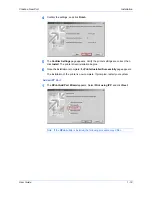
Confirm the settings and click
Install
.
7
8
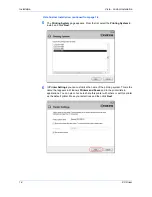
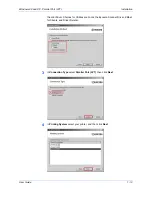
The
Printer Installed Successfully
page appears. Click
Finish
to exit the Printer
Installation Wizard and return to the CD-ROM main menu.
8
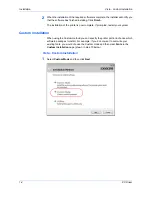
The installation of the printer is now complete. If prompted, restart your system.
Windows XP - USB, Custom
1
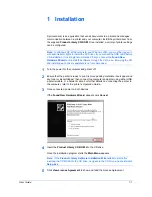
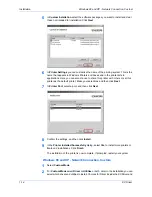
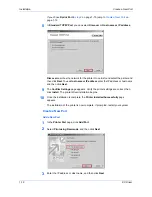
Ensure that your printer and computer are connected using the USB cable.
1
2
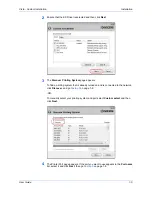
Select
Custom Mode
.
2
3
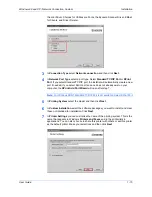
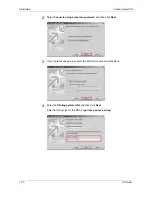
For
Custom Mode
select
Driver
or
Utilities
or both. Later in the installation you can
select which driver and utilities to install. Choices for Driver include the KX Driver and
the mini Driver. Choices for Utilities include Fonts, the Kyocera Scanner Driver,
KMnet for Clients, and Driver Deleter.
3


