1-44
Removing SIMMs
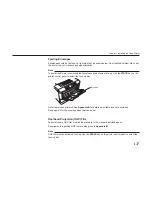
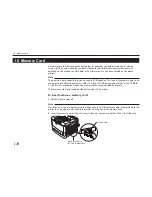
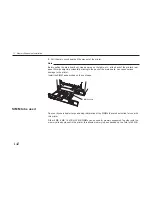
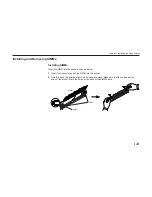
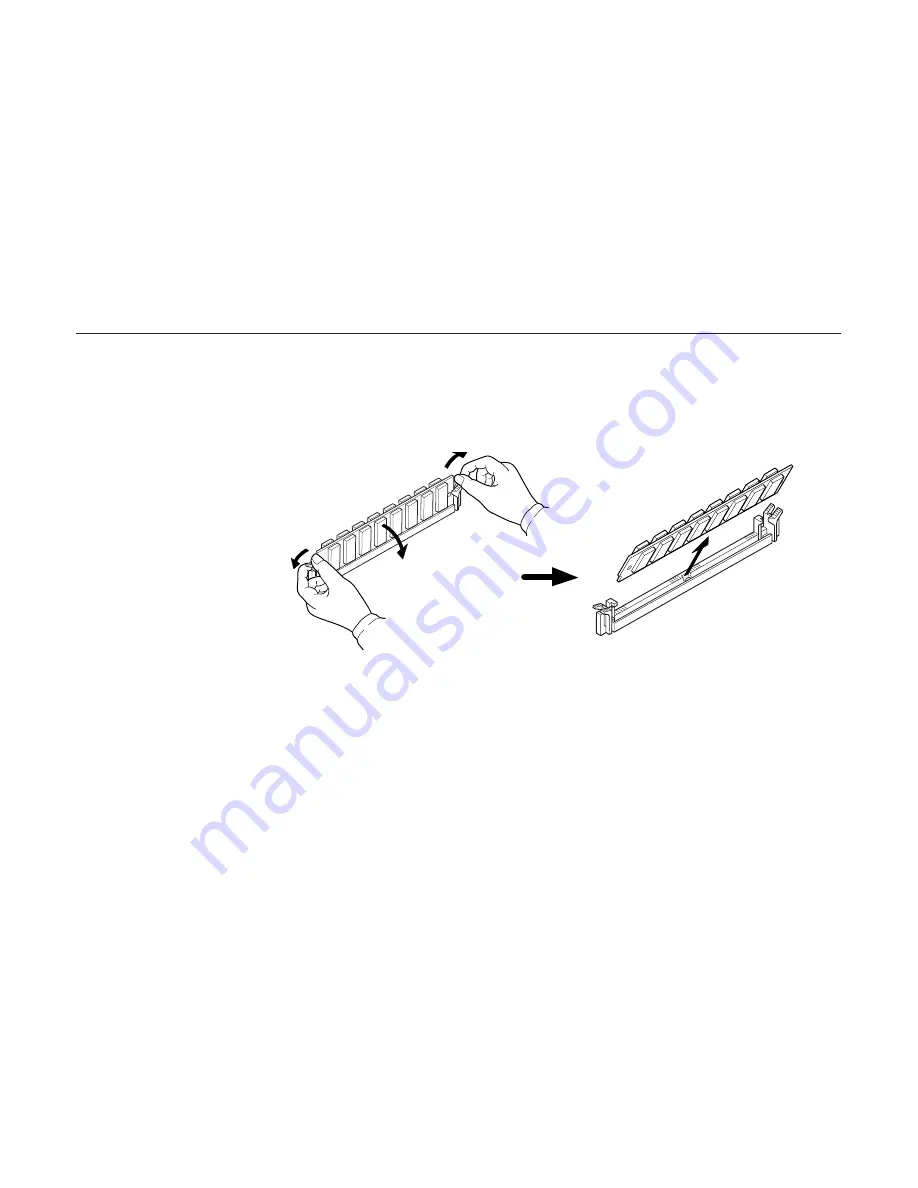
To remove a SIMM, carefully pull the end catches slightly outwards and tilt the SIMM as shown,
then pull the SIMM out of the socket.
Reverse the procedure under
Withdrawing the Main Circuit Board from the Printer to put the main
circuit board back into the printer.
Testing the Expansion Memory
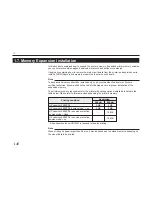
After you have finished installing SIMMs in the printer, test the printer to see if the installation has
been successful.
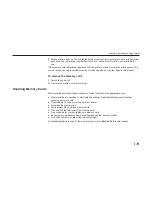
To test the expansion memory, proceed as follows:
1. Make sure the power switch is off. Plug the power cord into the printer and turn power on.
2. When the printer is on-line, press the STATUS key.
3. If the installation has been successful, the
Total memory (Memory Allocation) of the status page
will show the expanded memory size corresponding to the amount of memory added. (The
factory installed memory size is 4 MB.)
1.7. Memory Expansion Installation
Summary of Contents for Ecosys FS-6700
Page 1: ...User s Manual Kyocera Laser Printer FS 6700 Table of Contents ...
Page 86: ...2 17 Chapter 2 Operating the Laser Printer Sample Status Page 1 4 5 6 2 3 7 8 9 ...
Page 123: ...3 4 Resident Scalable Fonts 1 3 2 List of Fonts ...
Page 124: ...3 5 Chapter 3 Fonts Resident Scalable Fonts 2 ...
Page 125: ...List of Fonts 3 6 KPDL Fonts 1 ...
Page 126: ...Chapter 3 Fonts 3 7 KPDL Fonts 2 ...
Page 172: ...6 5 Chapter 6 Symbol Set Tables LaserJet 5M Dutch801 RomanSWM 6N LaserJet 5M PS Math 5M ...
Page 173: ...6 6 6 1 HP LaserJet 5M Symbol Sets LaserJet 5M PS Text 10J LaserJet 5M Math8 8M ...
Page 174: ...6 7 Chapter 6 Symbol Set Tables LaserJet 5M Pi Font 15U LaserJet 5M MS publishing 6J ...
Page 175: ...6 8 6 1 HP LaserJet 5M Symbol Sets LaserJet 5M Windows 9U LaserJet 5M Desktop 7J ...
Page 176: ...6 9 Chapter 6 Symbol Set Tables LaserJet 5M ISO Latin 2 2N LaserJet 5M ISO Latin 5 5N ...
Page 180: ...6 13 Chapter 6 Symbol Set Tables LaserJet 5M PC 852 Latin 2 17U LaserJet 5M PC Turkish 9T ...
Page 181: ...6 14 6 1 HP LaserJet 5M Symbol Sets Macintosh 12J ...

