2-5
Preparation before Use
14
Press
[OK]
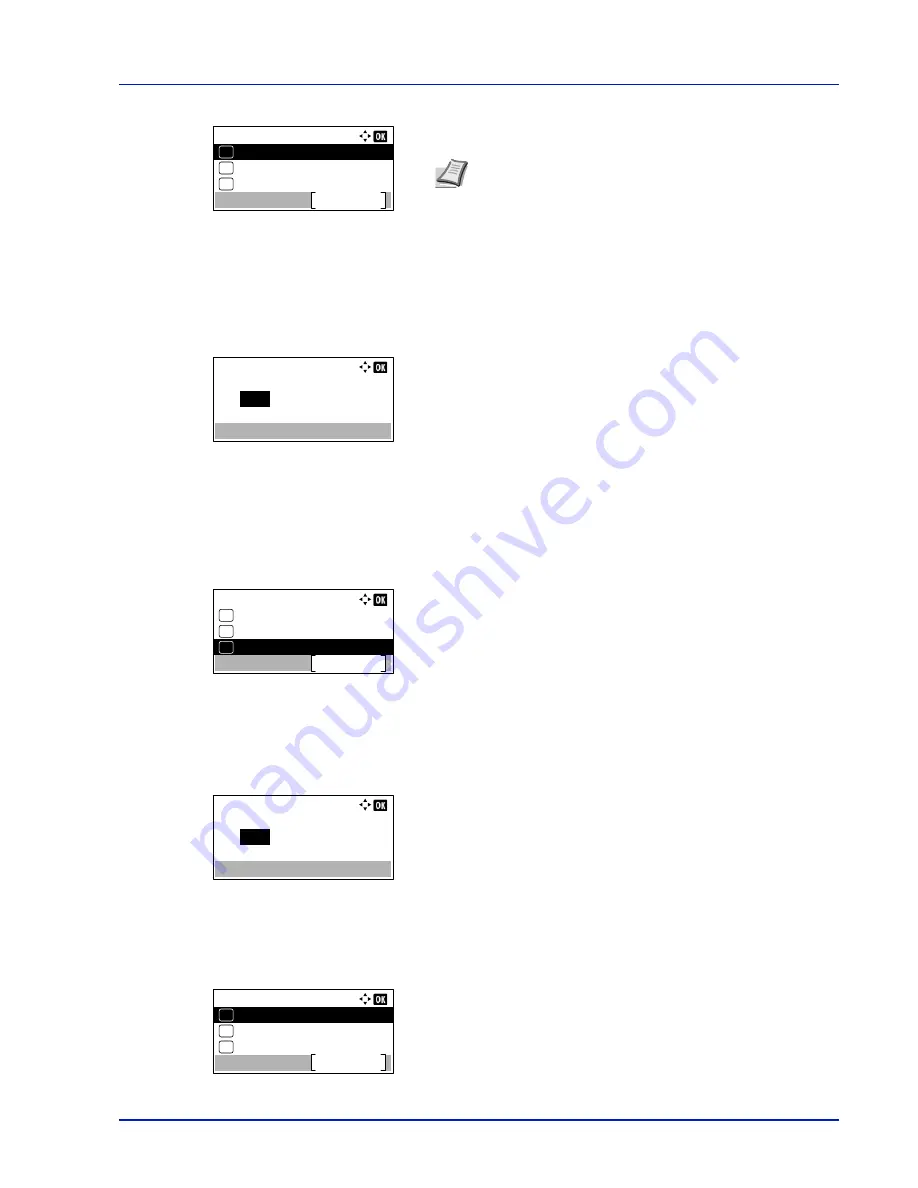
. The DHCP setting is set and the
IPv4 Setting
menu
reappears.
Entering the IP address
If DHCP is set to
Off
, enter the IP Address manually.
15
Press
U
or
V
to select
IP Address
.
16
Press
[OK]
. The
IP Address
screen appears.
17
Use the numeric keys or
U
or
V
to set the IP address.
You can set any value between
000
and
255
.
Increase or reduce the figures by pressing
U
or
V
.
Use
Y
and
Z
to move the position being entered, which is shown
highlighted.
18
Press
[OK]
. The IP address is stored and the
IPv4 Setting
menu
reappears.
Entering the Subnet Mask
When DHCP is set to
Off
, enter the Subnet Mask manually.
19
Press
U
or
V
to select
Subnet Mask
.
20
Press
[OK]
. The
Subnet Mask
screen appears.
21
Use the numeric keys or
U
or
V
to set the subnet mask.
You can set any value between
000
and
255
.
The method for entering is the same as for the IP Address.
22
Press
[OK]
. The subnet mask setting is stored and the
IPv4
Setting
menu reappears.
IPv4 Setting:
DHCP
Exit
01
Auto-IP
02
IP Address
03
Note
DHCP becomes effective when
On
is selected. Press
[Menu]
to end the mode selection menu.
When
Off
is set, continue on to enter the IP Address.
IP Address:
0.
0. 0. 0
IPv4 Setting:
DHCP
Exit
01
Auto-IP
02
IP Address
03
Subnet Mask:
0.
0. 0. 0
IPv4 Setting:
Subnet Mask
Exit
04
Default Gateway
05
Bonjour
06
Summary of Contents for ECOSYS P4040dn
Page 1: ...ECOSYS P4040dn PRINT OPERATION GUIDE ...
Page 16: ...xii ...
Page 22: ...Machine Parts 1 6 ...
Page 58: ...Preparation before Use 2 36 ...
Page 66: ...Printing 3 8 ...
Page 202: ...Operation Panel 4 136 ...
Page 250: ...Maintenance 7 12 ...
Page 273: ...8 23 Troubleshooting 3 Close the rear cover 4 Open and close the top cover to clear the error ...
Page 274: ...Troubleshooting 8 24 ...
Page 306: ...Appendix A 32 ...
Page 315: ......
Page 318: ...Rev 1 2014 12 2P7KDEN001 ...


